Tutorial: Build a Full-Stack Reactive Chat App With Spring Boot
Learn how to connect a reactive Spring Boot back end to a reactive TypeScript front end to build a full-stack reactive chat app.
Join the DZone community and get the full member experience.
Join For FreeWhat You Will Build
You will build a full-stack chat application with a Java Spring Boot back end, reactive data types from Project Reactor, and a Lit TypeScript front end. In addition, you will use the Hilla framework to build tools and client-server communication.

What You Will Need
- 20 minutes
- Java 11 or newer
- Node 16.14 or newer
- An IDE that supports both Java and TypeScript, such as VS Code.
Video Version
The video below walks you through this tutorial step-by-step, if you prefer to learn by watching.
Create a New Project
Begin by creating a new Hilla project. This will give you a Spring Boot project configured with a Lit front end.
- Use the Vaadin CLI to initialize the project:
npx @vaadin/cli init --hilla --empty hilla-chat - Open the project in your IDE of choice.
- Start the application using the included Maven wrapper. The command will download Maven and npm dependencies and start the development server. Note: the initial start can take several minutes. Subsequent starts are almost instant.
./mvnw
Build the Chat View
Begin by creating the view for displaying and sending chat messages. Hilla includes the Vaadin component set, which has over 40 components. You will use the <vaadin-message-list> and <vaadin-message-input> components to build out the main chat UI. You will also use the <vaadin-text-field> component to capture the current user's name.
Replace the contents of frontend/views/empty/empty-view.ts with the following:
import { html } from 'lit';
import { customElement } from 'lit/decorators.js';
import { View } from '../../views/view';
import '@vaadin/vaadin-messages';
import '@vaadin/vaadin-text-field';

@customElement('empty-view')
export class EmptyView extends View {
  render() {
    return html`
      <vaadin-message-list class="flex-grow"></vaadin-message-list>
      <div class="flex p-s gap-s items-baseline">
        <vaadin-text-field placeholder="Name"></vaadin-text-field>
        <vaadin-message-input class="flex-grow"></vaadin-message-input>
      </div>
    `;
  }

  connectedCallback() {
    super.connectedCallback();
    this.classList.add('flex', 'flex-col', 'h-full', 'box-border');
  }
}
Hilla uses Lit for creating views. Lit is conceptually similar to React: components consist of a state and a template. The template gets re-rendered any time the state changes.
In addition to the included Vaadin components, you are also using Hilla CSS utility classes for some basic layouting (flex, flex-grow, flex-col).
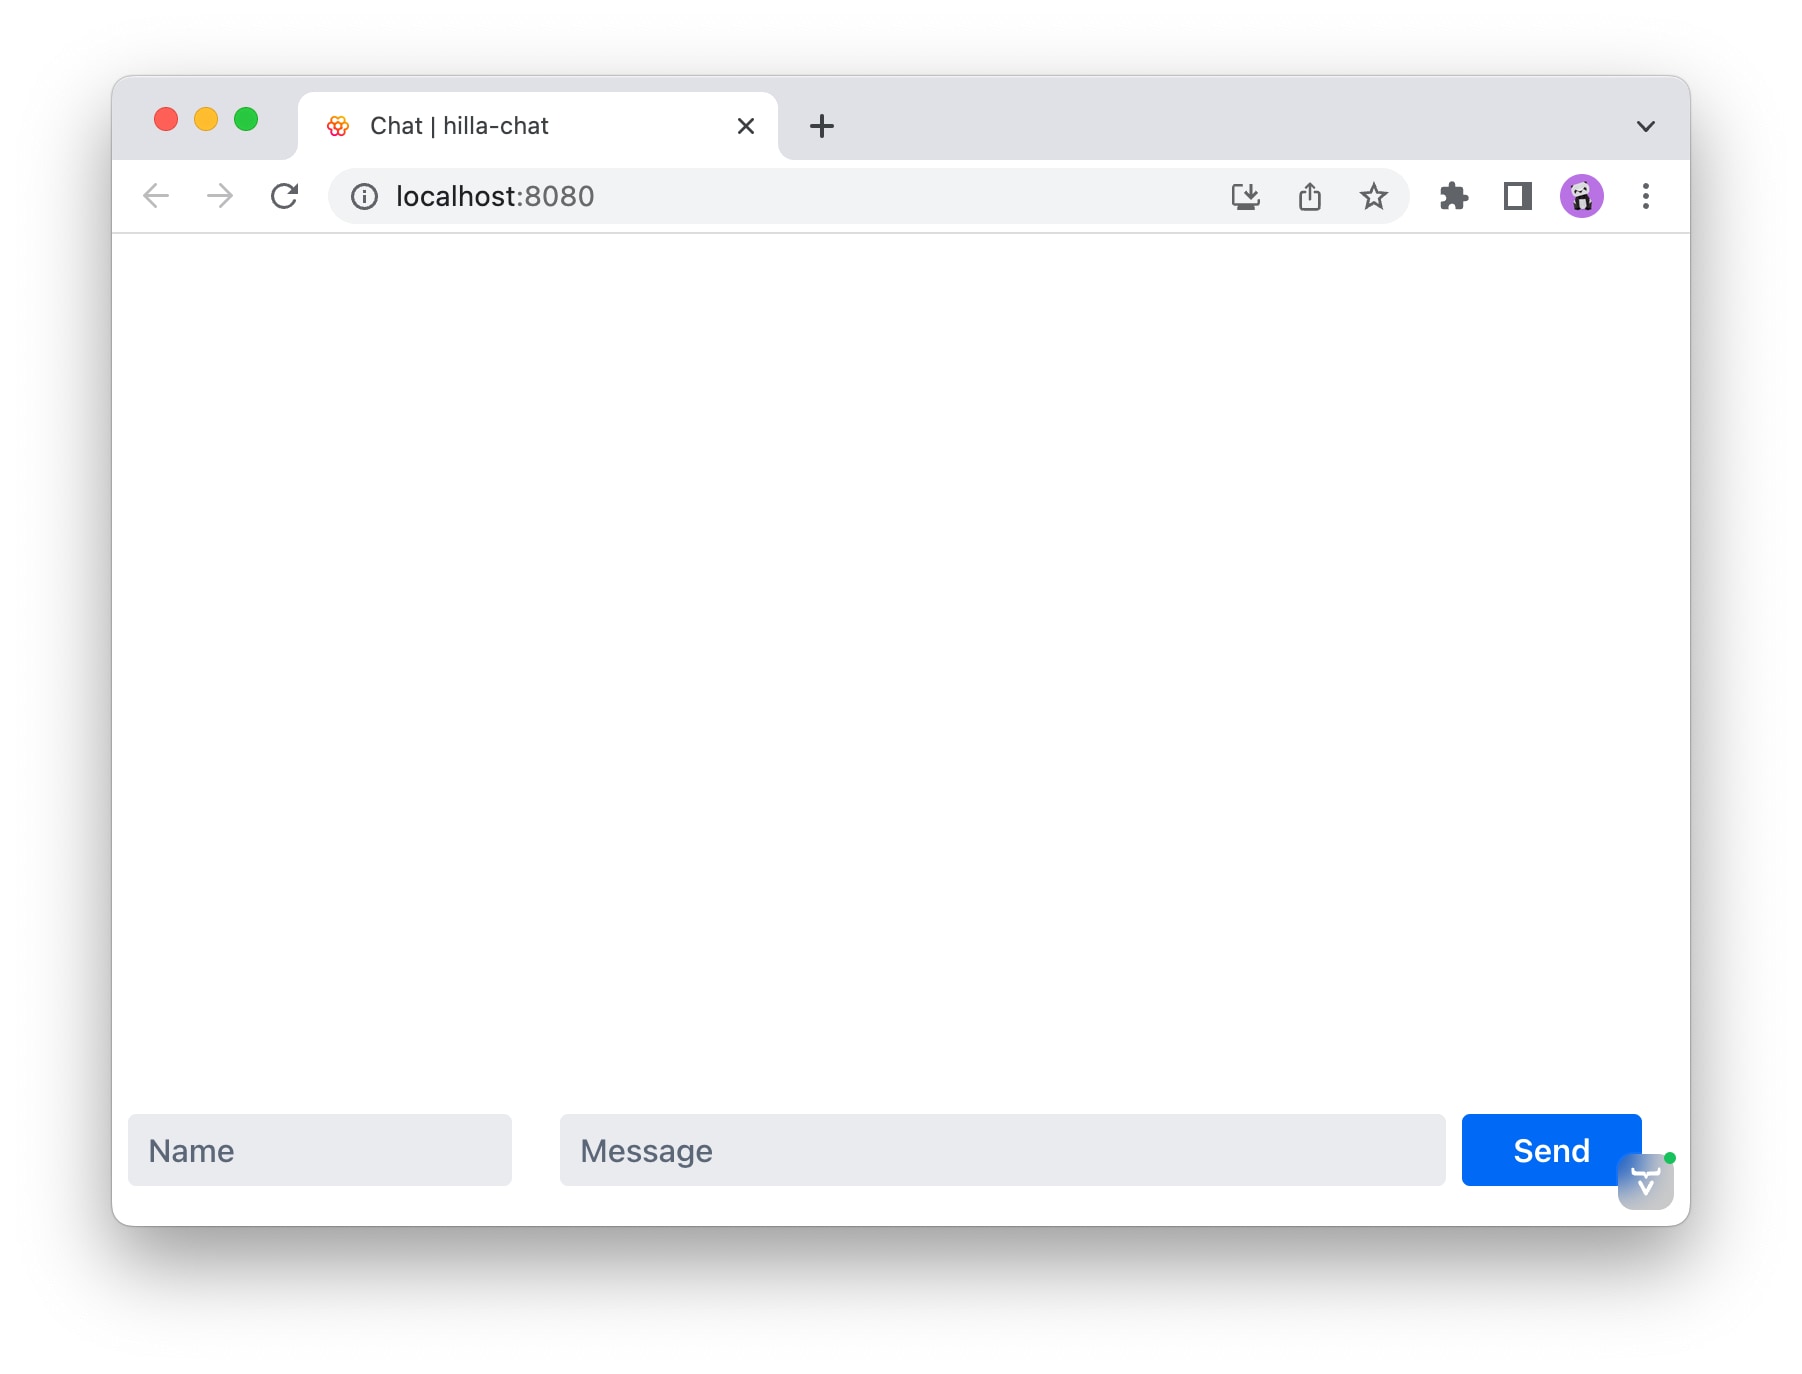
You should see an empty window with inputs at the bottom when you save the file. (Start the server with ./mvnw if you don't have it running.)

Create a Reactive Server Endpoint
Next, you need a back end that can broker messages between clients. For this, you will use the reactive data types provided by Project Reactor.
Create a new Java class in the com.example.application package called ChatEndpoint.java and paste the following code into it:
package com.example.application;

import java.time.ZonedDateTime;
import com.vaadin.flow.server.auth.AnonymousAllowed;
import dev.hilla.Endpoint;
import dev.hilla.Nonnull;
import reactor.core.publisher.Flux;
import reactor.core.publisher.Sinks;
import reactor.core.publisher.Sinks.EmitResult;
import reactor.core.publisher.Sinks.Many;

@Endpoint
@AnonymousAllowed
public class ChatEndpoint {

  public static class Message {
    public @Nonnull String text;
    public ZonedDateTime time;
    public @Nonnull String userName;
  }

  private Many<Message> chatSink;
  private Flux<Message> chat;

  ChatEndpoint() {
    chatSink = Sinks.many().multicast().directBestEffort();
    chat = chatSink.asFlux().replay(10).autoConnect();
  }

  public @Nonnull Flux<@Nonnull Message> join() {
    return chat;
  }

  public void send(Message message) {
    message.time = ZonedDateTime.now();
    chatSink.emitNext(message,
        (signalType, emitResult) -> emitResult == EmitResult.FAIL_NON_SERIALIZED);
  }
}
Here are the essential parts explained:
- The
@Endpointannotation tells Hilla to make all public methods available as TypeScript methods for the client.@AnonymousAllowedturns off authentication for this endpoint. - The Message class is a plain Java object for the data model. The
@Nonnullannotations tell the TypeScript generator that these types should not be nullable. - The
chatSinkis a programmatic way to pass data to the system. It emits messages so that any client that has subscribed to the associatedchatFlux will receive them. - The
join()-method returns the chat Flux, which you will subscribe to on the client. - The
send()-method takes in a message, stamps it with the send time, and emits it to thechatSink.
Sending and Receiving Messages in the Client
With the back end in place, the only thing that remains is connecting the front-end view to the server.
Replace the contents of empty-view.ts with the following:
import { html } from 'lit';
import { customElement, state } from 'lit/decorators.js';
import { View } from '../../views/view';
import '@vaadin/vaadin-messages';
import '@vaadin/vaadin-text-field';
import Message from 'Frontend/generated/com/example/application/ChatEndpoint/Message';
import { ChatEndpoint } from 'Frontend/generated/endpoints';
import { TextFieldChangeEvent } from '@vaadin/vaadin-text-field';

@customElement('empty-view')
export class EmptyView extends View {
  @state() messages: Message[] = [];
  @state() userName = '';

  render() {
    return html`
      <vaadin-message-list
        class="flex-grow"
        .items=${this.messages}></vaadin-message-list>
      <div class="flex p-s gap-s items-baseline">
        <vaadin-text-field
          placeholder="Name"
          @change=${this.userNameChange}></vaadin-text-field>
        <vaadin-message-input
          class="flex-grow"
          @submit=${this.submit}></vaadin-message-input>
      </div>
    `;
  }

  userNameChange(e: TextFieldChangeEvent) {
    this.userName = e.target.value;
  }

  submit(e: CustomEvent) {
    ChatEndpoint.send({
      text: e.detail.value,
      userName: this.userName,
    });
  }

  connectedCallback() {
    super.connectedCallback();
    this.classList.add('flex', 'flex-col', 'h-full', 'box-border');
    ChatEndpoint.join().onNext(
      (message) => (this.messages = [...this.messages, message])
    );
  }
}
Here are the essential parts explained:
- The
@state()decorated properties are tracked by Lit. Any time they change, the template gets re-rendered. - The
Messagedata type is generated by Hilla based on the Java object you created on the server. - The list of messages is bound to the message list component with
.items=${this.messages}. The period in front of items tells Lit to pass the array as a property instead of an attribute. - The text field calls the
userNameChange-method whenever the value gets changed with@change=${this.userNameChange}(the@denotes an event listener). - The message input component calls
ChatEndpoint.save()when submitted. Note that you are calling a TypeScript method. Hilla takes care of calling the underlying Java method on the server. - Finally, call
ChatEndpoint.join()inconnectedCallbackto start receiving incoming chat messages.
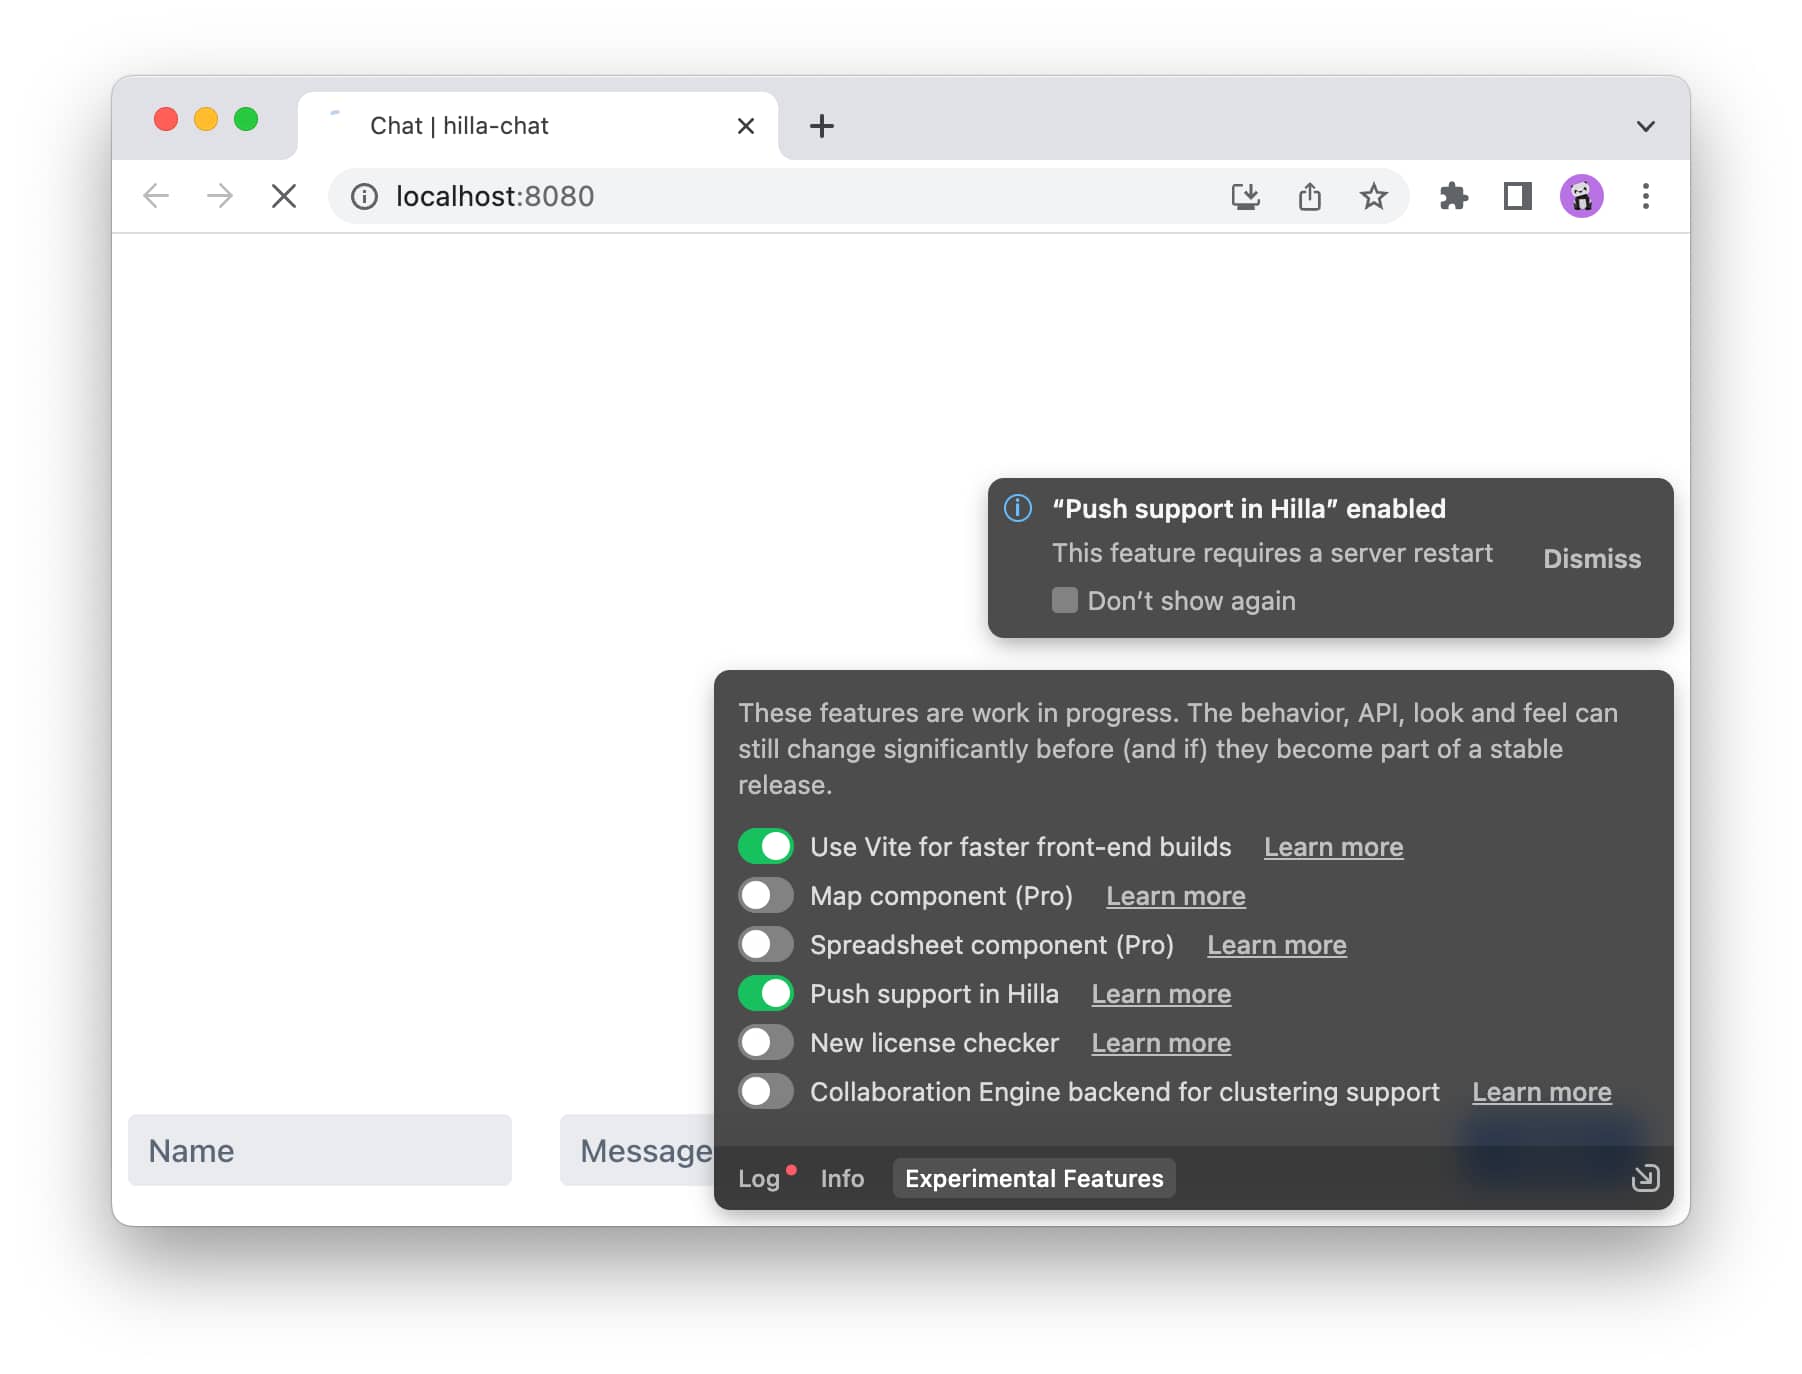
When you save the file, you will notice a warning pop up in the lower-right corner of the browser window. Click on it to enable the push support feature flag in Hilla. This feature flag enables support for subscribing to Flux data types over a web socket connection.

Run the Completed Application
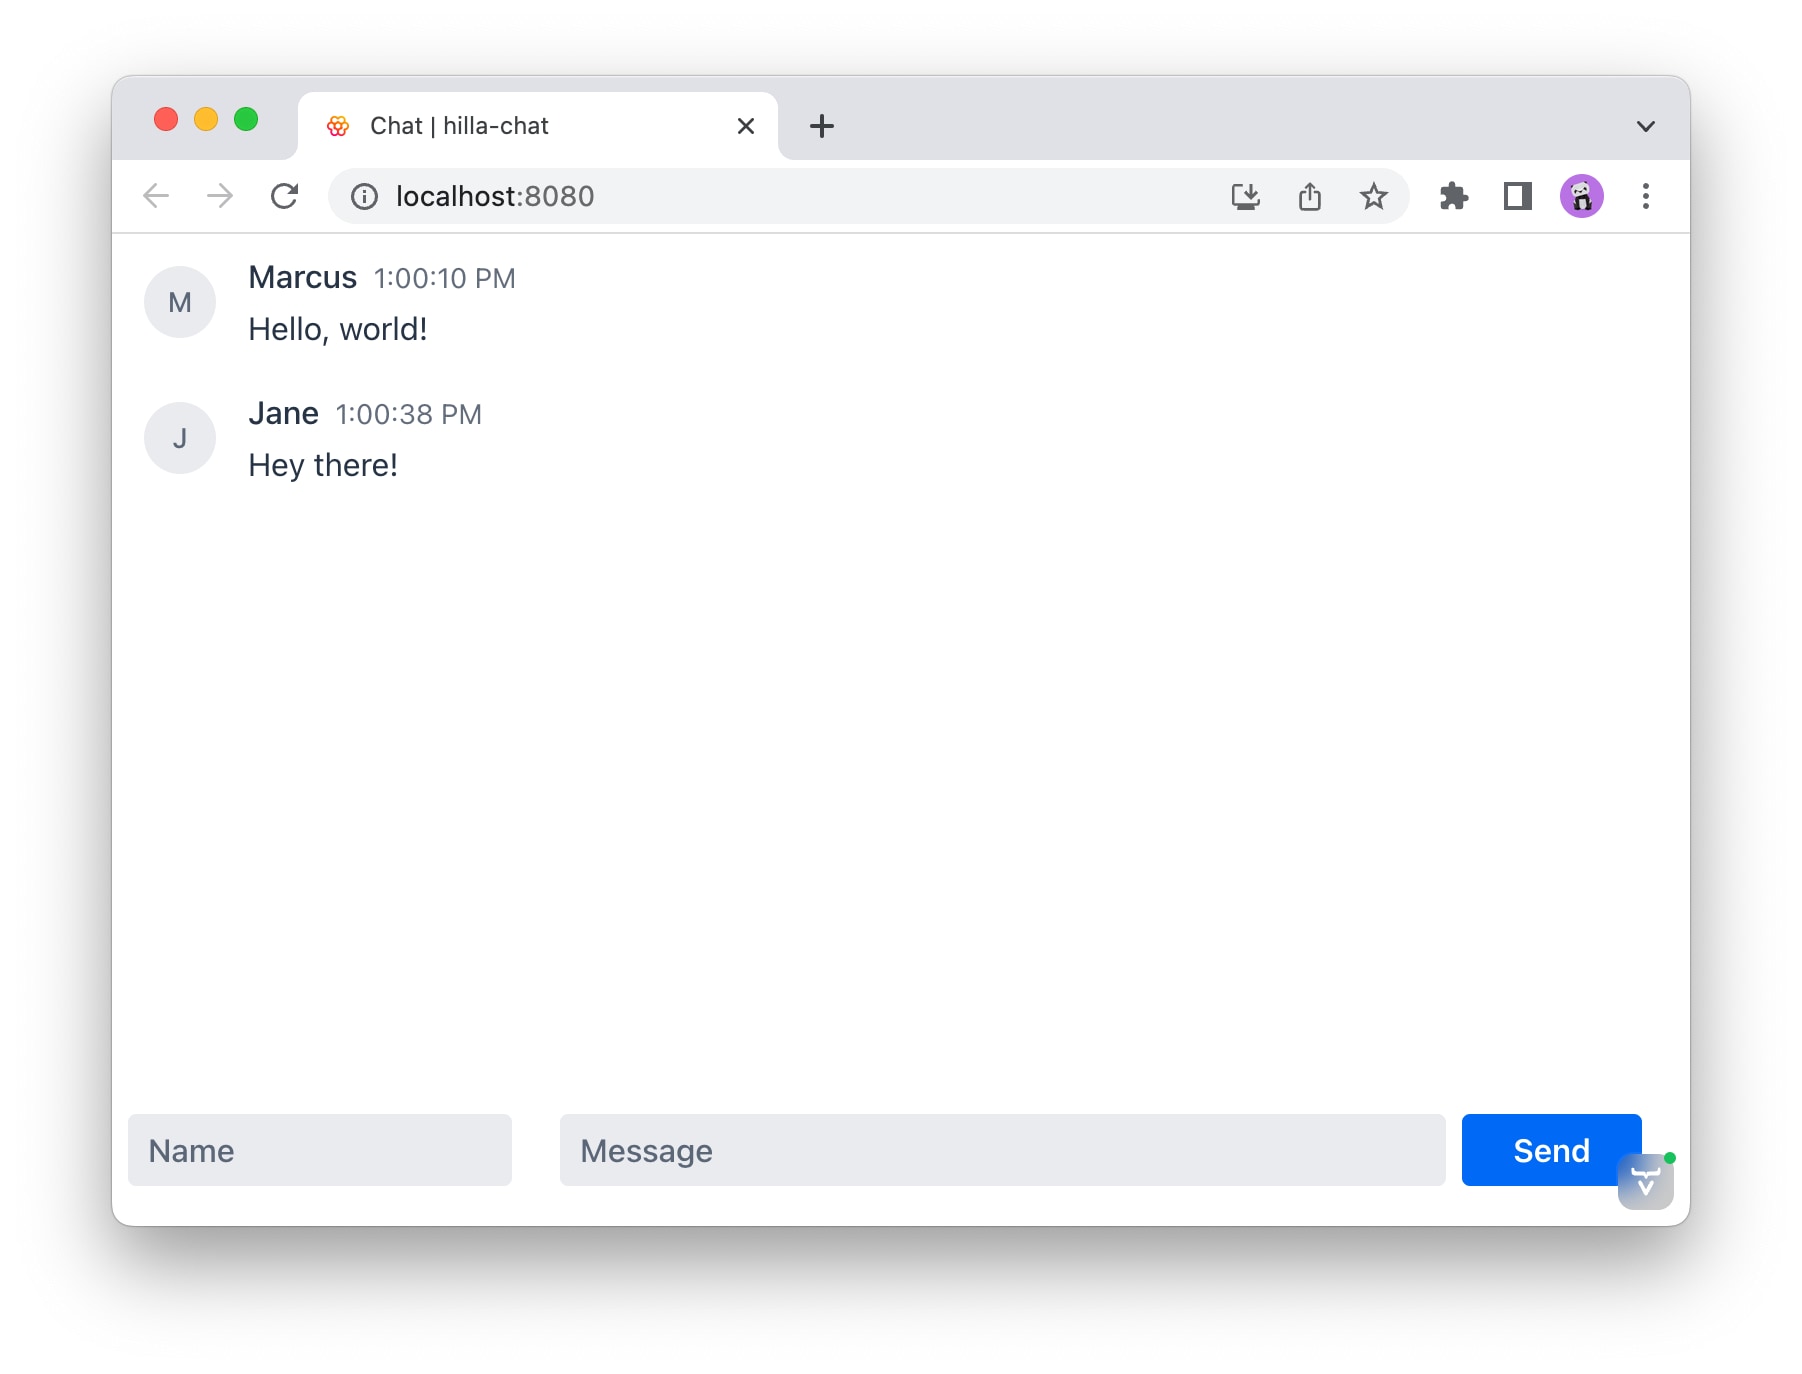
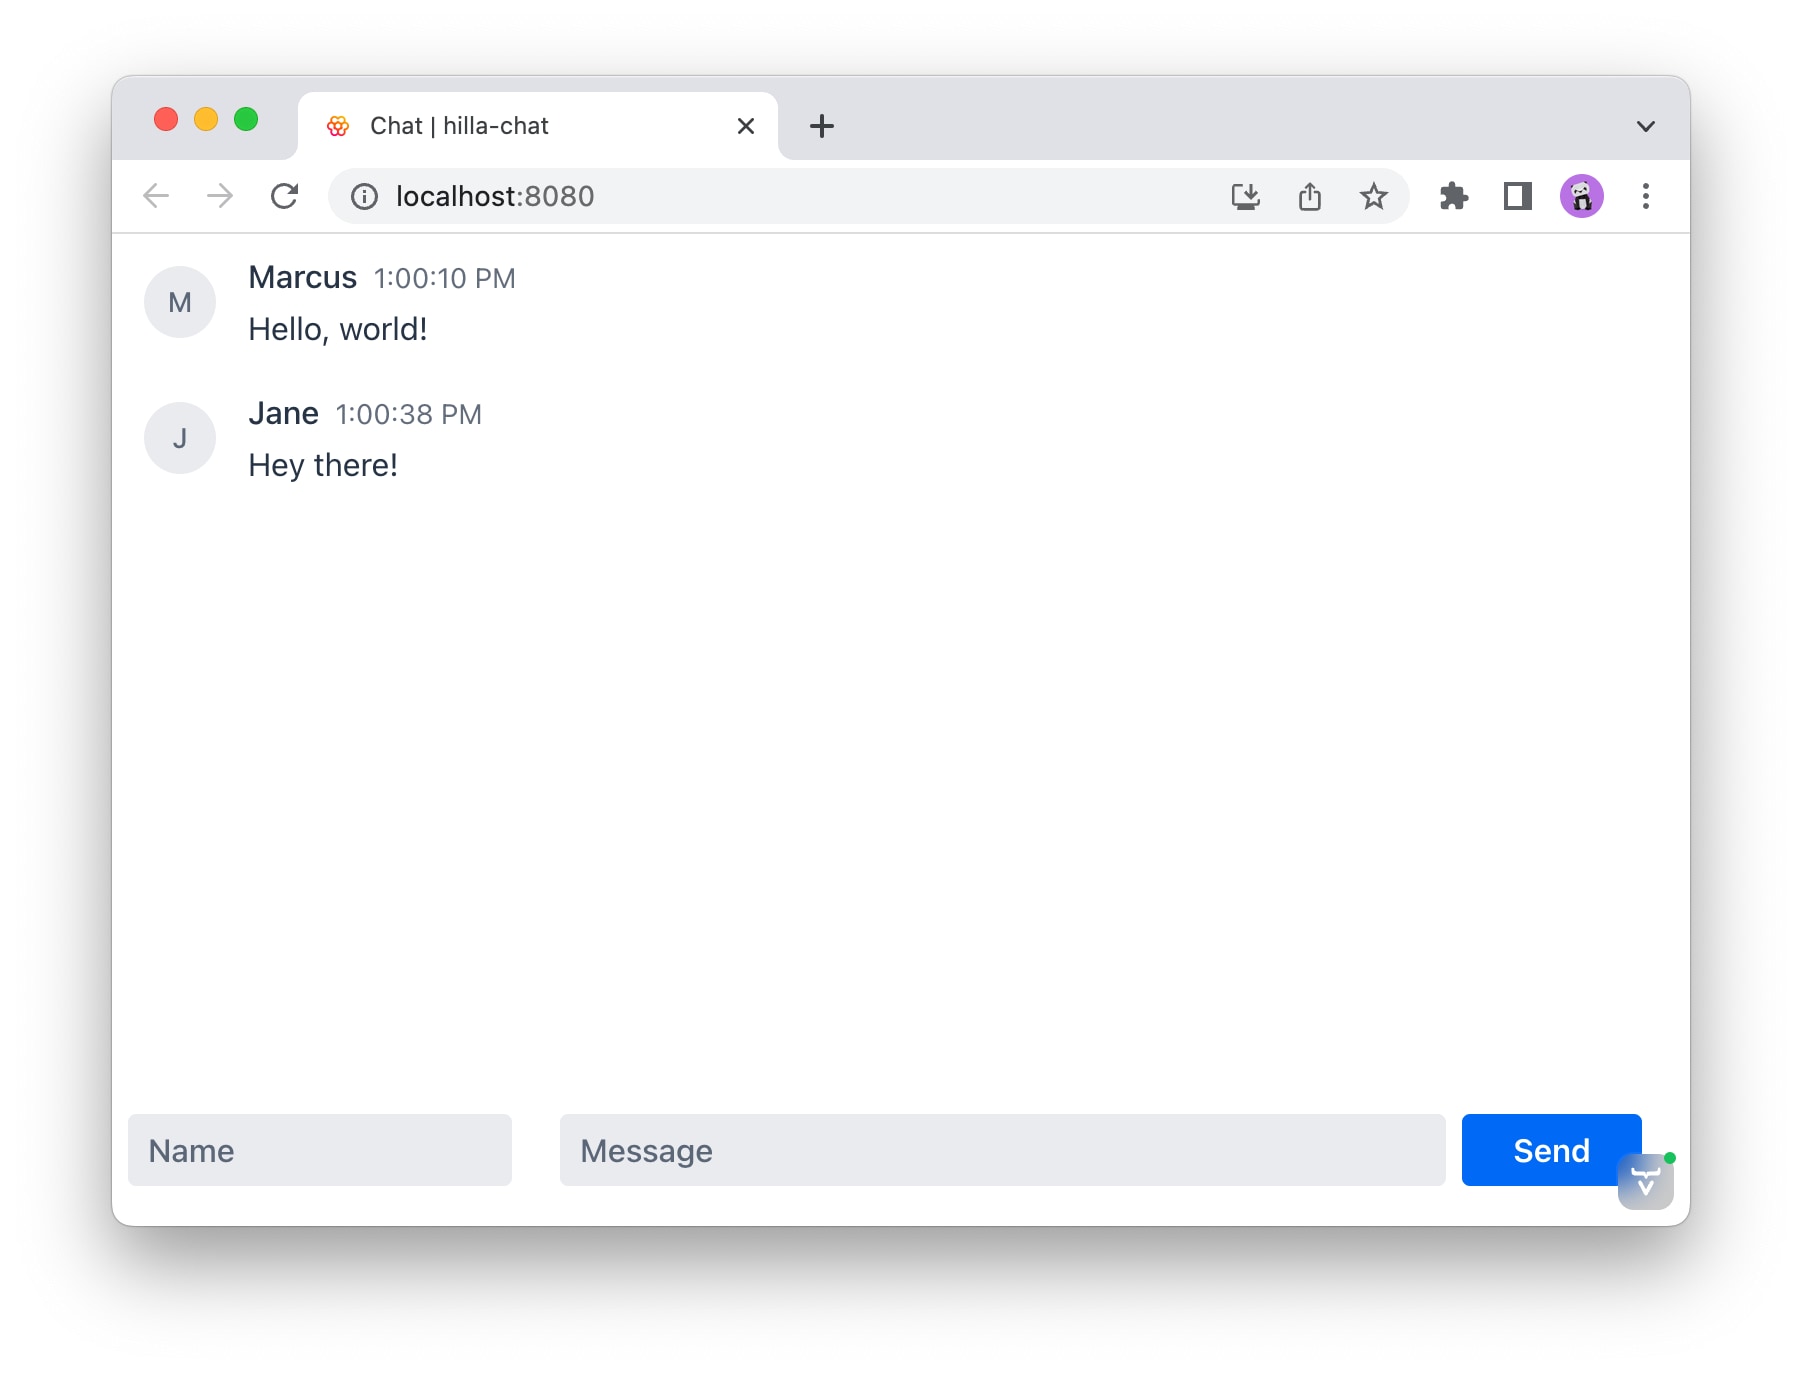
Once you have enabled the push support feature flag, stop the running server (CTRL-C) and re-run it (./mvnw). You now have a functional chat application. Try it out by opening a second browser or an incognito window as a second user.

Next Steps
- You can find the complete source code of the completed application on my GitHub.
- Visit the Hilla website for more tutorials and complete documentation.
Opinions expressed by DZone contributors are their own.

Comments