Using the OpenAPI Generator To Build Out an Integration Test Client
Use your OpenAPI specification file to build your a test client. Use this test client to perform integration tests on your services's API.
Join the DZone community and get the full member experience.
Join For FreeSo, you have written a new API, maybe as much as doing the CRUD endpoints, maybe even some unit tests to boot.
Now, to gain a little more confidence, integration tests are required to test slices of the new logic. This requires the developer to create a client to access and call the endpoints, as you would in Postman, for instance, and call the new functionality with one's all-encompassing test criteria.
What do I need to do? Well, you need to create a client to call the endpoint, configure it with resource paths, set the HTTP method, set your headers, and create your DTOs, etc., etc., and for every API endpoint, some form of wrapper/function will be required to carry this out.
The OpenAPI Generator does all this for you. You simply give it your OpenAPI spec file, and it generates the client, with all the counterparts and routes set up, for you to simply parameterize and consume.
Getting Started
The project can be checked out from GitHub.
1. Run the Project
./gradlew bootrun
Visiting this link shows the simple CRUD endpoints.

2. Generate the OpenAPI Spec File
(Note: This can be downloaded but has been automated as part of a Unit Test.)
./gradlew openApiGeneratorTest
The spec file should now appear in the following:
build/api-docs.json
3. Generate the Client
./gradlew buildJavaRestTemplateSdk
The auto-generated client files should now exist in (Note: as the client is NOT compiled, it should go in the resources folder as opposed to the build folder):
src/integrationTest/resources/open-api-client
That's it! All the build stages are completed — the app is running, OpenAPI Spec has been generated, and the client files have been built.
The Client
A simple CRUD API has been created using the 'Interface Driven Controller' pattern, which nicely hides all the details from the actual implementation. As can be seen below, an interface is used to describe the operations and the annotations OpenAPI uses to generate the test client.
Observe the Swagger UI to match up the annotations found in the Swagger image above.
@RequestMapping("/users/v1")
@Validated
public interface UserOperations {

    @Operation(summary = "Get a user by id")
    @ApiResponses(value = {
            @ApiResponse(responseCode = "200", description = "Found the user",
                    content = { @Content(mediaType = "application/json",
                            schema = @Schema(implementation = User.class)) }),
            @ApiResponse(responseCode = "400", description = "Invalid id supplied",
                    content = @Content),
            @ApiResponse(responseCode = "404", description = "User not found",
                    content = @Content) })
    @GetMapping("/{id}")
    @ResponseStatus(HttpStatus.OK)
    User getUser(@PathVariable String id);
}
The OpenAPI uses these annotations to compile the client. The UserController is a simple implementation of this interface and intentionally crudely returns some data for demo purposes.
Test client options.
The Test
The OpenApi client generated a UserControllerApi which takes a simple API client that is configured to match the host and port of the already running service.
class UserControllerTest {
private final static int port = 8080;
private final static String host = "localhost";
private static UserControllerApi userController;
@BeforeAll
public static void beforeAll() {
var apiClient = new ApiClient();
apiClient.setBasePath(String.format("http://%s:%o", host, port));
userController = new UserControllerApi(apiClient);
}
@Test
public void shouldGetUserList() {
var users = userController.getUsers();
assertEquals(1, users.size());
assertEquals("dale", users.get(0).getName());
}
...
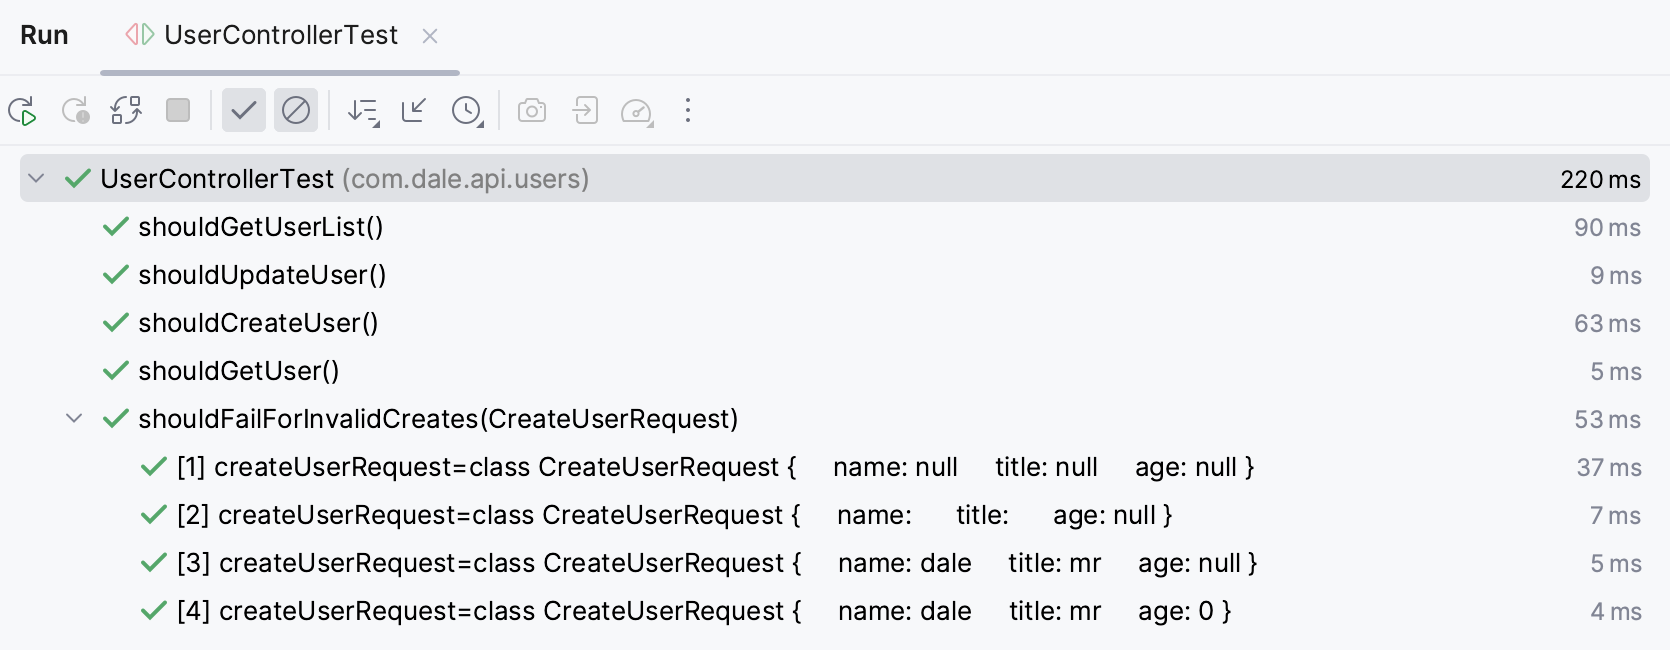
}Running the tests shows how valid and invalid requests can be made through the API and are caught early on:
./gradlew integrationTest
The client API structure provides a like-for-like naming convention that matches the names of the functions in the controller, which helps with keeping the context for the next developer to work on.
It also provides a utility function, namely xxxWithHttpInfo() that provides extra fields to test, such as status code, etc.

Conclusion
If you already use OpenAPI/Swagger, then this comes for free with a small amount of effort to implement.
The functionality to automatically build a client that integrates directly with the API and saves valuable developer time in building out boilerplate test code can only be a good thing.
If the API has custom or complex data types, then there can be some issues I have seen with older versions, but the latest seems to have ironed some of those out.
If a team owns many services, then pulling in multiple OpenAPI specs into a single test suite can help prevent unforeseen bugs and errors, backward compatibility, etc.
In the end, the less boilerplate that is required to be written, the better. However, as the complexity and scale grow, the flexibility of the client may not be so fruitful, but for general use cases, it works pretty well and has multiple client implementation options.
Thanks for taking the time to read this, and I hope you enjoyed the article
Opinions expressed by DZone contributors are their own.
Comments