Version Control of Android Studio Project via SVN
In this tutorial, we'll learn how to add version control to our Android-based applications using Apache's open source SVN.
Join the DZone community and get the full member experience.
Join For FreeApache Subversion (SVN)
SVN stands for Apache Subversion, a software versioning and revision control system distributed as open source under the Apache License.
In order to demonstrate the process of adding an Android Studio project to SVN, let's first create a new project in Android Studio and name it HelloWorldProject.
The project structure looks like this :
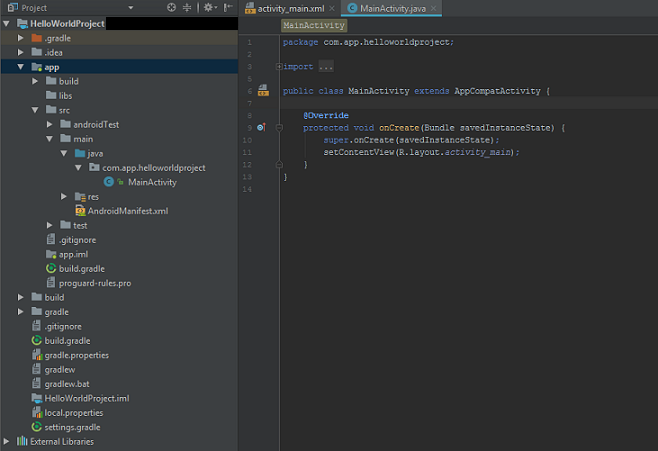
Now that the project has been created, let us import it into SVN. The steps for importing are:
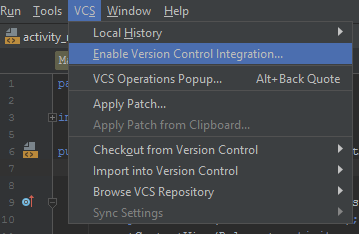
- Enable Version Control: Go to VCS menu → Enable Version Control Integration
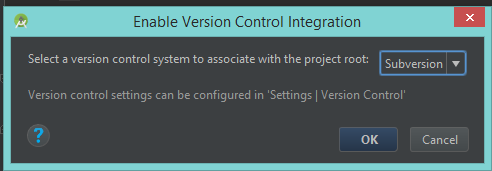
- In the popup, select Subversion from the dropdown list.
- Add Your SVN Repository URL Go to VCS menu → Checkout from Version Control → Subversion
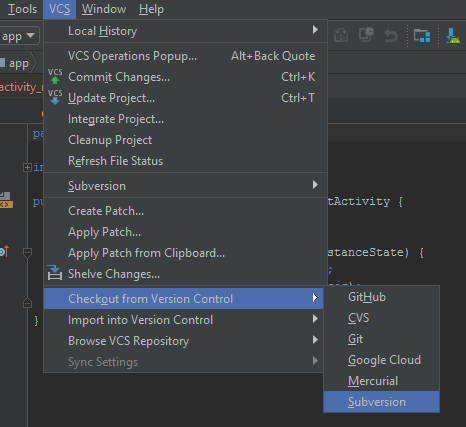 Enter the Repository URL in the popup. This URL is the link to the SVN cloud where your repository will be stored.
 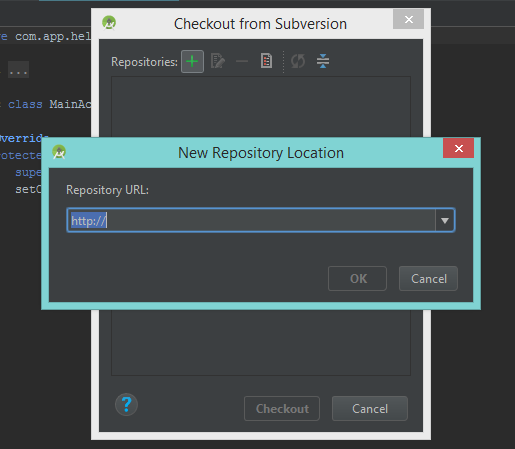 After adding the URL, select the Checkout button. You will be asked to select the checkout directory (in our case it will be:...\AndroidStudioProjects\HelloWorldProject).
 - After the above step is completed, another popup is shown to select the checkout options like below:
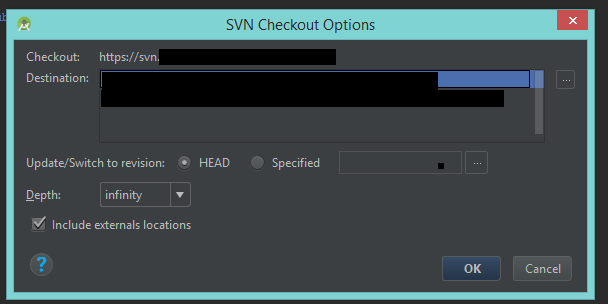 Here select the destination and go with the defaults. Now you will be required to enter the authentication credentials.
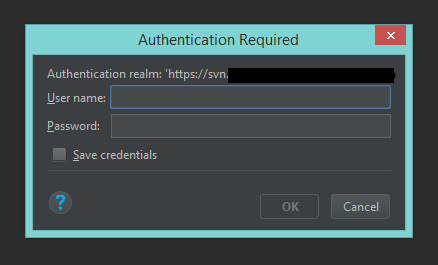
- Now that the project has been set up, it is time to add the files and folders to SVN. NOTE: Only those files or folders must be added to SVN that are project relevant, i.e, all the files or folders that can be generated by the IDE at the time of project initialization must be ignored from adding to SVN. In this case, files and folders that must be added to SVN are: Within the "HelloWorldProject" folder:
- "gradle" folder
- "build.gradle" file
- "gradlew" and "gradlew.bat" files
- "settings.gradle" file
- "gradle.properties" file
- Within "app" folder
- "libs" folder
- "src" folder
- "build.gradle" file
- "proguard-rules.pro" file
Note: Any other files such as, "google-services.json", "lint", etc., that act as an integral part of the source code of the project must be added to SVN.
Note: For any other module (any library SDK, like Facebook SDK), the same steps used in the "app" folder must be followed.
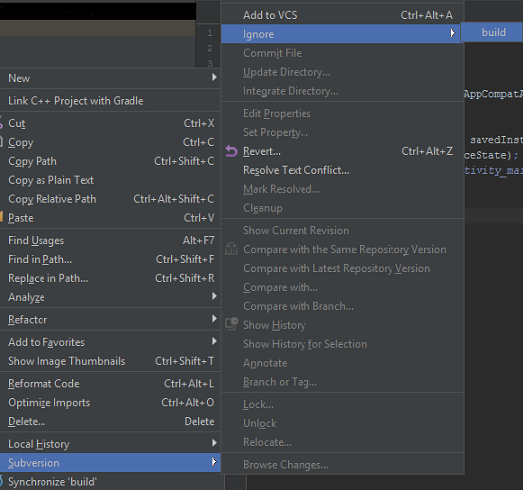
- The list of files and folders that must be ignored are:
- Within "app" folder :
- "build" folder
- ".gradle" folder".idea" folder
- ".svn" (hidden) folder
- "build" folder
- "local.properties" file
- "App_Name.iml" file
- "app.iml" file NOTE : "app" folder can be named something else as well (for example it can be named "xyz". In that case, there will be "xyz.iml" which need not be committed).
- Within "app" folder :
- As you can see in the above list (Ignore list), all the files or folders are generated by the IDE, (i.e., Android Studio). Hence whenever the SVN project is downloaded and run on any other system (within Android Studio), the files or folders ignored will be generated again as per that system's properties.
- In order to always ignore these files from SVN, a simple way is to add them to the Ignore list.
- Now commit those previously added files to SVN. Go to VCS menu → Commit Changes
 Whenever changes are made to the existing files in the project or new files are added, repeat the above-mentioned steps to add them to SVN.
The version control process via SVN is now complete!
Published at DZone with permission of Devika Nigam. See the original article here.
Opinions expressed by DZone contributors are their own.
Comments