Android Fingerprint Authentication Tutorial
In this post we take a look at an example of how to make use of Android's built-in fingerprint authentication APIs. Read on to find out more!
Join the DZone community and get the full member experience.
Join For Freeandroid fingerprint authentication uses smartphone touch sensor to authenticate the user. android marshmallow has introduced a set of api that makes it easy to use the touch sensor. before android marshmallow, the method to access the touch sensor was not standard.
there are several benefits of using android fingerprint authentication:
- fast and easy to use
- secure: fingerprint uniquely identifies you
- online transactions are safer
there are several steps you have to follow before using android fingerprint authentication. at the beginning, it could seem really complex but this tutorial will guide you step by step.
the final result is an android app that uses fingerprint authentication as shown below:
getting started with android fingerprint authentication
as said before, there are several steps to follow to enable fingerprint authentication:
- verify that the lock screen is secure, or in other words, it is protected by pin, password or pattern
- verify that at least one fingerprint is registered on the smartphone
- get access to android keystore to store the key used to encrypt/decrypt an object
- generate an encryption key and the cipher
- start the authentication process
- implement a callback class to handle authentication events
that’s all! we will implement these steps.
before starting, it is important to request permission to use the touch sensor and the fingerprint authentication. so in the
manifest.xml
, we add:
<uses-permission android:name="android.permission.use_fingerprint" />now it is time to create our main activity class that handles all the authentication process.
android fingerprint tutorial #androiddev
verify secure lock screen in android
the first step is verifying the secure lock screen. this can be done keyguardmanager and fingerprintmanager. we get an instance of these two managers using getsystemservice:
// keyguard manager
keyguardmanager keyguardmanager = (keyguardmanager)
                  getsystemservice(keyguard_service);

// fingerprint manager
fingerprintmanager = (fingerprintmanager)
                 getsystemservice(fingerprint_service);
now, our authentication app can check if all the secure conditions are satisfied:
private boolean checkfinger() {

  // keyguard manager
  keyguardmanager keyguardmanager = (keyguardmanager)
           getsystemservice(keyguard_service);

  // fingerprint manager
  fingerprintmanager = (fingerprintmanager)
         getsystemservice(fingerprint_service);

  try {
   // check if the fingerprint sensor is present
   if (!fingerprintmanager.ishardwaredetected()) {
     // update the ui with a message
     message.settext("fingerprint authentication not supported");
     return false;
   }

   if (!fingerprintmanager.hasenrolledfingerprints()) {
     message.settext("no fingerprint configured.");
     return false;
   }

   if (!keyguardmanager.iskeyguardsecure()) {
     message.settext("secure lock screen not enabled");
     return false;
   }
 }
 catch(securityexception se) {
   se.printstacktrace();
 }
 return true;
}
notice that, the authentication app verifies that at least one fingerprint is registered, otherwise, the authentication process can not start.
the image below shows a message error when the app does not find a fingerprint registered.
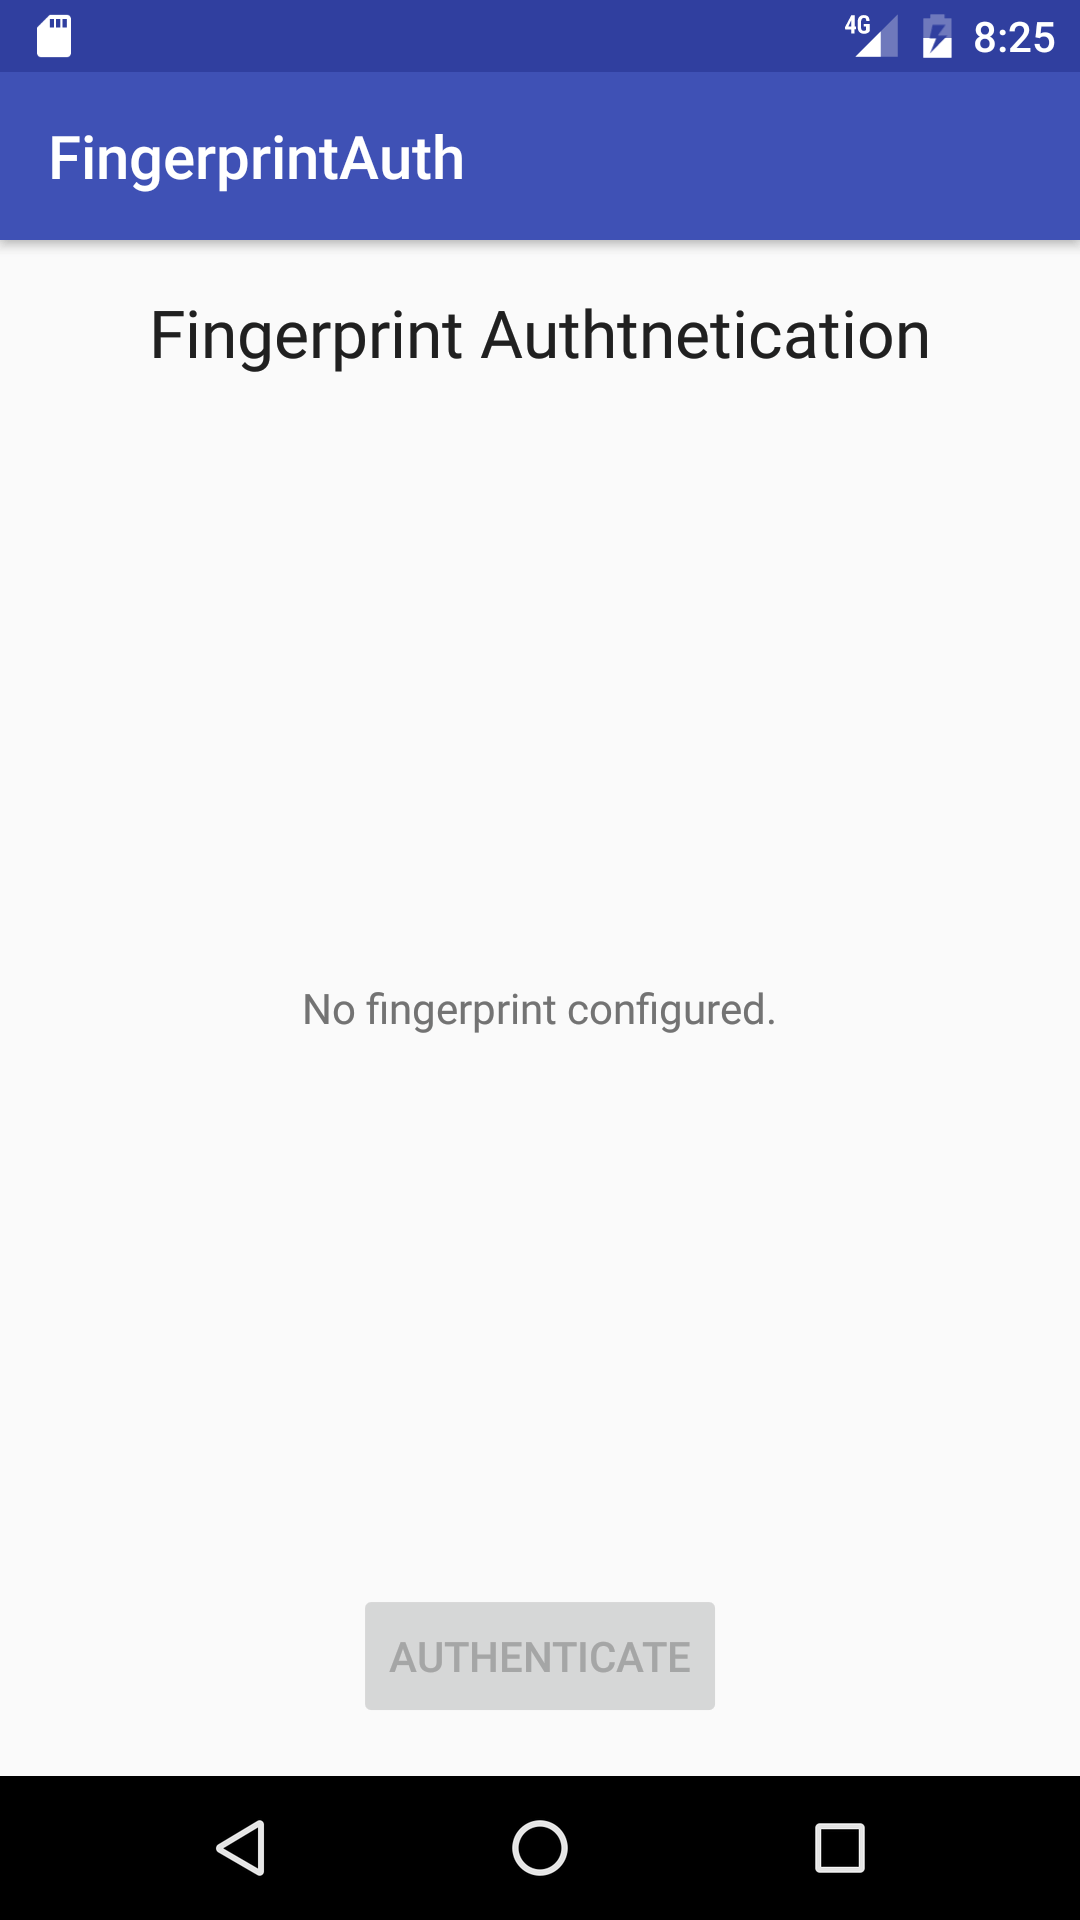
if everything is ok and all the conditions are satisfied, the authentication app generates the key and accesses to the android store.

access to android keystore and generate the key
the next step is accessing to the android keystore and generate the key to encrypt the data. the app does it in a separate method called generatekey().
// get the reference to the key store
keystore = keystore.getinstance("androidkeystore");
then it is necessary to get the reference to the key generator:
// key generator to generate the key
keygenerator = keygenerator.getinstance(keyproperties.key_algorithm_aes,
                 "androidkeystore");
and finally, we have to initialize the key generator:
keygenerator.init( new
  keygenparameterspec.builder(key_name,
  keyproperties.purpose_encrypt |
  keyproperties.purpose_decrypt)
  .setblockmodes(keyproperties.block_mode_cbc)
  .setuserauthenticationrequired(true)
  .setencryptionpaddings(
    keyproperties.encryption_padding_pkcs7)
  .build());

 keygenerator.generatekey();
notice that we specify the usage of the key: encrypt and decrypt and that the authentication is required to use the key itself. at the end, the app generates the key (last line).
below, the is the complete method:
private void generatekey() throws fingerprintexception {
  try {
    // get the reference to the key store
    keystore = keystore.getinstance("androidkeystore");

    // key generator to generate the key
    keygenerator = keygenerator.getinstance(keyproperties.key_algorithm_aes,

      "androidkeystore");

     keystore.load(null);
     keygenerator.init( new
       keygenparameterspec.builder(key_name,
      keyproperties.purpose_encrypt |
      keyproperties.purpose_decrypt)
     .setblockmodes(keyproperties.block_mode_cbc)
     .setuserauthenticationrequired(true)
     .setencryptionpaddings(
        keyproperties.encryption_padding_pkcs7)
    .build());

    keygenerator.generatekey();
  }
  catch(keystoreexception
   | nosuchalgorithmexception
   | nosuchproviderexception
   | invalidalgorithmparameterexception
   | certificateexception
   | ioexception exc) {
    exc.printstacktrace();
    throw new fingerprintexception(exc);
 }
}
create the android cipher
once the key is ready, the last step is creating the android cipher that uses the key, we have generated before. the source code is very simple:
private cipher generatecipher() throws fingerprintexception {
  try {
    cipher cipher = cipher.getinstance(keyproperties.key_algorithm_aes + "/"
     + keyproperties.block_mode_cbc + "/"
     + keyproperties.encryption_padding_pkcs7);
     secretkey key = (secretkey) keystore.getkey(key_name,
             null);
     cipher.init(cipher.encrypt_mode, key);
     return cipher;
  }
  catch (nosuchalgorithmexception
     | nosuchpaddingexception
     | invalidkeyexception
     | unrecoverablekeyexception
     | keystoreexception exc) {
      exc.printstacktrace();
      throw new fingerprintexception(exc);
  }
}
build the android fingerprint app
it is time to assemble all these methods and create the android fingerprint authentication app. this app is very simple and it has a
mainclass
that calls the methods shown above and starts the authentication process.
@override
protected void oncreate(bundle savedinstancestate) {
  super.oncreate(savedinstancestate);
  setcontentview(r.layout.activity_main);

  message = (textview) findviewbyid(r.id.fingerstatus);
  button btn = (button) findviewbyid(r.id.authbtn);

  final fingerprinthandler fph = new fingerprinthandler(message);

  if (!checkfinger()) {
    btn.setenabled(false);
  }
  else {
    // we are ready to set up the cipher and the key
   try {
     generatekey();
     cipher cipher = generatecipher();
     cryptoobject =
      new fingerprintmanager.cryptoobject(cipher);
  }
  catch(fingerprintexception fpe) {
   // handle exception
   btn.setenabled(false);
  }
 }

 btn.setonclicklistener(new view.onclicklistener() {
   @override
   public void onclick(view view) {
    message.settext("swipe your finger");
    fph.doauth(fingerprintmanager, cryptoobject);
   }
  });
}
there are a few things to notice. first of all, the android app creates a
cryptoobject
that is used in the authentication process. moreover, the app shows a button and when the user clicks on it the authentication process starts. the button is disabled if the initial conditions described above are not satisfied. the most important thing to notice is the new class called
fingerprinthandler
. this class is a callback class that receives the authentication process events. moreover, this class starts the authentication process with doauth method.
android fingerprint authentication callback
the last step is creating the callback class so that we can receive event notification and we can know when the authentication succeeded or something went wrong. this class extends fingerprintmanager .authenticationcallback .
public class fingerprinthandler extends fingerprintmanager.authenticationcallback {
private textview tv;
public fingerprinthandler(textview tv) {
this.tv = tv;
}
@override
public void onauthenticationerror(int errorcode, charsequence errstring) {
super.onauthenticationerror(errorcode, errstring);
tv.settext("auth error");
}
@override
public void onauthenticationhelp(int helpcode, charsequence helpstring) {
super.onauthenticationhelp(helpcode, helpstring);
}
@override
public void onauthenticationsucceeded(fingerprintmanager.authenticationresult result) {
super.onauthenticationsucceeded(result);
tv.settext("auth ok");
tv.settextcolor(tv.getcontext().getresources().
getcolor(android.r.color.holo_green_light));
}
@override
public void onauthenticationfailed() {
super.onauthenticationfailed();
}
public void doauth(fingerprintmanager manager,
fingerprintmanager.cryptoobject obj) {
cancellationsignal signal = new cancellationsignal();
try {
manager.authenticate(obj, signal, 0, this, null);
}
catch(securityexception sce) {}
}
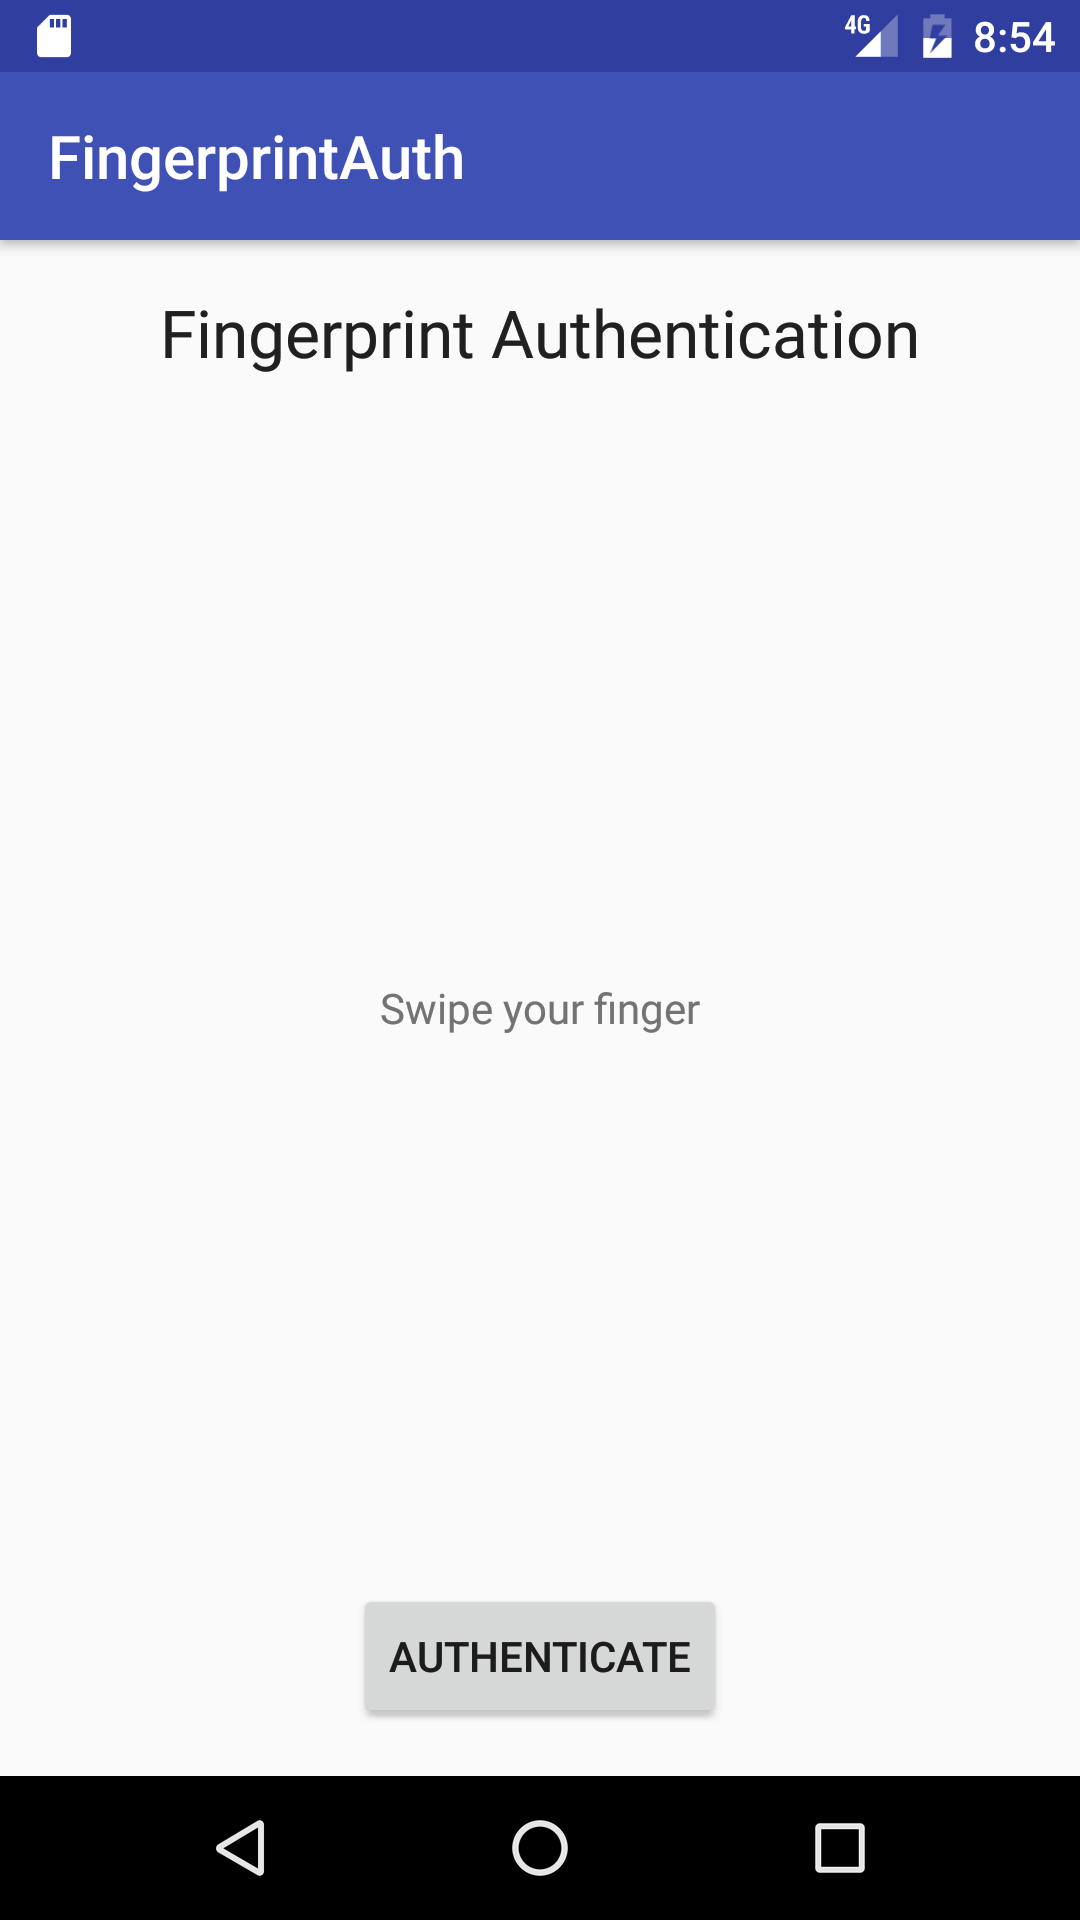
}there are some important methods to notice. first of all, the doauth that starts the authentication process. this method has the cryptoobject, a cancellation signal and the callback listener (this class). the image below shows the app in action:

in this case, the user is authenticated using android fingerprint authentication .
how to test the app in android emulator
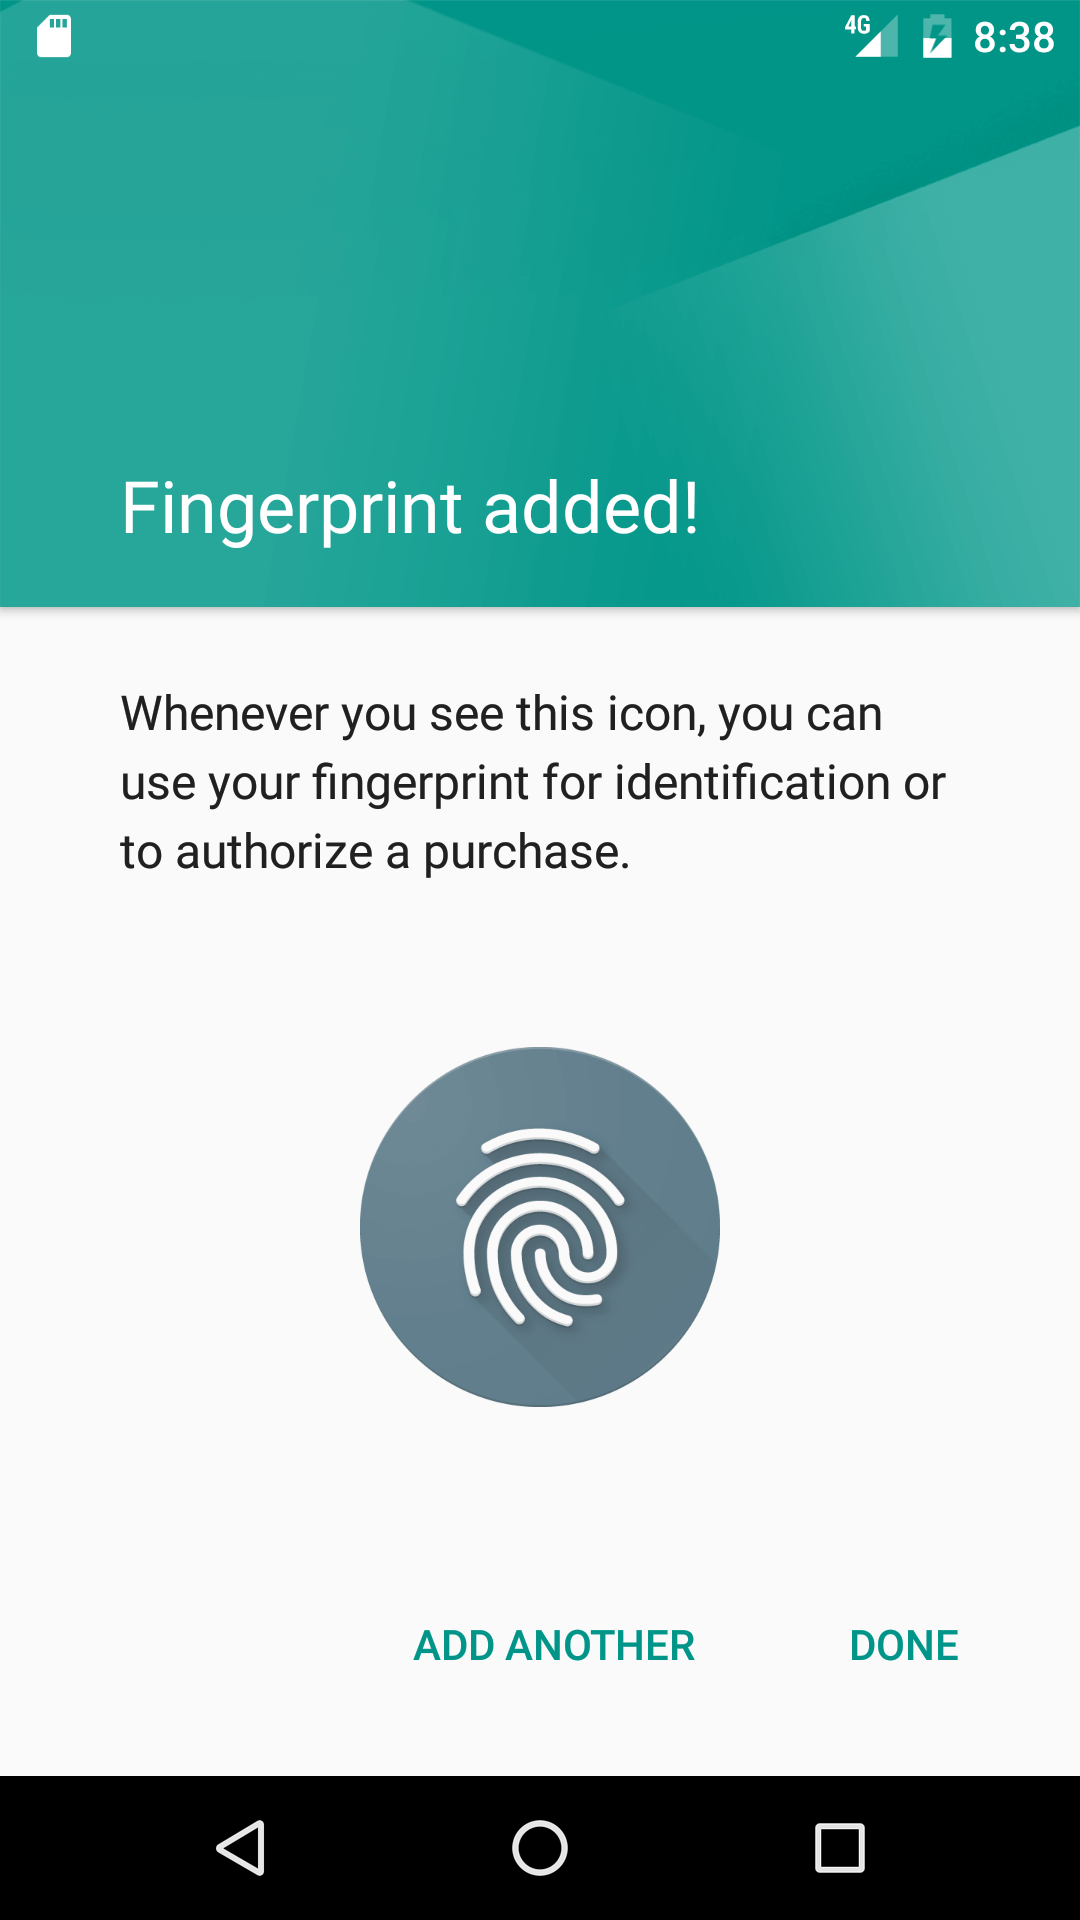
to test the app, it is possible to use a real device that has a touch sensor. anyway, it is possible to test the app in the emulator too. before starting to use the app, you have to configure the fingerprint accessing to the security menu. when the system asks for fingerprint you have to use the adb command to emulate the finger touch:
adb -e emu finger touch id(like 1,2, ecc.)finally, when the configuration is done, you get the message shown below:
now that we are finished, hopefully, you gained some knowledge about android fingerprint api and how to develop an android fingerprint example app.
Published at DZone with permission of Francesco Azzola. See the original article here.
Opinions expressed by DZone contributors are their own.
Comments