

Automated Deployment of vCSA 6.5/6.7 with Ansible
Take a look at the automated deployment of vCSA by deploying it on an ESXI host using Ansible and a JSON configuration file.
We use VMware vSphere to manage internal infrastructure. We can create and manage virtual machines very efficiently, but how can we deploy the vCenter Server automatically?
We can use our favorite tool Ansible for this. I am an Ansible expert and here I am going to show you the deployment of vCSA 6.5 on ESXI host. I am going to use ESXI 6.5 host and a JSON configuration file to pass the parameters required for the deployment. You need to download the ESXI 6.5 installer and vCSA 6.5 ISO file.
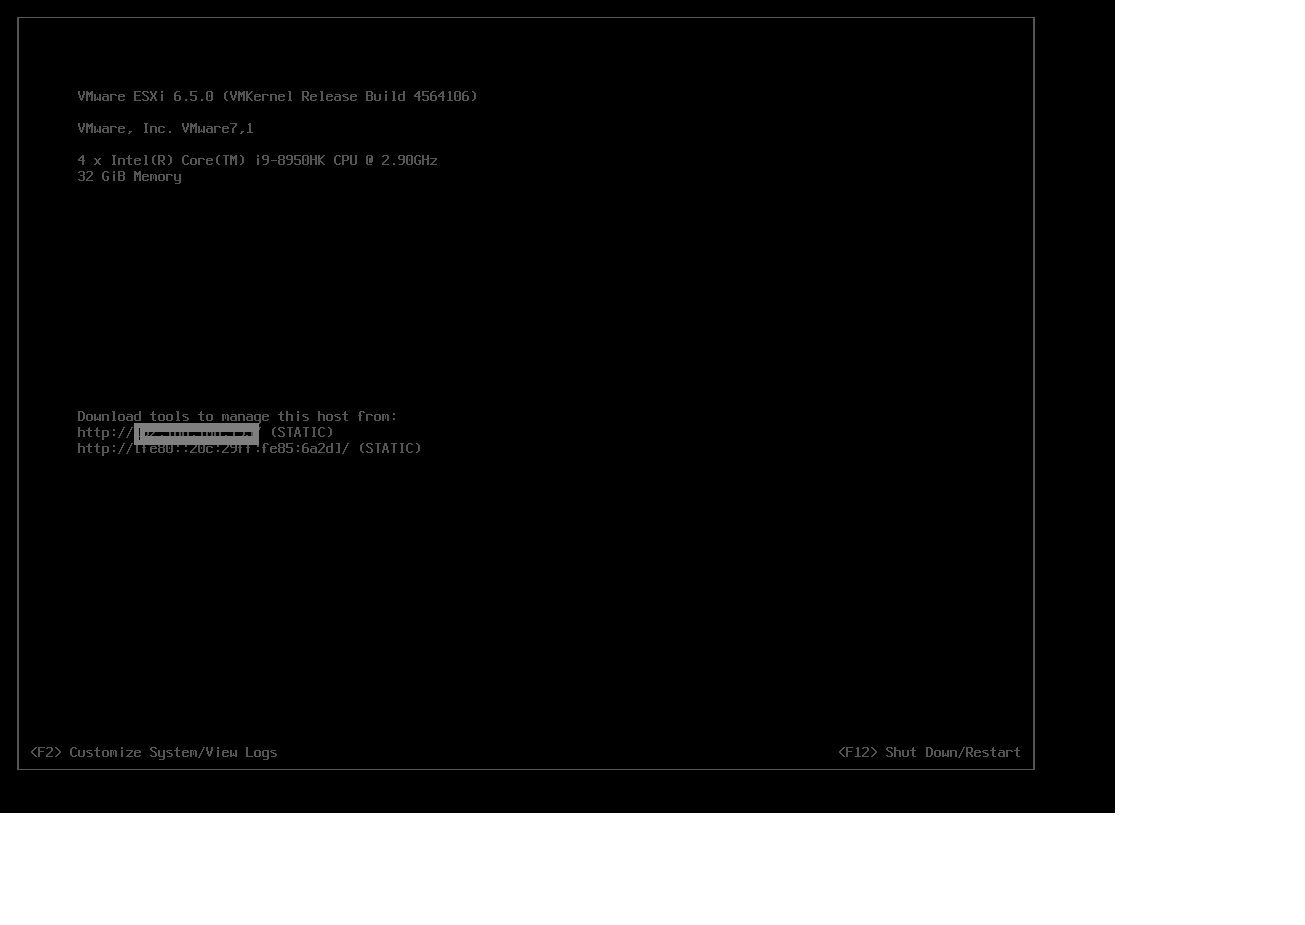
I will use lab environment created on VMware Workstation and have manually deployed the ESXI Host. You can follow this link as well.
After the successful deployment of ESXI on one of our lab virtual machines, we will use it to deploy the vCSA 6.5.
I have used another Ubuntu 18.04 VM to use as Ansible Controller to save and run playbooks on it. We need to have /etc/ansible/hosts file modified as:
[localhost]
127.0.0.1 ansible_connection=local ansible_user=xyz Ansible_password=abc
We need to check the connectivity as:
xxxxxxxxxx
root@ubuntu:/etc/ansible/roles# ansible -m ping localhost
127.0.0.1 | SUCCESS => {
"changed": false,
"ping": "pong"
}
Then we need to create a JSON file to pass the parameters required for deployment.
Here is one sample config.json file that will be useful.
xxxxxxxxxx
{
"__version": "2.3.0",
"new.vcsa": {
"esxi": {
"hostname": "xxx.xxx.xxx.xxx",
"username": "root",
"password": "Vmware@123",
"deployment.network": "VM Network",
"datastore": "datastore1"
},
"appliance": {
"thin.disk.mode": true,
"deployment.option": "tiny",
"name": "vcsa"
},
"network": {
"ip.family": "ipv4",
"mode": "static",
"ip": "xxx.xxx.xxx.xxx",
"dns.servers": [
"xxx.xxx.xxx.x"
],
"prefix": "24",
"gateway": "xxx.xxx.xxx.xxx",
"system.name": "xxx.xxx.xxx.xxx"
},
"os": {
"password": "Vmware@123",
"ssh.enable": true
},
"sso": {
"password": "Vmware@123",
"domain-name": "vsphere.local",
"site-name": "Default-First-Site"
}
},
"ceip": {
"description": {
"__comments": [
[
"++++VMware Customer Experience Improvement Program (CEIP)++++",
"VMware's Customer Experience Improvement Program (CEIP) ",
"provides VMware with information that enables VMware to ",
"improve its products and services, to fix problems, ",
"and to advise you on how best to deploy and use our ",
"products. As part of CEIP, VMware collects technical ",
"information about your organization's use of VMware ",
"products and services on a regular basis in association ",
"with your organization's VMware license key(s). This ",
"information does not personally identify any individual. ",
"",
"Additional information regarding the data collected ",
"through CEIP and the purposes for which it is used by ",
"VMware is set forth in the Trust & Assurance Center at ",
"http://www.vmware.com/trustvmware/ceip.html . If you ",
"prefer not to participate in VMware's CEIP for this ",
"product, you should disable CEIP by setting ",
"'ceip.enabled': false. You may join or leave VMware's ",
"CEIP for this product at any time. Please confirm your ",
"acknowledgement by passing in the parameter ",
"--acknowledge-ceip in the command line.",
"++++++++++++++++++++++++++++++++++++++++++++++++++++++++++++++"
]
]
},
"settings": {
"ceip.enabled": true
}
}
}
You need to create a Ansible playbook vcsa-deploy.yml for this deployment. You need to use the URL of the vCSA ISO file to be used.
xxxxxxxxxx
---
hostslocalhost
vars
name_isoVMware-VCSA-all-6.5.0-8307201.iso
vcsa_iso_url#needs to provide the url path
tasks
nameCreating a Directory to download the iso file
becomeyes
file
path/vcsa-iso/
statedirectory
mode0777
nameDownload the vCSA 6.5 U2 iso to /vcsa-iso
get_url
urlvcsa_iso_url
dest/vcsa-iso/name_iso
mode755
nameCreating a Directory to mount the iso file
becomeyes
file
path/mnt/iso
statedirectory
mode0777
nameMount vCSA6.5 U2 iso to /mnt/iso directory
mount
path/mnt/iso
src/vcsa-iso/name_iso
fstypeiso9660
optsro,noauto
statepresent
nameCreating a Working Directory
becomeyes
file
path/vcsa
statedirectory
mode0777
nameCopying contents to working Directory
template
src/mnt/iso/*
dest/vcsa
namedeployment of vcsa
shell./vcsa-deploy install --no-esx-ssl-verify --accept-eula --acknowledge-ceip /vcsa/vcsa-cli-installer/lin64/config.json
args
chdir/VCSA-new/vcsa-cli-installer/lin64/
You need to have the ESXI host details and the deployment type and other required parameters as mentioned in the above config.json configuration file and copy it to the vcsa-cli-installer/lin64/ folder. and then run the playbook as:
xxxxxxxxxx
root@ubuntu:/etc/ansible/playbooks# ansible-playbook vcsa-deploy.yml
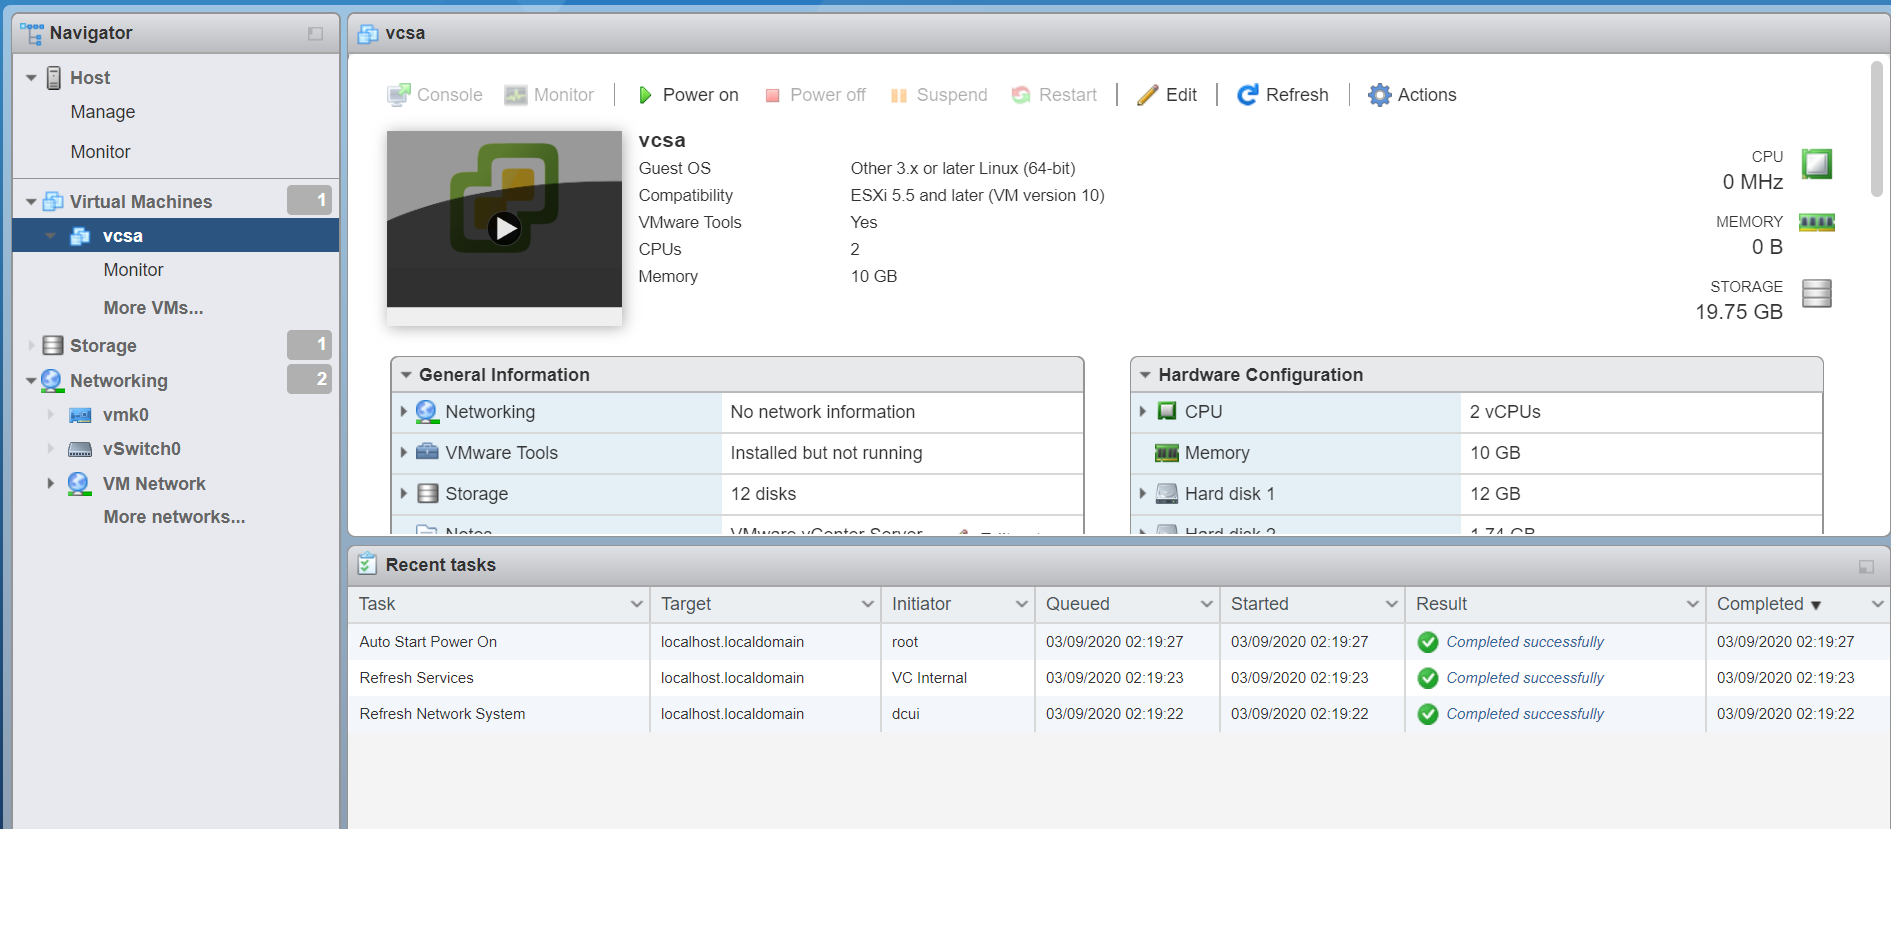
and after a successful execution you should see this.
And can login to the vCSA with the above-mentioned URL and the provided username and password. https://{{vc-hostname}}
Opinions expressed by DZone contributors are their own.