Concourse CI/CD Pipeline: Webhook Triggers
Learn how to set up Concourse CI/CD pipelines, integrate GitHub webhooks, and deploy automation efficiently with step-by-step Docker and YAML examples.
Join the DZone community and get the full member experience.
Join For FreeConcourse is an open-source continuous integration and delivery (CI/CD) automation framework written in Go. It is built to scale to any automation pipeline, from minor to complex tasks, and offers flexibility, scalability, and a declarative approach to automation. It is suitable for automating testing pipelines and continuously delivering changes to modern application stacks in various environments.
This article will discuss setting up a Concourse pipeline and triggering pipelines using webhook triggers.
Prerequisite
Install Docker and make sure it is up and running:
➜  docker --version
Docker version 20.10.21, build baeda1f
Installation
For a Mac Laptop (M1)
- Create an empty file and copy and paste the below code snippet:
docker-compose.yml. - Execute
docker-compose up -d:
services:
  concourse-db:
    image: postgres
    environment:
      POSTGRES_DB: concourse
      POSTGRES_PASSWORD: concourse_pass
      POSTGRES_USER: concourse_user
      PGDATA: /database

  concourse:
    image: rdclda/concourse:7.5.0
    command: quickstart
    privileged: true
    depends_on: [concourse-db]
    ports: ["8080:8080"]
    environment:
      CONCOURSE_POSTGRES_HOST: concourse-db
      CONCOURSE_POSTGRES_USER: concourse_user
      CONCOURSE_POSTGRES_PASSWORD: concourse_pass
      CONCOURSE_POSTGRES_DATABASE: concourse
      # replace this with your external IP address
      CONCOURSE_EXTERNAL_URL: http://localhost:8080
      CONCOURSE_ADD_LOCAL_USER: test:test
      CONCOURSE_MAIN_TEAM_LOCAL_USER: test
      # instead of relying on the default "detect"
      CONCOURSE_WORKER_BAGGAGECLAIM_DRIVER: overlay
      CONCOURSE_CLIENT_SECRET: Y29uY291cnNlLXdlYgo=
      CONCOURSE_TSA_CLIENT_SECRET: Y29uY291cnNlLXdvcmtlcgo=
      CONCOURSE_X_FRAME_OPTIONS: allow
      CONCOURSE_CONTENT_SECURITY_POLICY: "*"
      CONCOURSE_CLUSTER_NAME: arm64
      CONCOURSE_WORKER_CONTAINERD_DNS_SERVER: "8.8.8.8"
      CONCOURSE_WORKER_RUNTIME: "houdini"
      CONCOURSE_RUNTIME: "houdini"
For Mac Laptops M2 and Above and Windows
$ curl -O https://concourse-ci.org/docker-compose.yml
$ docker-compose up -d
Verification
To verify the concourse status in Docker:
➜ docker ps
CONTAINER ID IMAGE COMMAND CREATED STATUS PORTS NAMES
b32bca05fd19 rdclda/concourse:7.5.0 "dumb-init /usr/loca…" 5 minutes ago Up 5 minutes 0.0.0.0:8080->8080/tcp concourse-poc-concourse-1
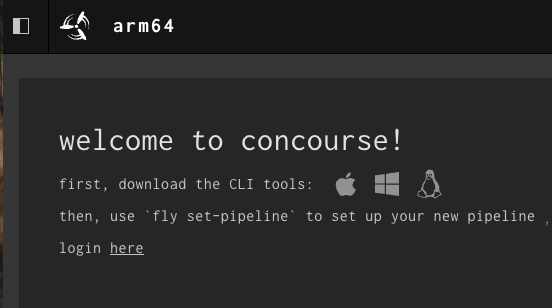
5ca2d9de7280 postgres "docker-entrypoint.s…" 5 minutes ago Up 5 minutes 5432/tcp concourse-poc-concourse-db-1In the browser, hit the URL http://localhost:8080/.
Install fly CLI
# to install fly through brew package manager
➜  brew install fly

# to verify fly version after install
➜  fly -version

# to login into fly
➜  fly -t tutorial login -c http://localhost:8080 -u test -p test
logging in to team 'main'
target saved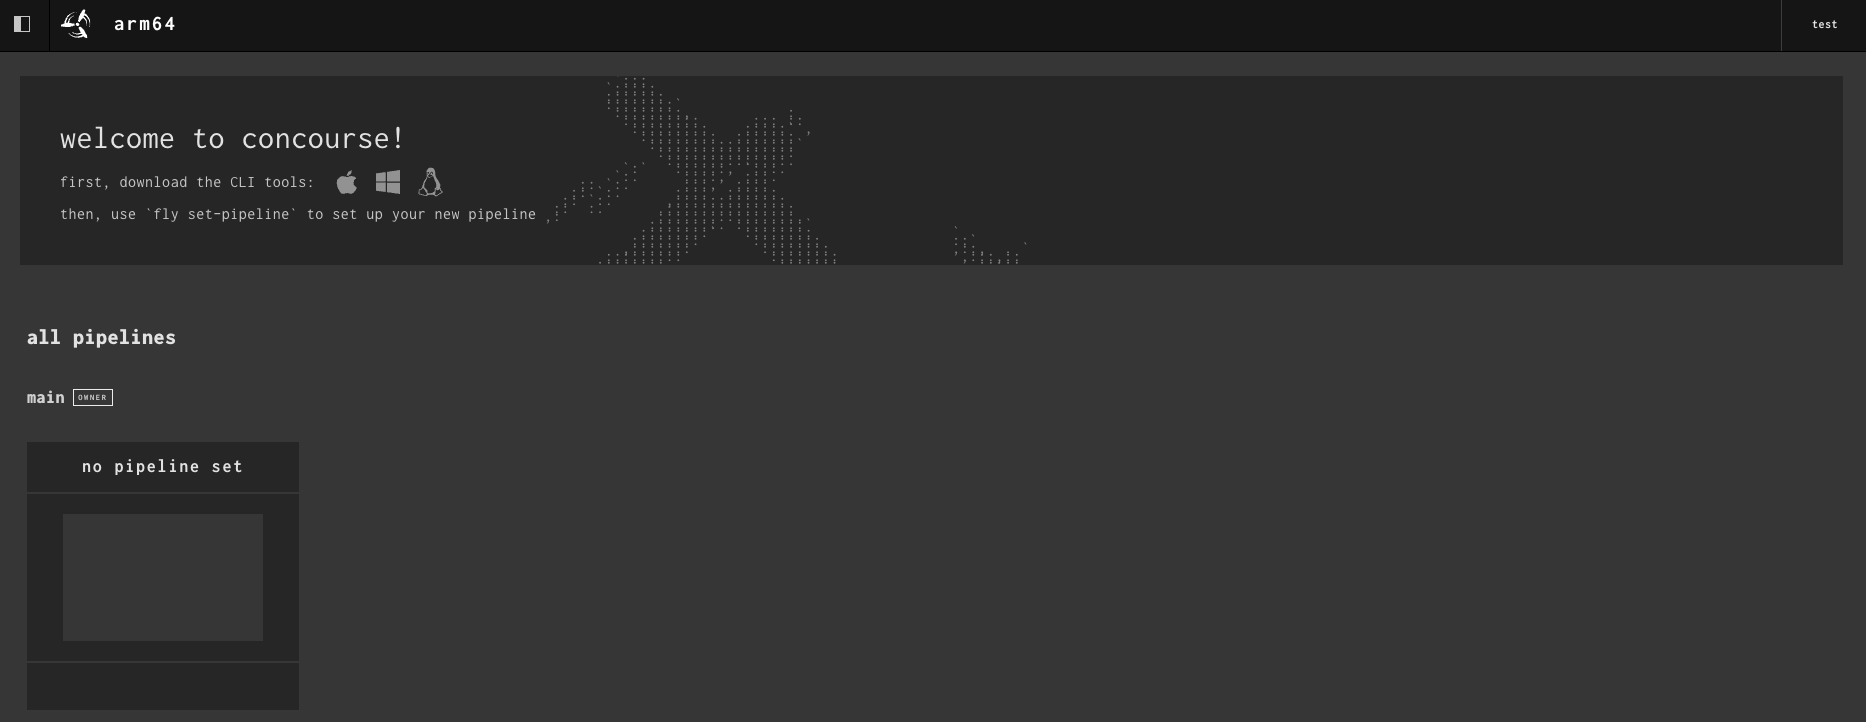
Deploy 1st Hello World Pipeline
Creating the Pipeline
Create a file hello-world.yml with the below code snippet:
jobs:
- name: hello-world-job
  plan:
  - task: hello-world-task
    config:
      # Tells Concourse which type of worker this task should run on
      platform: linux
      # This is one way of telling Concourse which container image to use for a
      # task. We'll explain this more when talking about resources
      image_resource:
        type: registry-image
        source:
          repository: busybox # images are pulled from docker hub by default
      # The command Concourse will run inside the container
      # echo "Hello world!"
      run:
        path: echo
        args: ["Hello world!"]
Each pipeline consists of two sections:
- job: unordered; determines the actions of the pipeline.
- step: ordered; A step is a single container running on a Concourse worker. Each step in a job plan runs in its own container. You can run anything inside the container (i.e., run my tests, run this bash script, build this image, etc.).
Running the Pipeline
Using the fly command sets the pipeline:
➜  fly -t tutorial set-pipeline -p hello-world -c hello-world.yml
jobs:
  job hello-world-job has been added:
+ name: hello-world-job
+ plan:
+ - config:
+     image_resource:
+       name: ""
+       source:
+         repository: busybox
+       type: registry-image
+     platform: linux
+     run:
+       args:
+       - Hello world!
+       path: echo
+   task: hello-world-task

pipeline name: hello-world

apply configuration? [yN]: y
pipeline created!
you can view your pipeline here: http://localhost:8080/teams/main/pipelines/hello-world

the pipeline is currently paused. to unpause, either:
  - run the unpause-pipeline command:
    fly -t tutorial unpause-pipeline -p hello-world
  - click play next to the pipeline in the web ui
Check the pipeline in the UI; by default, it is in paused status:
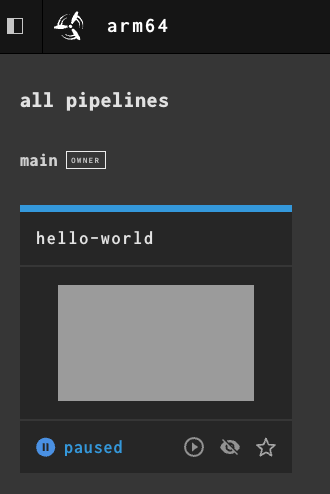
To unpause the pipeline:
  - run the unpause-pipeline command:
    fly -t tutorial unpause-pipeline -p hello-world
  - click play next to the pipeline in the web UI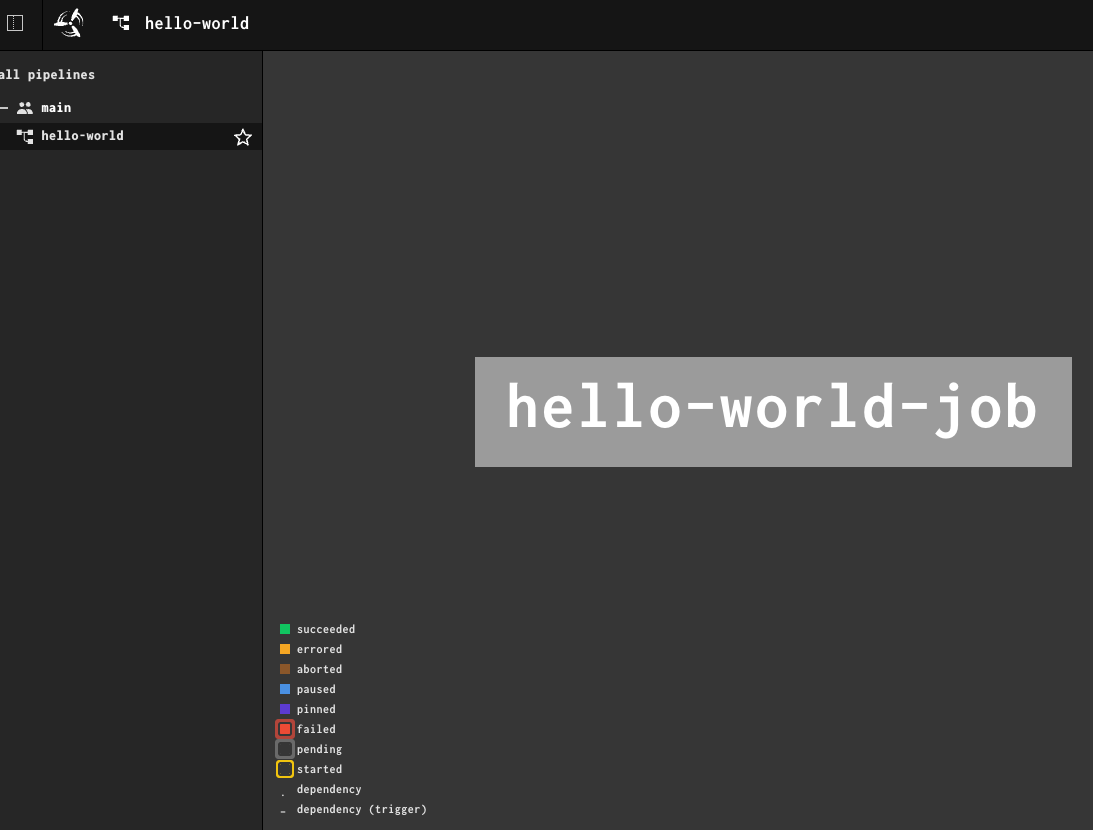
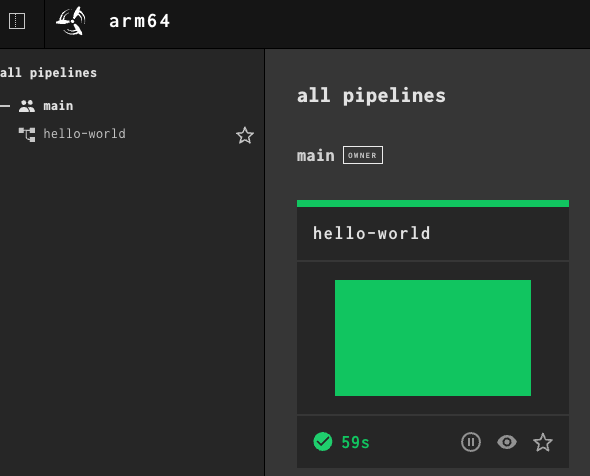
After successful execution:
Webhooks
Webhooks are used to subscribe to events happening in a software system and automatically receive data delivery to your server whenever those events occur.
Webhooks are used to receive data as it happens, instead of polling an API (calling an API intermittently) to see if data is available. With webhooks, you only need to express interest in an event once, when you create the webhook.
We can use webhooks for the following cases:
- Triggering continuous integration pipelines on an external CI server. For example, to trigger CI in Jenkins or CircleCI when code is pushed to a branch.
- Sending notifications about events on GitHub to collaboration platforms. For example, sending a notification to Discord or Slack when there's a review on a pull request.
- Updating an external issue tracker like Jira.
- Deploying to a production server.
- Logging events as they happen on GitHub, for audit purposes.
Github Webhooks
When creating a webhook, specify a URL and subscribe to events on GitHub. When an event that your webhook is subscribed to occurs, GitHub will send an HTTP request with the event's data to the URL you specified. If your server is set up to listen for webhook deliveries at that URL, it can take action when it receives one. There are many types of webhooks available:
- Repository webhooks
- Organization webhooks
- GitHub Marketplace webhooks
- GitHub Sponsor webhooks
- Github App webhooks
Github Webhook Resource
By default, Concourse will check your resources once per minute to see if they have updated. In order to reduce excessive checks, you must configure webhooks to trigger Concourse externally. This resource automatically configures your GitHub repositories to send webhooks to your Concourse pipeline the instant a change happens.
Resource Type Configuration
resource_types:
- name: github-webhook-resource
  type: docker-image
  source:
    repository: homedepottech/github-webhook-resource
    tag: latest
Source Configuration
resources:
- name: github-webhook
  type: github-webhook-resource
  source:
    github_api: https://github.example.com/api
    github_token: ((github-token))
Concourse Pipeline Implementation Example
Include the github-webhook-resource in the pipeline.yml file.
resource_types:
  - name: github-webhook-resource
    type: docker-image
    source:
      repository: homedepottech/github-webhook-resource
      tag: latest
When you set your pipeline, you can optionally include instance variables that the resource will pick up. Here is a sample script that sets the pipeline for you.
#!/bin/sh

fly -t {your team name} sp -c pipeline.yml -p {your pipeline name} --instance-var {you instance variables}
Conclusion
CI/CD pipelines have attracted significant attention as an innovative tool for automating software system delivery. Implementing real-time webhook triggers into Concourse CI/CD pipelines will help boost pipeline efficiency and scalability by improving latency, resource utilization, throughput, and reliability.
My Public GitHub Repository
The above-discussed YAML and Docker Compose files are available in the public repository below:
Opinions expressed by DZone contributors are their own.
Comments