How to Distribute Your Flutter Project Using Firebase App Distribution
From this guide, you’ll learn how to set up CI/CD for Flutter with the help of Fastlane and Firebase App Distribution.
Join the DZone community and get the full member experience.
Join For FreeFirebase recently launched the alternative to TestFlight and Fabric. Many developers are trying this tool out and so am I. Having worked with it for a while, I decided to show you how to set it up.
From this short guide, you’ll learn how to set CI/CD for Flutter using Fastlane and Firebase App Distribution.
Note: To understand everything that happens here, you should know how to set up Flutter and how to plug in Firebase. On top of that, this guide describes how to build a project for Android and iOS. So, you’ll need macOS for these tasks.
1. Installing Flutter
The first thing to do is to install Flutter.
Then, you should create a Flutter project and a project in Firebase Console.
Now, it’s time to dive into the package manager. Follow this link and install the latest version.
Use the following line:
/usr/bin/ruby -e "$(curl -fsSL https://raw.githubusercontent.com/Homebrew/install/master/install)"
And then:
xxxxxxxxxx
brew install ruby
After the command is executed, you’ll get the following message:
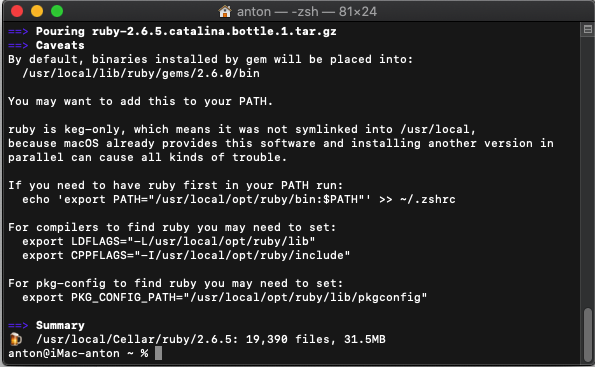
The next step is to execute the specified command. The last command may differ depending on the macOS version.
For Catalina, if you need to have Ruby first in your PATH, run:
xxxxxxxxxx
echo 'export PATH="/usr/local/opt/ruby/bin:$PATH"' >> ~/.zshrc
Or you can open your .zshrc file and add the following lines:
xxxxxxxxxx
export PATH="/usr/local/opt/ruby/bin:$PATH"
export LDFLAGS="-L/usr/local/opt/ruby/lib"
export CPPFLAGS="-I/usr/local/opt/ruby/include"
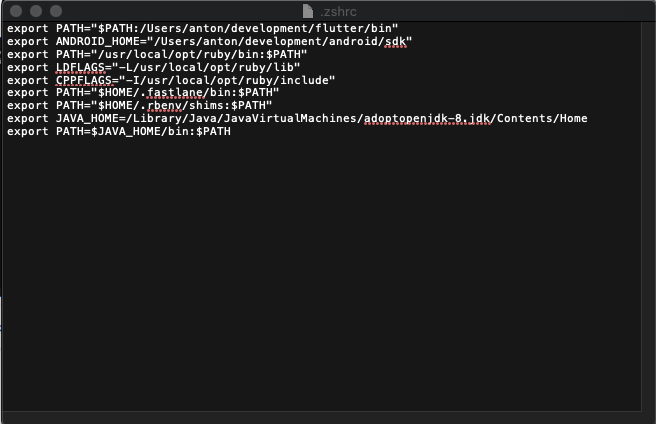
Here is how my file looks like after that:
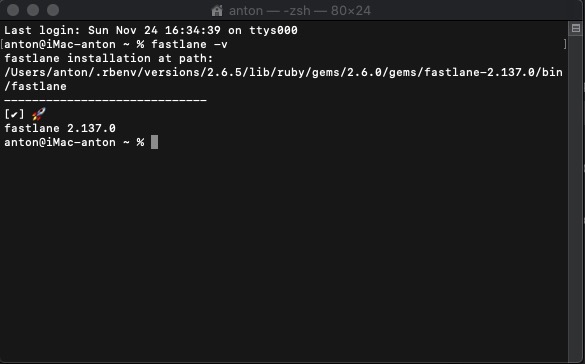
2. Installing Fastlane
Type the following command to install Fastlane:
xxxxxxxxxx
xcode-select --install
And then:
xxxxxxxxxx
brew cask install fastlane
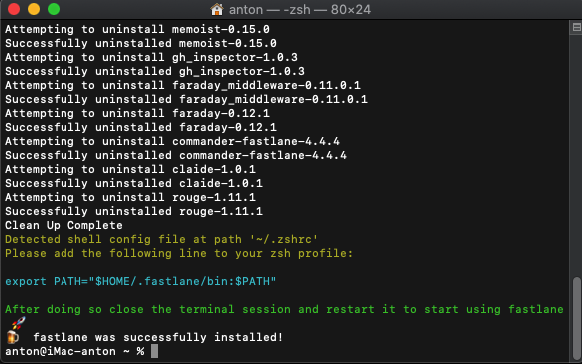
Open the specified file and add there:
xxxxxxxxxx
export PATH="$HOME/.fastlane/bin:$PATH"
In my case, the installation wasn’t a success and I got installed the 2.28.3 version instead of the latest. I turned to this issue to solve my problem.
I tried two options and installed everything successfully following the instruction.
You can also download a ZIP file here.
Setting Up Fastlane
It’s also possible to use Gradle for Android, but it’s better to use Fastlane for iOS.
Getting Started With Android
Open your Flutter project in the console and go to the Android folder using this command:
xxxxxxxxxx
cd android
Then:
xxxxxxxxxx
fastlane init
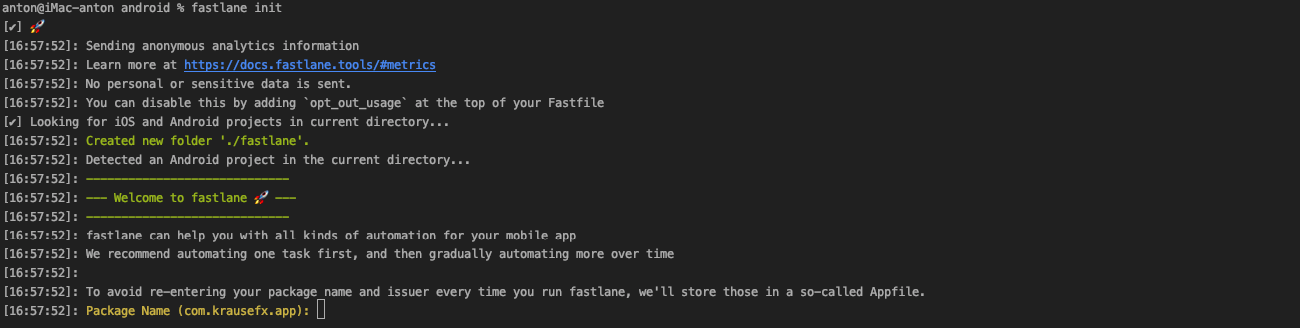
As you see, you should type the name of a package. You can find it in the following file:
xxxxxxxxxx
AndroidManifest.xml package=
project_name/android/app/src/main/AndroidManifest.xml

Just press Enter and wait until the full initialization of Fastlane.
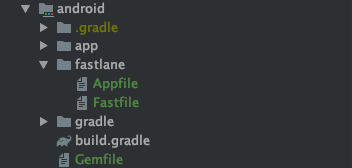
In the end, you’lol see that Fastlane created the following files:
The next thing you should do is set up Firebase App Distribution following this instruction.
xxxxxxxxxx
curl -sL firebase.tools | bash
firebase login
firebase list
If you see the list of your projects after executing the final command, it means that everything works just fine.
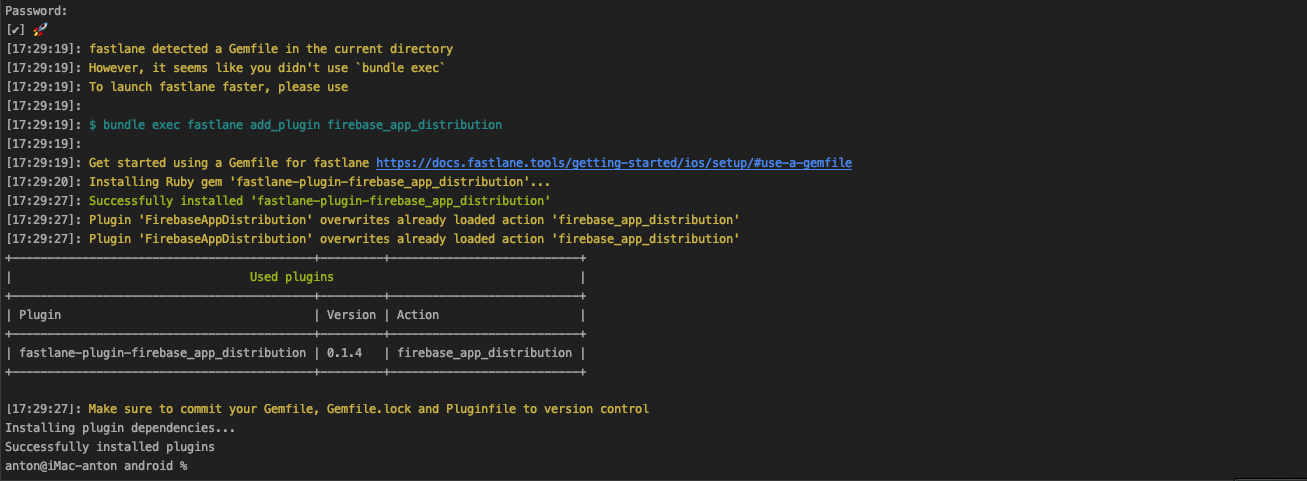
xxxxxxxxxx
fastlane add_plugin firebase_app_distribution
Change your Fastfile file to:
xxxxxxxxxx
platform :android do
desc "New Build to App Distribution Beta"
lane :beta_app_distribution do
gradle(task: "clean assembleRelease")
firebase_app_distribution(
app: ENV["APPID"],
firebase_cli_path: "/usr/local/bin/firebase",
apk_path: "../build/app/outputs/apk/release/app-release.apk"
)
end
end
Then, create a file in the Fastlane folder and name it .env.default.
xxxxxxxxxx
PROJECT_NAME=Name your project
CONFIGURATION=Release
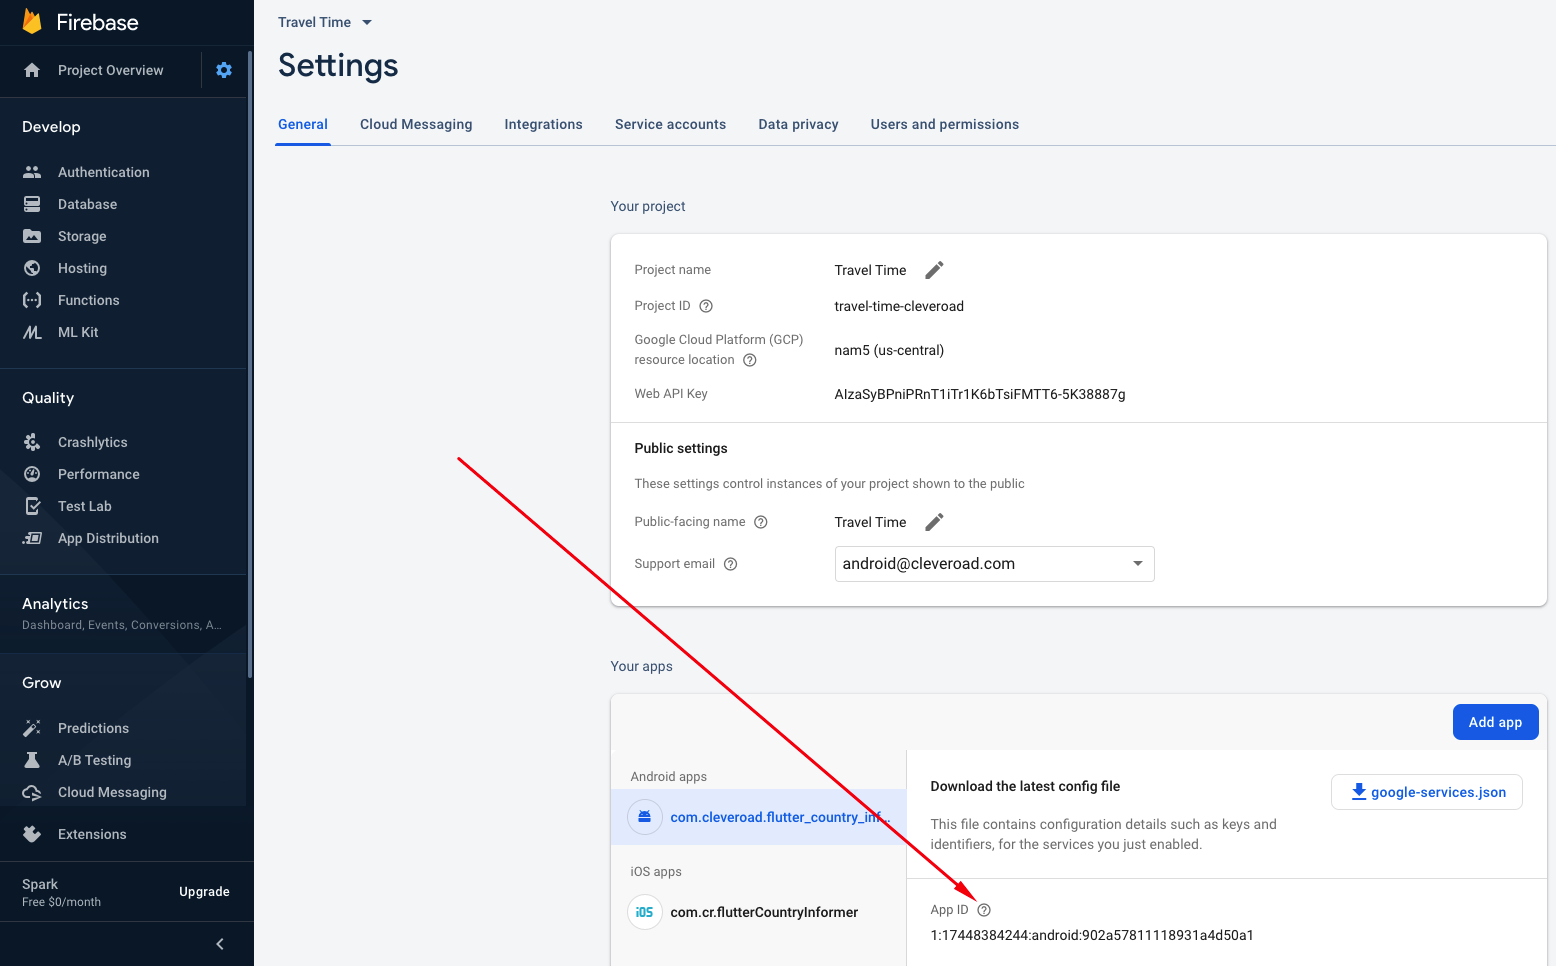
APPID=1:17448389999:android:902a57811128931a5d78a1
Where APPID is the ID of your project in Firebase.
And run the command:
xxxxxxxxxx
fastlane beta_app_distribution
If you don’t have Java 8 installed, you can download it from Oracle website.
Or use the following commands:
xxxxxxxxxx
# add open jdk repo
brew tap adoptopenjdk/openjdk
# see available versions
brew search openjdk
# install specific version
brew cask install adoptopenjdk8
Set JAVA_HOME.
xxxxxxxxxx
export JAVA_HOME=/Library/Java/JavaVirtualMachines/adoptopenjdk-8.jdk/Contents/Home
export PATH=$JAVA_HOME/bin:$PATH
Once everything is completed, you’ll see the build in the Firebase console and the following inscription in terminal:

Getting Started With iOS
Open the terminal and enter:
xxxxxxxxxx
cd ios
fastlane init
Then, enter your Apple ID and two-factor authorization code, if any.
Create a file in the Fastlane folder and name it .env.default.
Paste the following data in there:
xxxxxxxxxx
PROJECT_NAME=App Name
SCHEME=Runner
CONFIGURATION=Release
CRASHLYTICS_GROUPS=qa_team
CERTIFICATE_PATH=./fastlane/credentials/Certificates.p12
INFO_PLIST_PATH=Runner/Info.plist
ENVIRONMENT=DEVELOPMENT
APPID=1:188999999994:ios:f1cdb1234fdd1d56484ee1
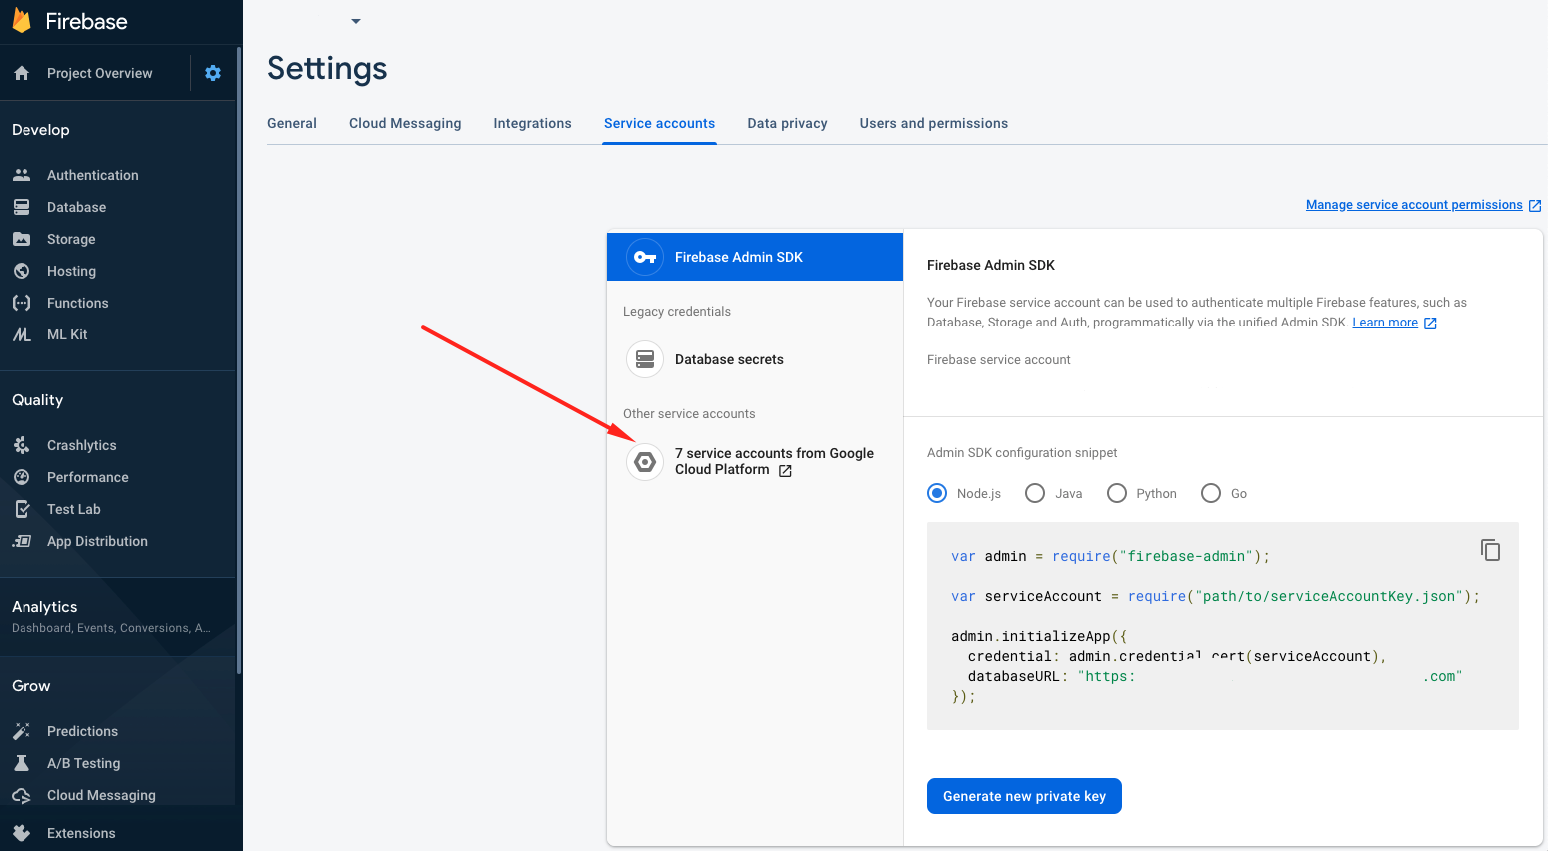
GOOGLE_APPLICATION_CREDENTIALS=./fastlane/credentials/private-key.json
Again, APPID is the ID of your project in Firebase.
You should also generate p12 certificate.
To get GOOGLE_APPLICATION_CREDENTIALS, hit the button as seen in the picture below and generate the key.
Appfile:
xxxxxxxxxx
app_identifier "com.example.ios" # The bundle identifier of your app
apple_id "[email protected]" # Your Apple email address
itc_team_id "123456789"
team_id "99D0P2SS1M"
# For more information about the Appfile, see:
# https://docs.fastlane.tools/advanced/#appfile
Fastfile:
xxxxxxxxxx
default_platform(:ios)
platform :ios do
desc "New Build to App Distribution Beta"
lane :beta_app_distribution do
build_ios_app(
clean: true,
workspace: 'Runner.xcworkspace',
scheme: 'Runner',
export_method: 'ad-hoc'
)
firebase_app_distribution(
app: ENV["APPID"],
testers: "[email protected]",
firebase_cli_path: "/usr/local/bin/firebase",
)
end
end
Now, add the Firebase App Distribution plugin calling this command:
xxxxxxxxxx
fastlane add_plugin firebase_app_distribution
Before building the project via Fastlane, run this command:
xxxxxxxxxx
flutter build ios
And after a successful build run this one:
xxxxxxxxxx
bundle exec fastlane beta_app_distribution
he application is being built and will be sent to Firebase App Distribution.
Then, you should accept the invitation in your email and you may start testing your iOS and Android applications.
Opinions expressed by DZone contributors are their own.
Comments