Installing the ELK Stack on Windows
This article will guide you through the necessary steps to install the ELK Stack’s components as Windows services.
Join the DZone community and get the full member experience.
Join For Free

windows? elk? well, while it would be safe to assume that most elk stack deployments are on linux-based systems, there are certain use cases in which you would want to install the stack on a windows machine.
if you’re looking to log windows event logs , for example, and you do not want to ship the logs over the web to an elk server for security reasons, you’re going to want to deploy the stack locally.
this article will guide you through the necessary steps to install the elk stack’s components as windows services. note: this example will use elasticsearch, 2.3.5, logstash 2.3.4, and kibana 4.5.4.
the setup
i’ll be using a windows 2012 r2 instance on amazon web services. the operating system is just a basic server 2012 r2 installation — but with updates and a disabled firewall. i’ve also installed an apache server for the purpose of demonstrating how to log into elk.
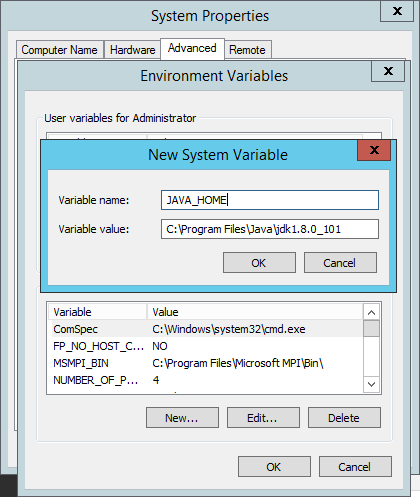
elasticsearch and logstash require java, so you will also need to download and install it — jdk and not jre — and create a java_home system variable as well.
installing elasticsearch
our first step is to install elasticsearch — the heart of the stack, if you like, that is responsible for storing and indexing the log data.
you can download the latest version of elasticsearch from elastic’s elasticsearch download page . extract the downloaded package into a designated folder in your file system (e.g. c:\elk ).
next, open a powershell prompt and enter the following command (be sure to enter your installation path in the command):
$ invoke-expression -command “c:\elk\elasticsearch\bin\service install”
you should get an output that looks as follows:
installing service      :  "elasticsearch-service-x64"
using java_home (64-bit):  "c:\program files\java\jdk1.8.0_1
the service 'elasticsearch-service-x64' has been installed.
next, we’re going to open the service manager for the elasticsearch service:
$ invoke-expression -command “c:\elk\elasticsearch\bin\service manager”
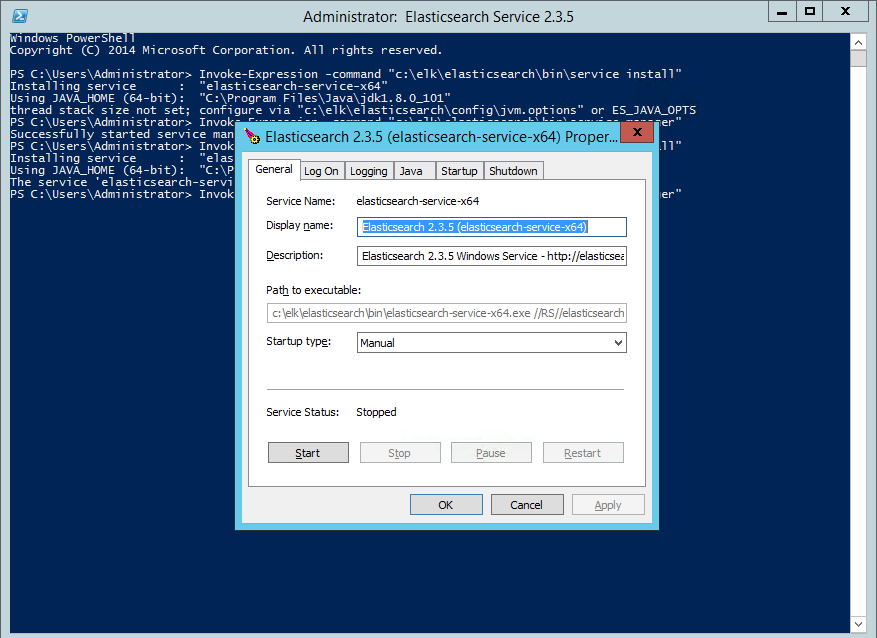
this is where you customize settings for elasticsearch. memory for jvm, for example, can be configured on the java tab, which is important for when you start to ingest large quantities of data.
on the general tab, we’re going to select the “automatic” startup type and hit the “start” button to start elasticsearch. to make sure that all is running as expected, enter the following url into your browser:
http://localhost:9200
you should get the following output:
{
    "name" : "andrew chord",
    "cluster_name" : "elasticsearch",
    "version" : {
        "number" : "2.3.5",
        "build_hash" : "90f439ff60a3c0f497f91663701e64ccd01edbb4",
        "build_timestamp" : "2016-07-27t10:36:52z",
        "build_snapshot" : false,
        "lucene_version" : "5.5.0"
    },
    "tagline" : "you know, for search"
}
installing logstash
next up is logstash . now, there are a number of ways to install logstash on windows, but it cannot be installed as a service out-of-the-box. so, i’ll be using a service manager called non-sucking service manager ( nssm ), which i have downloaded and extracted into the folder that contains all of our installed elk packages.
now, download and extract logstash from the logstash download page to the same folder.
before installing logstash nssm, create a logstash configuration file called “ config.json ” and place it in the “ bin ” directory.
next, enter the following command in powershell (be sure to update the paths invoked):
$ invoke-expression -command “c:\elk\nssm\win64\nssm install logstash”
you should see the nssm dialog:
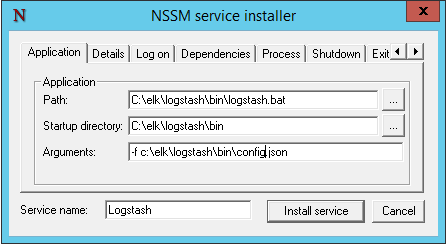
for the application path, browse to and select the logstash .bat file. the “startup” directory field below is completed automatically. in the “arguments” field, enter:
-f c:\elk\logstash\bin\config.json
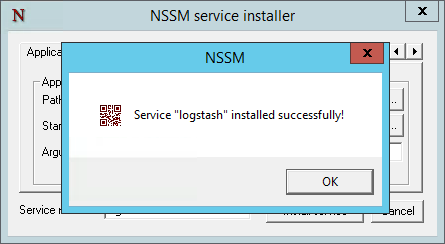
click the “install service” button and a success message will be displayed. in powershell, you will see the following message:
service "logstash" installed successfully!
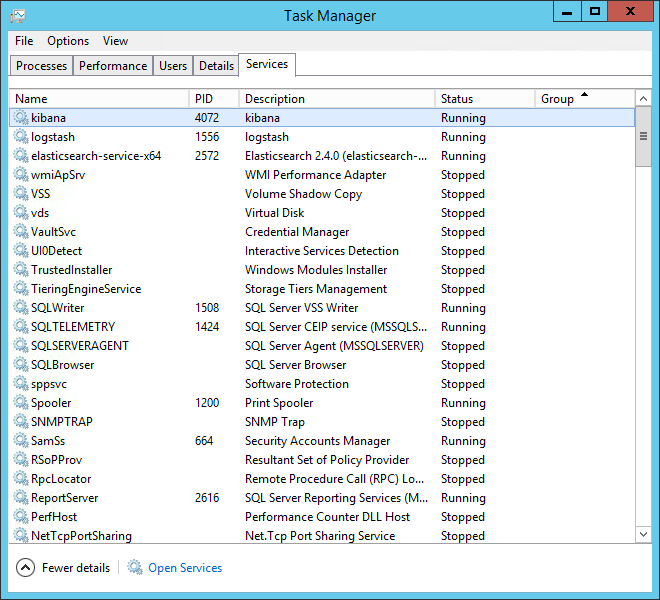
open windows task manager and start the service from the “services” tab.
installing kibana
as with logstash, we will install kibana as a windows service using nssm. download and extract kibana from the kibana download page .
use this command in powershell to create the service:
$ invoke-expression -command “c:\elk\nssm\win64\nssm install kibana”
in the nssm dialog, complete the relevant paths to the kibana files (there is no need to pass any arguments for kibana) and click “install service”:
service "kibana" installed successfully!
as with logstash, start the service from your task manager — you should now have all three services up and running!
to verify, open your browser at this address: http://127.0.0.1:5601 .
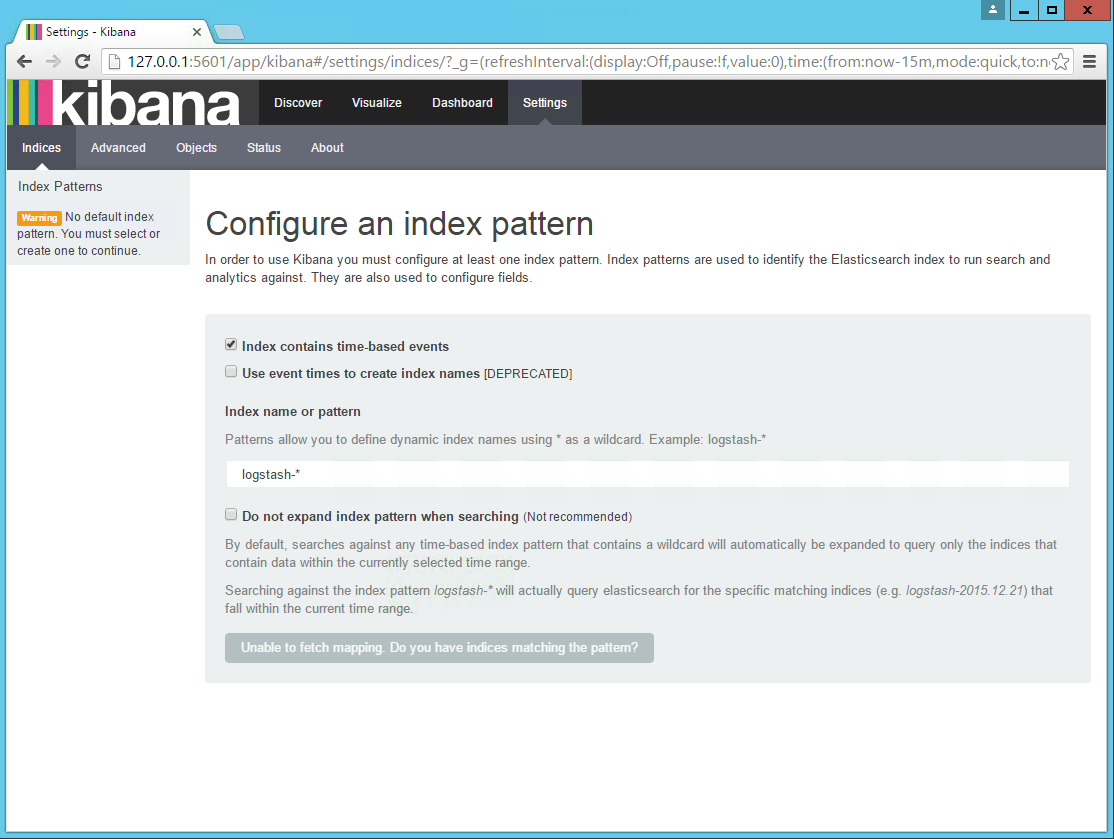
congrats! you’ve successfully installed the elk stack on your windows server!
as you may notice — kibana is notifying you that it could not fetch mapping. this is because you have not shipped any data yet. this is, of course, the next step. if you’re trying to set up a pipeline of windows event logs into elk, i described how to install and use winlogbeat (a log shipper by elastic for shipping event logs into elk) in this additional guide to windows event log analysis .
Published at DZone with permission of Daniel Berman. See the original article here.
Opinions expressed by DZone contributors are their own.
Comments