Anypoint MQ DLQ: Configuration and Working in Mule 4
Learn how to configure Queues, Dead Letter Queues, assign a DLQ to the Parent Queue, and how messages get routed from the Parent Queue to the DLQ in Mule.
Join the DZone community and get the full member experience.
Join For FreeAnypoint MQ is a multi-tenant, cloud messaging service that enables customers to perform advanced asynchronous messaging scenarios between their applications.
The dead-letter queue (or undelivered-message queue) is the queue to which messages are sent if they cannot be routed to their correct destination.
By the end of this article, you'll understand how to configure a Queue, the DLQ (Dead Letter Queues), assign a DLQ to the Parent Queue, and how the message gets routed from the Parent Queue to the DLQ after failure.
Configuration
Open Anypoint platform and select MQ:
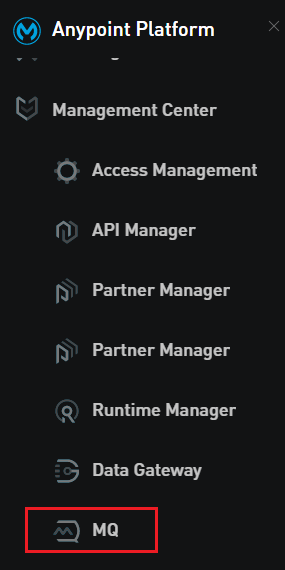
Note: To access Anypoint MQ, you need to buy it separately from MuleSoft.
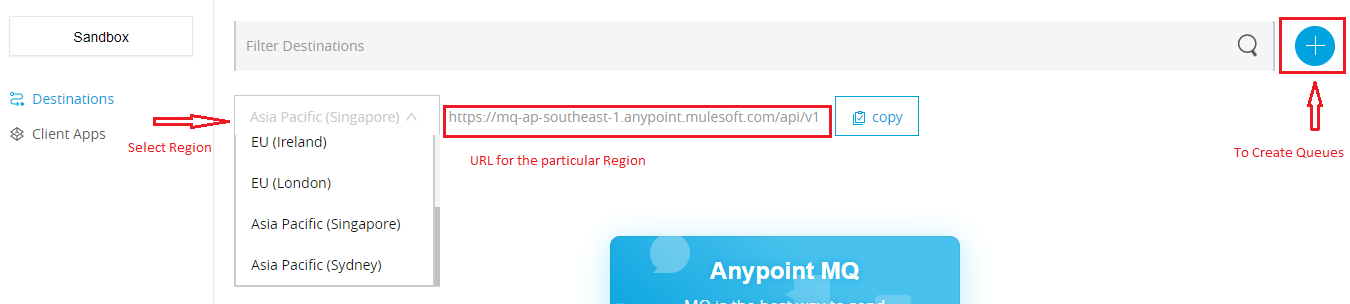
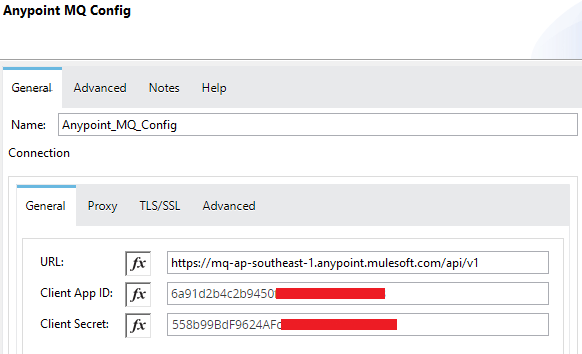
In the MQ window we need to first select a Region where we want to create our Queues. Select a Region which contains a Data Center near your geographical location. Then, click the plus (+) symbol to create the Queues. Every Region has its own dedicated URL which will be used when we're configuring the Queue in the Mule flow.

Here we will create two Queues: one will be named demo-DLQ (DLQ) and the other one will be demo-MQ (Parent Queue), in which the DLQ will be assigned.
DLQ Configuration. MQ Configuration
|
|
|
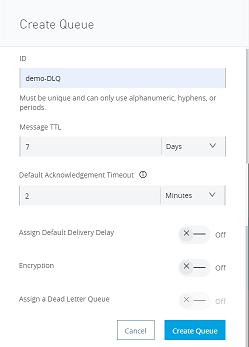
The demo-DLQ will have a normal configuration.
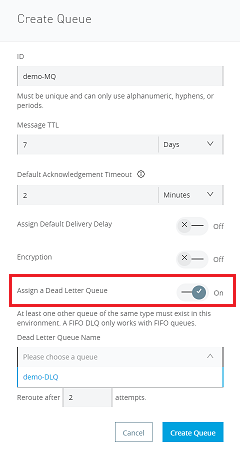
While creating the demo-MQ, we toggle the Assign a Dead Letter Queue to On State. Once the state is on, we will get a dropdown option to select the Dead Letter Queue Name, where we can find the name of all DLQs present. Here, we will select our DLQ to be assigned in the Parent Queue. Below that there is an option to assign the number of attempts; this option defines how many retries the parent Queue will perform to process the message if there is any failure while sending the message to the destination.
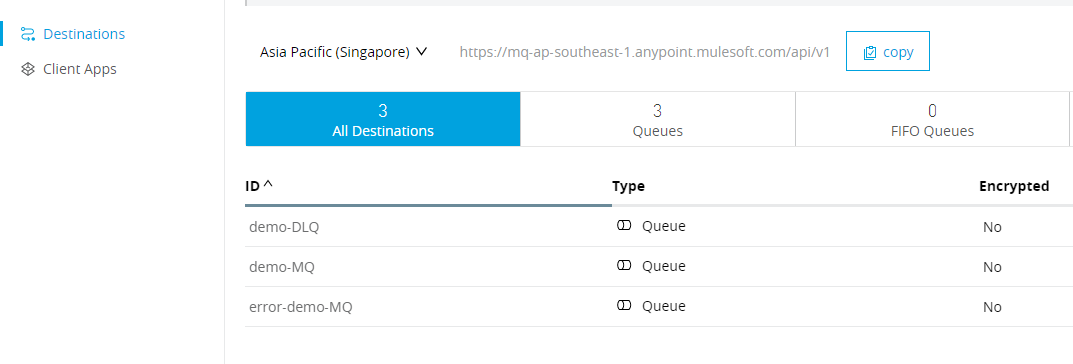
Once the Queues are created with the provided configurations, we can find them in the main window. To use the Queues in our Mule flow, we also need to have a Client App Id and Client Secret. To achieve this, we need to select the Client Apps option on left-hand side of the Queue window and then click the plus (+) to create credentials.
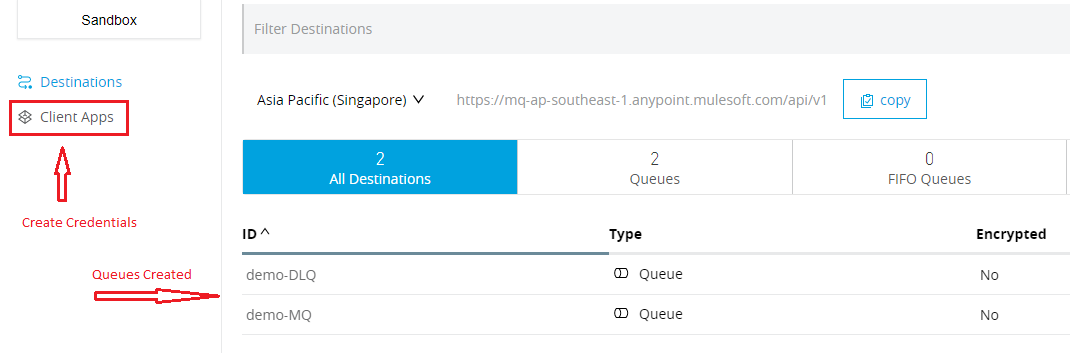
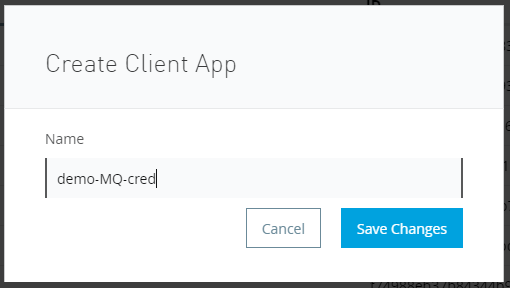

Once the credentials are created they can be seen in the Client App window.
We're now done with creating and configuring our MQ. Now we will create a flow and use the MQ.
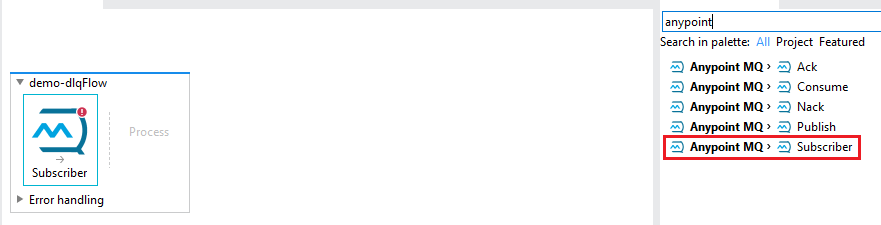
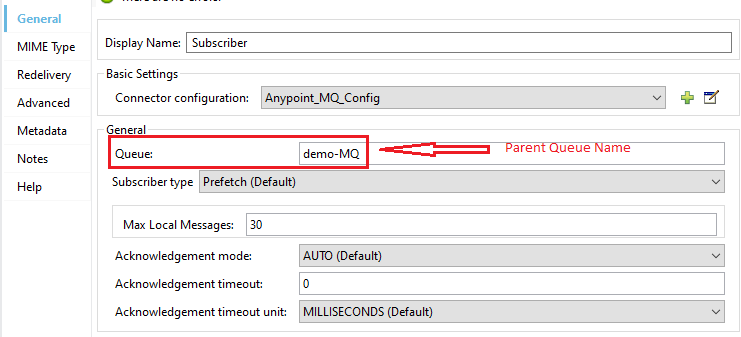
We will drop an Anypoint MQ Subscriber as a source into our flow and configure the required details.
MQ Configuration:
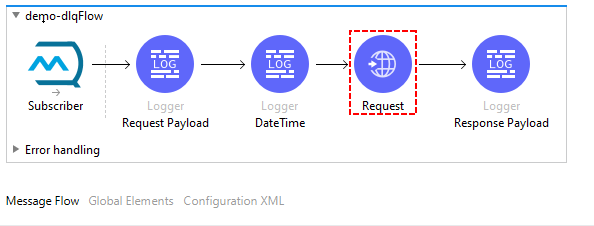
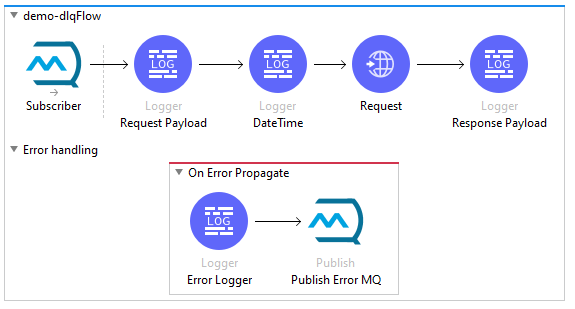
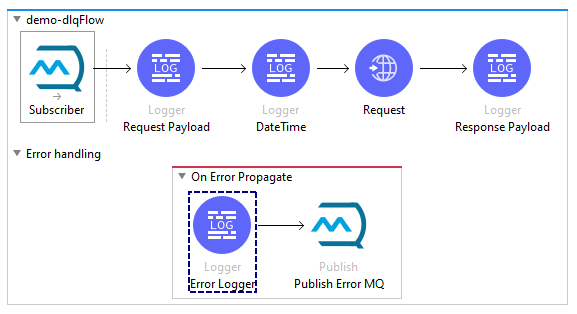
The Complete Demo Flow:

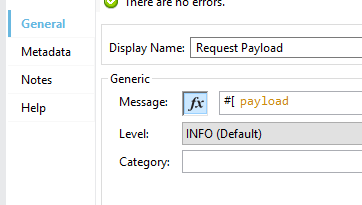
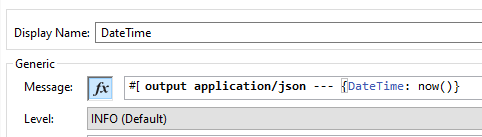
The Request Payload logger will display the payload received from the Queue and the DateTime logger will display the current execution DateTime.
Request Payload logger DateTime logger
|
|
|
HTTP Requester Configuration:
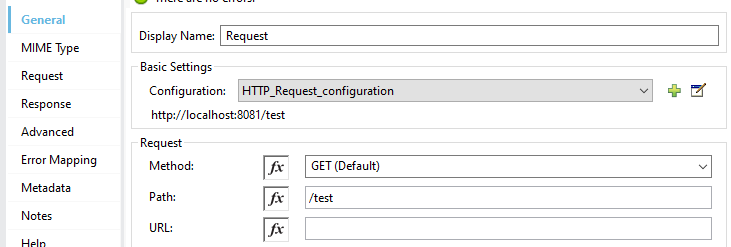
Note: The requestor path is pointed to a non-existent resource on purpose so that the flow will trigger an error so we can demonstrate the functionality of DLQ.
The Response Payload logger is to display the payload received as a response from the HTTP Requester.
All the configuration and Creation of the MQ and Flows are done. Now we will look at how it all works together.
How It Works
Click on the name of the MQ — a new window will open. In that window, we will add the message we want to process through the Subscriber.
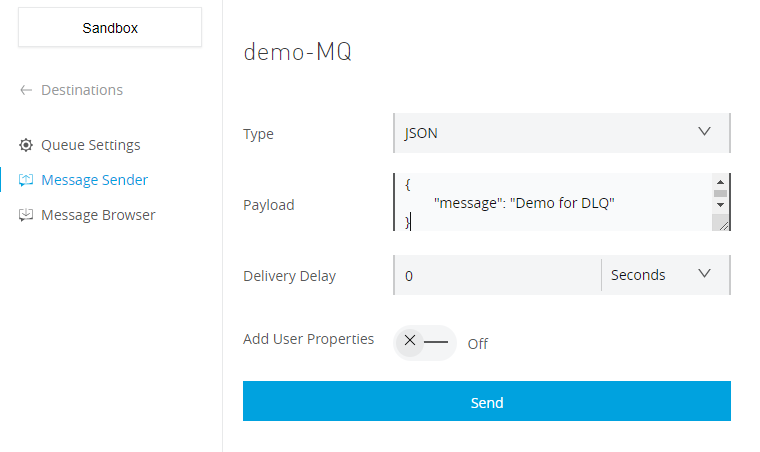
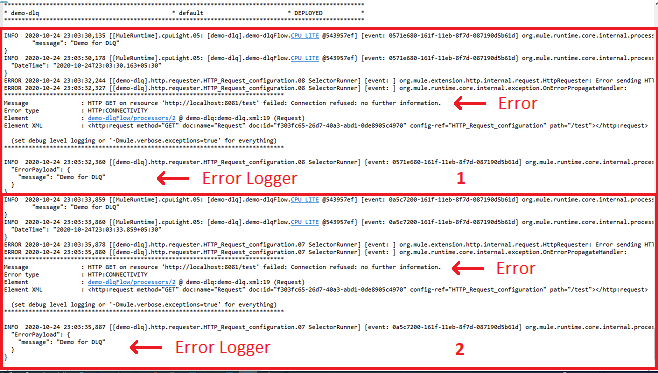
The message processed through the flow and failed at the HTTP Requester as the endpoints are not valid.
While configuring the demo-MQ (Parent Queue) we have configured the Retry attempts as 2 so that, upon failure, the MQ will try to process the message two times. And the same can be observed in the console.

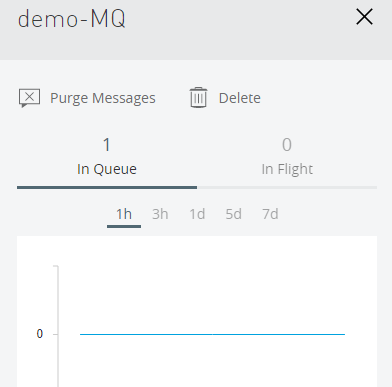
Now let's check the Message status in the demo-MQ (Parent Queue) and demo-DLQ (DLQ).
demo-MQ: demo-DLQ:
|
|
|
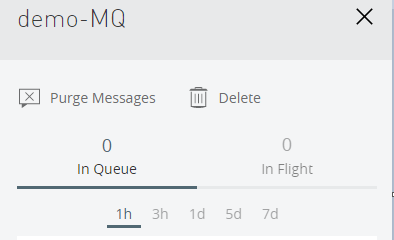
The Message from the demo-MQ is processed but, as the flow has errors, the message is routed to DLQ.

So the message is not lost and it's saved in the DLQ. Hence the message wasn't lost.
Whenever we create any flow we also create Error Handling strategies. So let's check how the DLQ will work if the Error Handling strategies are configured.
Error Handling
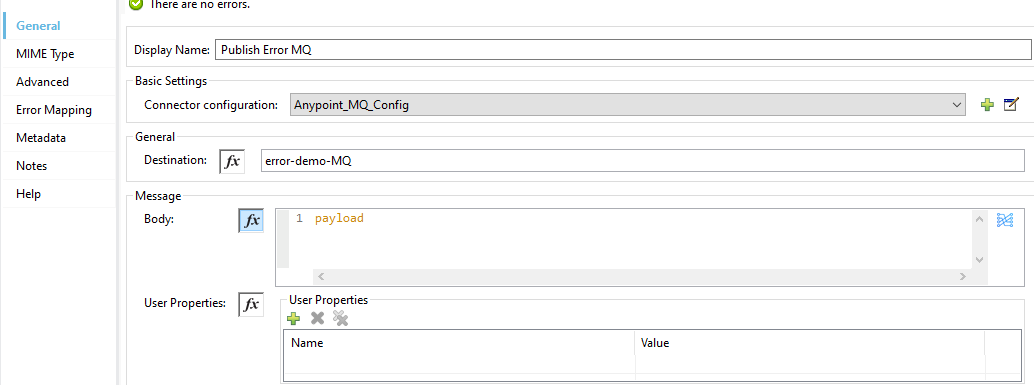
In the existing flow we will add on Error Propagate and a Publisher Queue config to save the message in an error-demo-MQ (Error Queue), which is a normal Queue and not a DLQ.
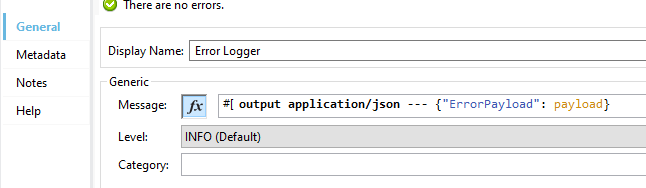
Error Logger: Display the Request Payload
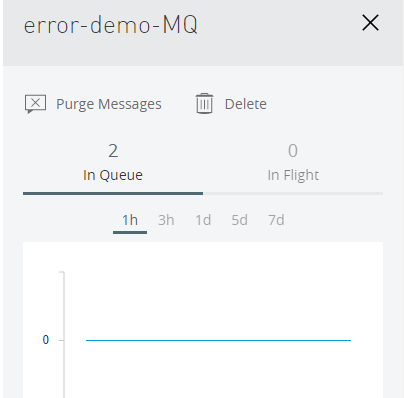
error-demo-MQ:
MQ Window:
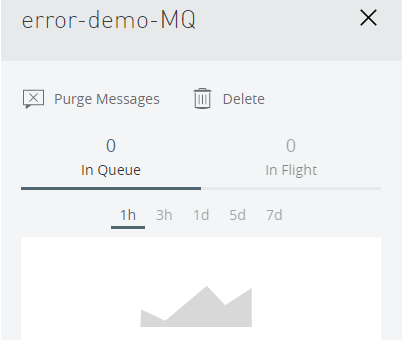
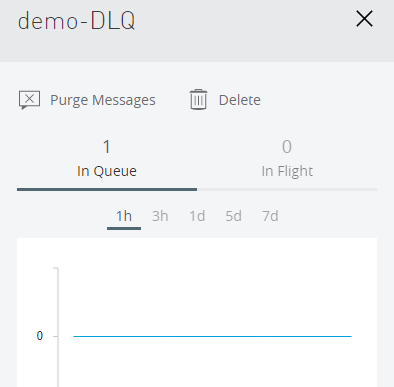
At present the Error Queue is empty.
Now we will again send a message in the demo-MQ (Parent Queue) and execute the flow.
Again, as the retry attempt for the demo-MQ is 2, the message will be processed two times if an error is encountered. Thus, in this case, the message will also be processed two times.
The error-demo-MQ will have two messages:

Where as the DLQ will have one message only:
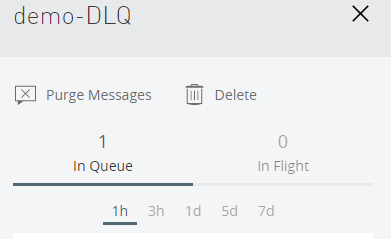

The reason behind demo-DLQ having one message and error-demo-MQ having two messages is that the DLQ is part of the Parent Queue, so it inherits the policies and properties of the Parent Queue, whereas the Error Queue is a separate normal Queue. Thus, when the message is processed two times and the error handler captures the error two times, the message is saved two times in the Error Queue.
Opinions expressed by DZone contributors are their own.
Comments