Deploying Smart Contract on Ethereum Blockchain
In this article, the reader will learn how to deploy an Ethereum smart contract and connect it with their Spring application.
Join the DZone community and get the full member experience.
Join For FreeIn this tutorial, we will learn how to deploy and interact with an Ethereum Smart contract using Web3j and Spring.
What Is a Smart Contract?
A Smart contract is an algorithm for certain actions integrated into the blockchain code. It is deployed on the Ethereum blockchain network and automatically executes predefined actions when specific conditions in the contract are met.
What Is Solidity?
Solidity is an object-oriented programming language for creating Smart contracts. Learning and using Solidity is easy if you are already familiar with Java or C. Solidity has built-in features specifically related to the blockchain. They allow you to withdraw and send "money" (ETH), get the address of the person who invoked the Smart contract, and make calls to other Smart contracts using their addresses.
What Is Web3j?
Web3j is a lightweight Java library that allows you to work with the Ethereum blockchain, providing the ability to manage transactions and generate type-safe wrappers for Smart contracts.
1. Installing Solc and Web3j
Solc is the compiler for Solidity. To install it, run the following command:
npm install -g solcTo generate the wrapper code of a Smart contract, we need to install Web3j:
curl -L get.web3j.io | sh && source ~/.web3j/source.sh2. Initializing the Spring Project
To quickly start a project, you can use Spring Initializr:
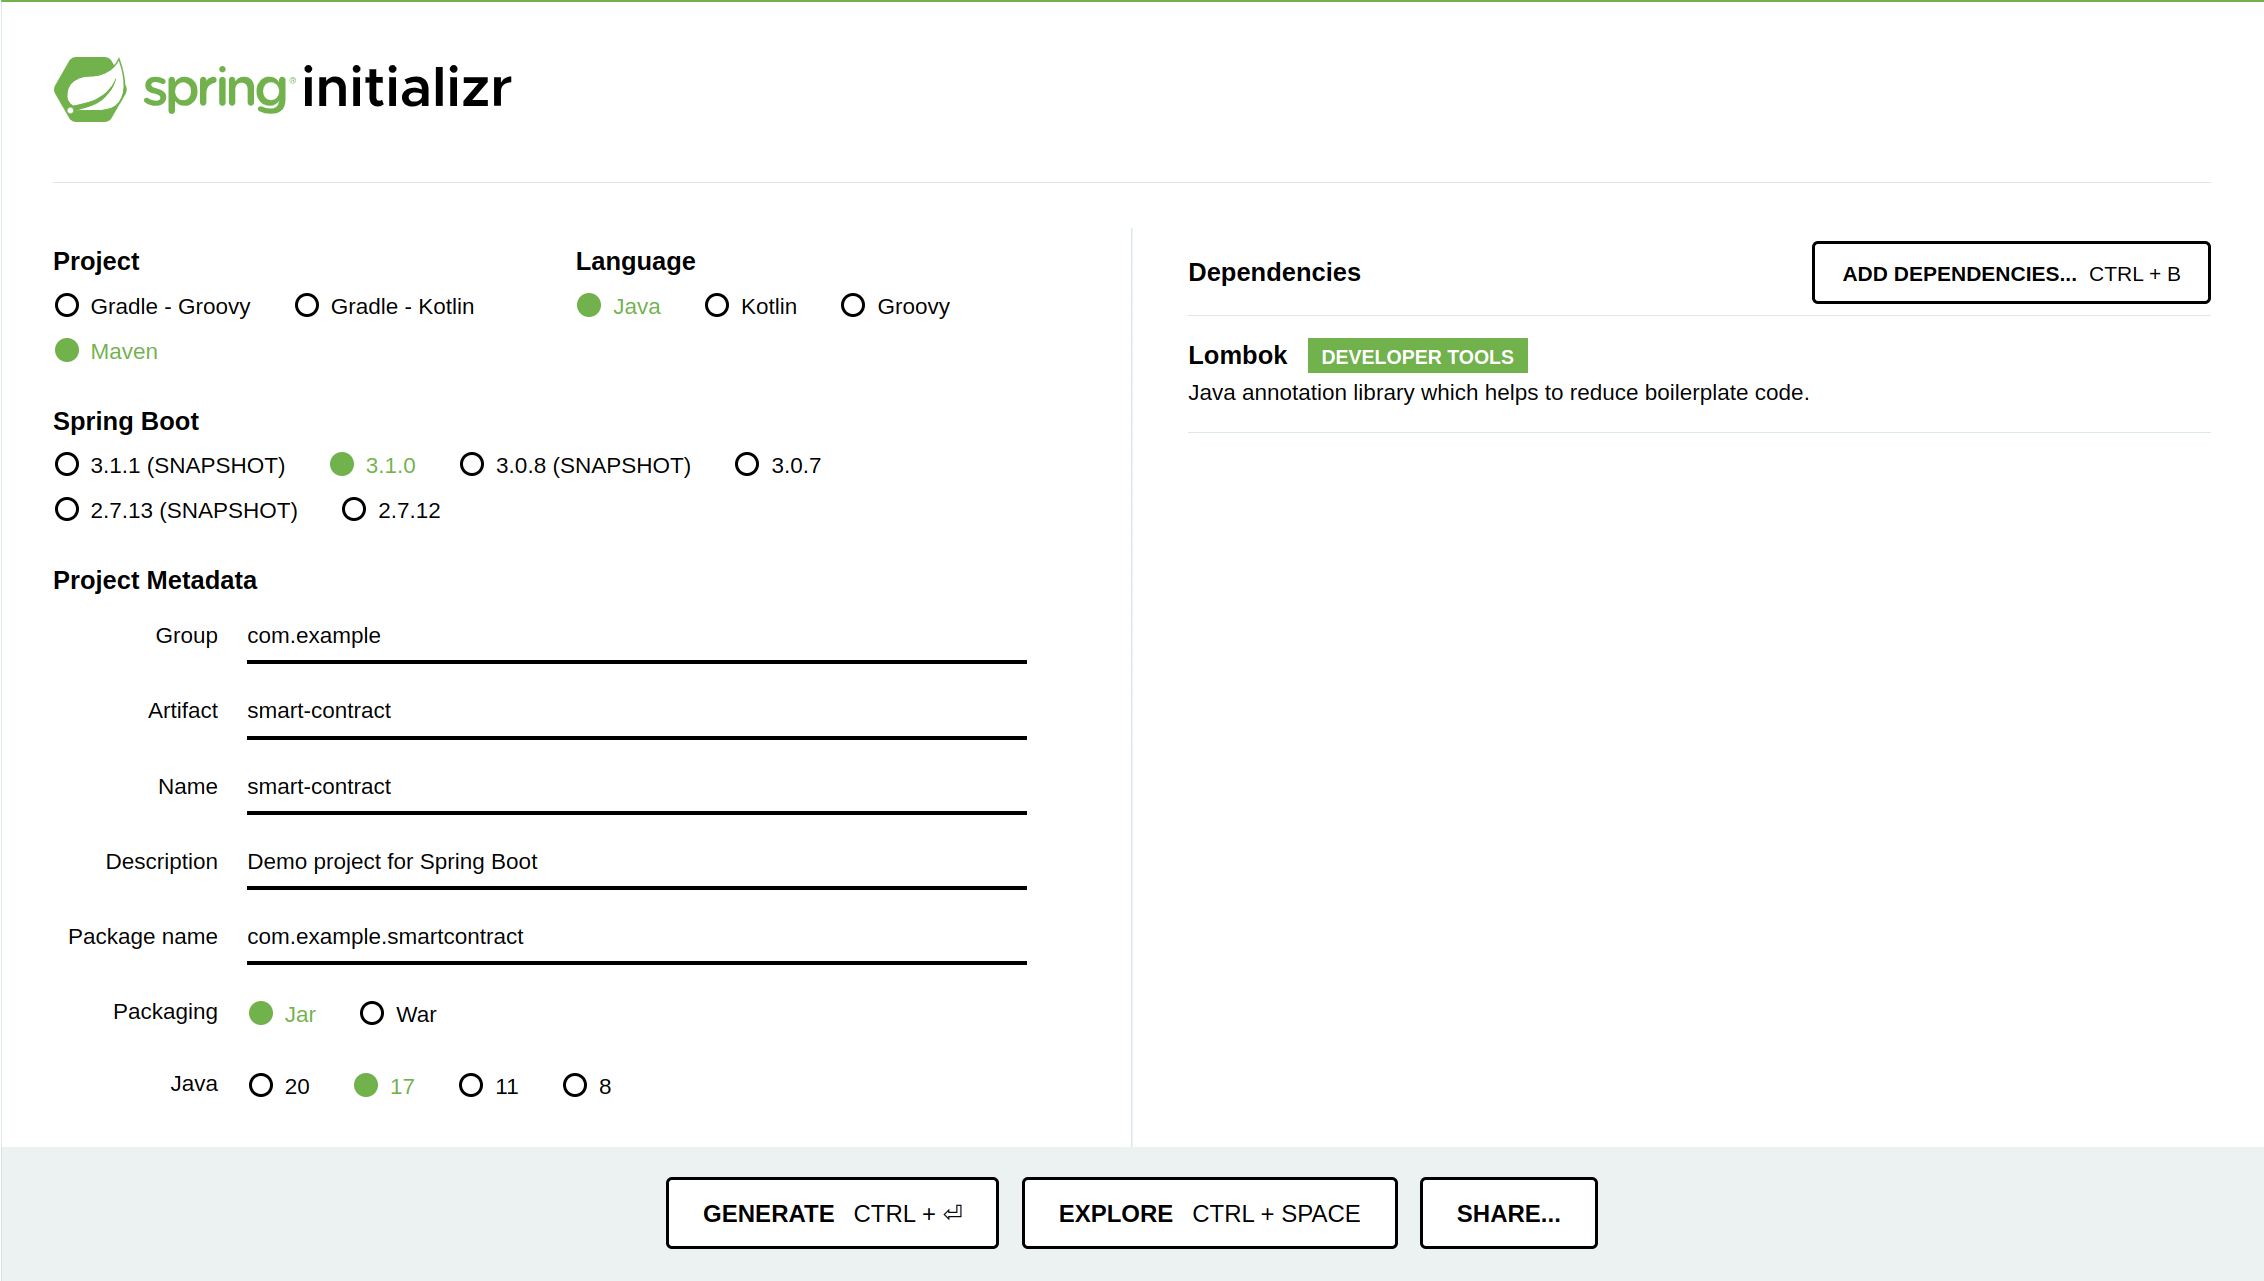
Download the project by clicking the "Generate" button and open it with a convenient IDE. Add the Web3j dependency in the pom.xml:
<dependency>
    <groupId>org.web3j</groupId>
    <artifactId>core</artifactId>
    <version>4.10.0</version>
</dependency>
3. Creating a Smart Contract
Let’s create the Counter.sol file as a Smart contract in your project:

The first line in a contract sets the version of the source code that will be taken into account by the compiler:
pragma solidity ^0.8.20;
For this example, we’ll create a contract with the Counter name using the contract keyword:
contract Counter {
    uint private count = 0;
}
We have declared the count state variable with data type uint as an unsigned integer. With the private access modifier, as in Java, this field can only be called within the current contract.
Next, let’s add two functions for incrementing and decrementing the count variable. In addition, we add the getter method for the count variable with the view modifier that ensures the contract’s state won’t be changed:
pragma solidity ^0.8.20;

contract Counter {
    uint private count = 0;

    function increment() public {
        count += 1;
    }

    function decrement() public {
        count--;
    }

    function getCount() public view returns (uint) {
        return count;
    }
}
4. Compiling the Smart Contract and Creating a Web3j Wrapper
To compile the listed Smart contract, we’ll use the previously installed solc library:
solcjs Counter.sol --bin --abi --optimize -o ../artifactsThis will create two files with .abi and .bin extensions in the artifacts folder:

To convert the generated .abi and .bin files into a Java class with method signatures from the contract, we’ll utilize the Web3j generator:
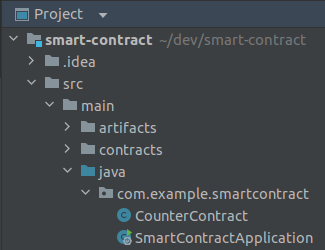
web3j generate solidity -b Counter_sol_Counter.bin -a Counter_sol_Counter.abi -o ../java -p com.example.smartcontractAfter execution, in the src/main/java/org/example directory, you should have a new class named Counter_sol_Counter. Let’s rename it to CounterContract:
5. Generating Ethereum Address
To generate an Ethereum address and private key, you can use this website.

Copy the private key and put it in the application.properties as ethereum.private-key property:

I’ll be deploying our contract to the Sepolia testnet (you can also use Goerli or Kovan instead). In order to deploy a Smart contract and pay for transaction fees, we’ll need a little bit of ETH on the Sepolia testnet. Here are a few faucets where you can receive test coins:
Copy your Ethereum address and submit sending ETH coins:

Lastly, we’ll add the URL of Sepolia's JSON-RPC endpoint in application.properties:
ethereum.private-key=<your_ethereum_private_key>
ethereum.provider=https://eth-sepolia.g.alchemy.com/v2/demo
6. Java Configuration
Let’s create the Web3jConfig class, in which we declare beans for org.web3j.protocol.Web3j and org.web3j.crypto.Credentials using the parameters from application.properties:
package com.example.smartcontract;

import lombok.extern.slf4j.Slf4j;
import org.springframework.beans.factory.annotation.Value;
import org.springframework.context.annotation.Bean;
import org.springframework.context.annotation.Configuration;
import org.web3j.crypto.Credentials;
import org.web3j.protocol.Web3j;
import org.web3j.protocol.http.HttpService;

@Configuration
@Slf4j
public class Web3jConfig {
    @Value("${ethereum.provider}")
    private String ethereumProvider;
    @Value("${ethereum.private-key}")
    private String ethereumPrivateKey;

    @Bean
    public Web3j web3j() {
        return Web3j.build(new HttpService(ethereumProvider));
    }

    @Bean
    public Credentials credentials() {
        return Credentials.create(ethereumPrivateKey);
    }
}
Next, we declare a bean for the CounterContract, that will be deployed during initialization:
@Bean
public CounterContract counterContract() {
    CounterContract counterContract;
    try {
        counterContract = CounterContract.deploy(web3j(), credentials(), new DefaultGasProvider()).send();
        // counter = Counter.load(counterContractAddress, web3j(), credentials(), new DefaultGasProvider());
    } catch (Exception e) {
        log.error("Error while deploying a contract", e);
        throw new RuntimeException(e);
    }
    log.info("Counter contract has been deployed: {}", counterContract.getContractAddress());
    return counterContract;
}
To use functions of the deployed Smart contract, let’s create the CounterContractService class with the injected CounterContract in it:
package com.example.smartcontract;

import lombok.SneakyThrows;
import lombok.extern.slf4j.Slf4j;
import org.springframework.beans.factory.annotation.Autowired;
import org.springframework.stereotype.Service;
import org.web3j.protocol.core.methods.response.TransactionReceipt;

import java.math.BigInteger;

@Service
@Slf4j
public class CounterContractService {

    @Autowired
    private CounterContract counterContract;

    @SneakyThrows
    public BigInteger getCount() {
        return counterContract.getCount().send();
    }

    @SneakyThrows
    public void increment() {
        TransactionReceipt transactionReceipt = counterContract.increment().send();
        log.info("increment transaction : {}", transactionReceipt.getTransactionHash());
    }

    @SneakyThrows
    public void decrement() {
        TransactionReceipt transactionReceipt = counterContract.decrement().send();
        log.info("decrement transaction : {}", transactionReceipt.getTransactionHash());
    }
}
7. Wrap Up
At this point, the basic implementation of a Smart contract is ready. After launching the application, in the logs, you’ll see the address of the deployed contract, which you can trace in the Etherscan Explorer for Sepolia.
The source code is available on GitHub.
Opinions expressed by DZone contributors are their own.
Comments