How to Integrate Audio Visualizer With Your Android App
When developing Android apps, functionality alone isn't enough. Users must be engaged. Many apps have virtually identical functionalities. Why would users opt for yours?
Join the DZone community and get the full member experience.
Join For Free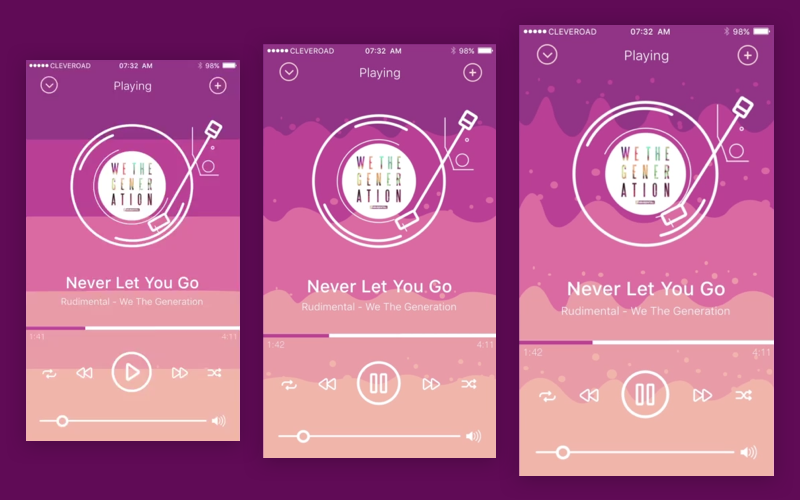
Mobile apps not only accompany any successful business but also become the foundation of one. That’s why thousands of businesses and startups worldwide concentrate on building apps. We can find apps that pursue various purposes — sell products, simplify daily routine, educate, exercise, entertain. Obviously, in order to create an app that will satisfy the user’s needs, creators should smartly analyze and neatly implement required features, which are specific for every app category.
When developing Android apps, one would think that functionality is enough to make people download it from the app store and use it regularly. However, the reality is that users need to be engaged. The matter is that there are dozens of similar apps suggesting virtually identical functionality. Why would users opt for your app?
If you choose an engaging visual design to hook your app users, the Audio Visualization View open-source library for Android apps can help. It deals with audio streams, ensures seamless performance, and looks good.

The library addresses a few kinds of sound processing needs:
Visualizing while playing audio files.
Visualizing of speech recognition feature.
Visualizing while audio recording.
Anyone can implement the library without any extra efforts, following these simple steps.
1. To start with, add the following dependency in a build.gradle file:
dependencies {
    compile 'com.cleveroad:audiovisualization:0.9.1'
}
2. To build waves, the library uses OpenGL ES 2.0. To make it work properly, you need to add this line of code in your AndroidManifest.xml file:
<uses-feature android:glEsVersion="0x00020000" android:required="true" />This line tells Android OS that app requires OpenGL ES 2.0 to work properly. If you publish your app in Android Marketplace, then only devices that support OpenGL ES 2.0 will be able to install your app.
3. Use VisualizerDbmHandler, which is built upon the Visualizer object. For correct operations, the following permissions in your manifest should be granted:
<uses-permission android:name="android.permission.RECORD_AUDIO"/>
<uses-permission android:name="android.permission.MODIFY_AUDIO_SETTINGS"/>
First permission is required for the Visualizer to protect the privacy of certain audio data (i.e., voice mail). The second permission is required if you want to visualize the output mix of your device (audio session 0).
4. Use SpeechRecognizerDbmHandler, which is built upon SpeechRecognizer. For it to work correctly, you must include the following permissions in your manifest:
<uses-permission android:name="android.permission.RECORD_AUDIO"/>Be careful when dealing with Android M permissions. After you have included all necessary permissions, move on to the next step.
5. Use GLAudioVisualizationView.
You can implement GLAudioVisualizationView in your layout using one of the following ways:
Into the XML layout file directly.
Using builder in Java code.
XML:
<com.cleveroad.audiovisualization.GLAudioVisualizationView
        xmlns:android="http://schemas.android.com/apk/res/android"
        xmlns:app="http://schemas.android.com/apk/res-auto"
        android:id="@+id/visualizer_view"
        android:layout_width="match_parent"
        android:layout_height="match_parent"
        app:av_bubble_size="@dimen/bubble_size"
        app:av_randomize_bubble_size="true"
        app:av_wave_height="@dimen/wave_height"
        app:av_footer_height="@dimen/footer_height"
        app:av_waves_count="7"
        app:av_layers_count="4"
        app:av_background_color="@color/color_bg"
        />
Java:
new GLAudioVisualizationView.Builder(getContext())
        .setBubbleSize(R.dimen.bubble_size)
        .setRandomizeBubbleSize(true)
        .setWaveHeight(R.dimen.wave_height)
        .setFooterHeight(R.dimen.footer_height)
        .setWavesCount(7)
        .setLayersCount(4)
        .setBackgroundColorRes(R.color.color_bg)
        .setLayerColors(R.array.colors)
        .build();
6. GLAudioVisualizationView implements the AudioVisualization interface.
private AudioVisualization audioVisualization;

    ...

    @Override
    public void onViewCreated(View view, @Nullable Bundle savedInstanceState) {
        super.onViewCreated(view, savedInstanceState);
        // you can extract AudioVisualization interface for simplifying things
        audioVisualization = (AudioVisualization) glAudioVisualizationView;
    }

    ...
7. Use the AudioVisualization.linkTo (DbmHandler) method to connect the audio visualization view with the audio output. See DbmHandler.Factory class for the list of handler implementations.
SpeechRecognizerDbmHandler handler =
DbmHandler.Factory.newSpeechRecognizerHandler(context);
  audioVisualization.linkTo(handler);
You can set your own RecognitionListener to handle events from SpeechRecognizer via:
handler.innerRecognitionListener(...);8. The OnPause method allows you to pause the visualization and save CPU resources. When the user sees the view, call the onResume method.
@Override
    public void onResume() {
        super.onResume();
        audioVisualization.onResume();
    }

    @Override
    public void onPause() {
    audioVisualization.onPause();
        super.onPause();
    }
9. Use the release method to free resources when the user stops using the product:
@Override
    public void onDestroyView() {
        audioVisualization.release();
        super.onDestroyView();
    }
10. You are free to use you own DbmHandler, as well. Just extend your class from the DbmHandler class and implement onDataReceivedImpl (T object, int layersCount, float [] outDbmValues, float [] outAmpValues) method where:
object is your custom data type.
layersCount is a count of the layers you passed in Builder.
OutDbmValues is an array with a size equal to layersCount. You should fill it with normalized dBm values for layers in the range [0..1].
outAmpValues is an array with a size equal to layersCount. You should fill it with amplitude values for layer. See JavaDoc of this method for more info.
To visualize your data, call the onDataReceived (T object) method.
Your handler will also receive onResume(), onPause(), and release() events from the audio visualization view.
In addition, you have a great chance to see the WaveInApp visualizer in action. Download it from Google Play Market and give it a try!
Also check out: How We Created an Audio Widget for Android
Opinions expressed by DZone contributors are their own.
Comments