How To Write End-To-End Tests Using Cypress App Actions
In this blog on Cypress App Actions, you will learn how Cypress App Actions differs from the Page Object Model and how you will run tests with Cypress App Actions.
Join the DZone community and get the full member experience.
Join For FreeWhen I started writing tests with Cypress, I was always going to use the user interface to interact and change the application's state when running tests.
This could be beneficial since it gives you the same behavior as an end-user interacting with the application. But this is only sometimes the case. Sometimes, you only need to manipulate the state in your application without using the UI. You might have already tested it in a different test case and only need the state to test the next feature. In this case, using the UI to interact with the application could be redundant and time-consuming.
However, there is another way to bypass the UI and manipulate the state of your application to get the results you want without using the user interface, giving you a fast and instant result. If some of your tests require the actual state to be available inside your application, you no longer need to use the UI. Instead, you can use App Actions.
In this blog on Cypress App Actions, you will learn how Cypress App Actions differs from the Page Object Model and how you will run tests with Cypress App Actions in a cloud grid.
What Are App Actions?
App Actions are shortcuts or actions inside your application that will help you change and manipulate your application's state without using the graphical user interface (GUI). Actions are one of the most exciting new features of Cypress automation tool. They enable you to extend your app's functionality by adding an unlimited number of custom commands. They are the equivalent of writing a Cypress module but with much higher developer velocity. Each action has its state, so any time the state changes, the test will be re-run automatically. With Cypress App actions, you can automatically log users, fill out forms, click buttons, and much more with little or no effort.
Cypress App Actions vs. Page Object Model
The page object model is a popular design pattern when it comes to Cypress E2E testing. The Cypress page object model serves some good purposes, like preventing code duplication, but like anything else, the page object model design pattern has its pros and cons.
Page Object Model (POM)
Page objects help to keep tests organized and maintainable by encapsulating DOM interactions into reusable functions. This way, if the UI changes, you only need to update the page object methods rather than doing changes in your entire test suite. However, page objects can easily become too long to read or understand when your project grows larger and larger, making it challenging to find the relevant code for a particular test. App actions, on the other hand, are written as general-purpose functions that can be reused across multiple tests. The most important benefit to Cypress App Actions is that it completely bypasses the user interface, making your test suites much more performant. This makes them more flexible since you can create many custom actions, but also more difficult to debug since there is no clear structure. When deciding which approach to take, it's essential to weigh the tradeoffs and decide what will work best for your specific needs.
Shortcomings of Page Object Model
- Page objects can be tricky to work with because they introduce an additional state-level into your tests that is separate from the application's initial state.
- Page objects make it difficult for you to debug and may lead you astray when trying to understand exactly what went wrong with a test case since the tests depend on the previous state instead of the initial state of the application.
- Page objects could make your test cases extremely slow and inefficient since they always have to use the user interface to interact with the application.
Why Cypress App Actions?
Let’s say we have a sample to-do application in which a user can add and delete to-do items, and there are also featureful to-dos at once. Let’s say we want to test the button which deletes all to-dos. To perform Cypress testing of this feature, we first visit the page with Cypress, add the to-dos, and then press the delete button to see if this new feature works.
If we have done this the regular way (using the graphical user interface) and not by using Cypress App Actions, it will take some time for Cypress to type some to-dos in a text input and add them one by one. Therefore the application needs more time to be thoroughly tested. However, this amount of time looks insignificant in this basic example. What if you had an extensive application and your tests needed the application to run some actions for them to run? If you decide to use the GUI, it will significantly lower your application's performance and make your test suites run for hours.
That’s when Cypress App Actions come in, with app actions, you no longer need to interact with the user interface. If you want some to-dos to be added to the list, you can easily write an action inside of your application (app action), which will do that for you without interacting with the graphical user interface, making it work instantly, cutting out all the time required for the user interface to respond.
How To Run Tests Using Cypress App Actions
I will create a simple one-page front-end-only to-do list application where users can add, check, uncheck, and delete to-dos. The application is written in React with the help of TailwindCSS to make it look better. Here is the code of the application.
As you might have noticed, I have added a new attribute for specific HTML tags, for example, the submit button has a new attribute of data-cy='submit-button’ this will be useful as a selector in our spec files to get access to the element, this is also one of the best practices of writing tests for Cypress test automation.
We can also create a new custom command in our cypress/support/commands.js file for this selector and re-use it later on.
Cypress.Commands.add('getBySel', (selector, ...args) => {
  return cy.get(`[data-cy=${selector}]`, ...args)
})
Example usage:
cy.getBySel('submit-button').should(...)This is what the application looks like: 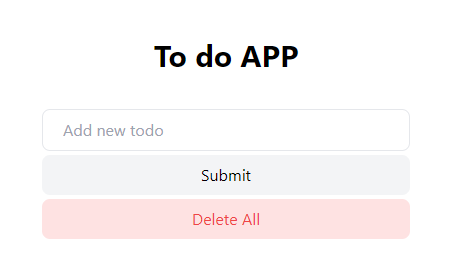 Now that it is set up and works perfectly, it is time to install Cypress and write some tests.
Installing Cypress
Installing Cypress is quite easy and straightforward.
- Run the following command to install Cypress.
yarn add -D cypress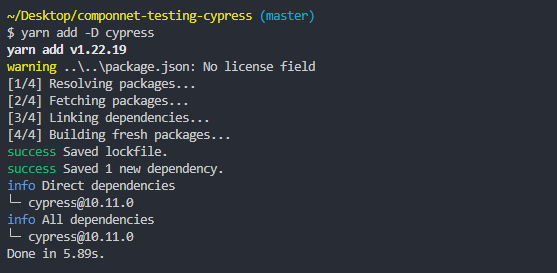
- Add the following scripts to your
package.jsonfile.
{
    "cypress:open": "cypress open",
    "cypress:run": "cypress run"
}- Now that Cypress has been installed, run the following command to launch Cypress.
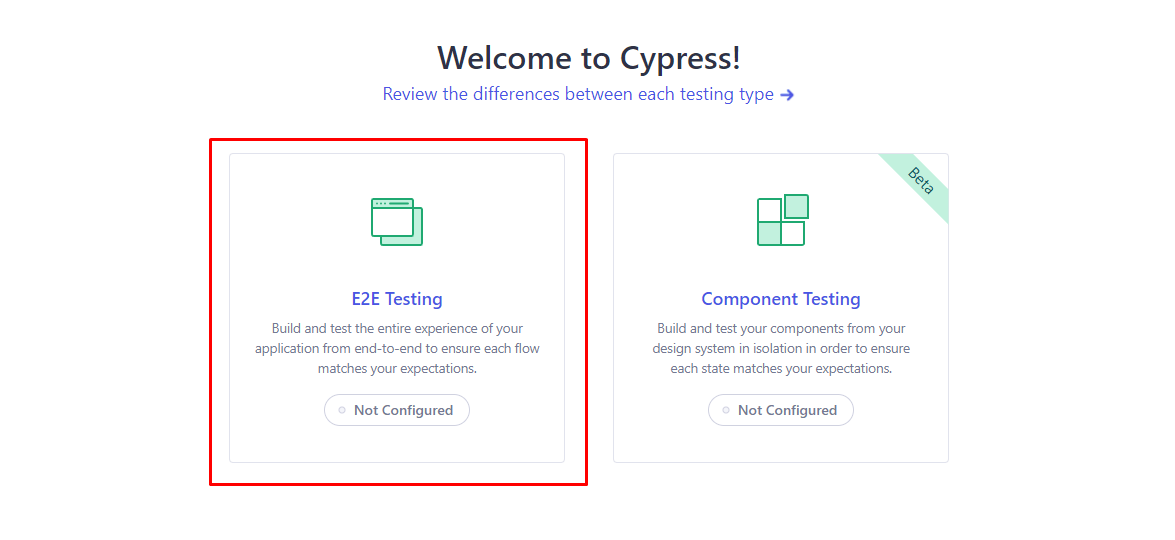
yarn cypress:open- Select E2E testing after Cypress launches.
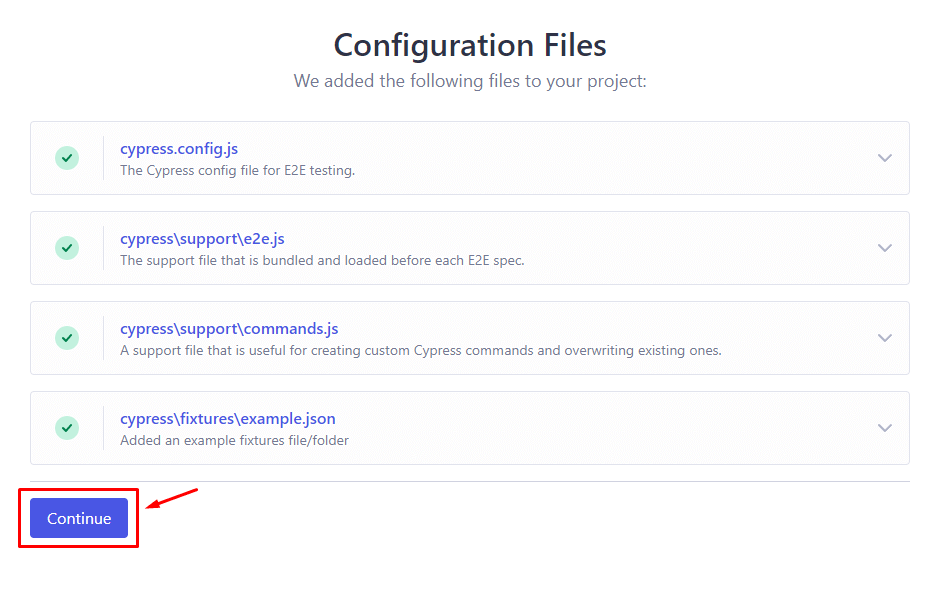
- Click Continue.
- Choose your preferred browser (I will use Chrome).
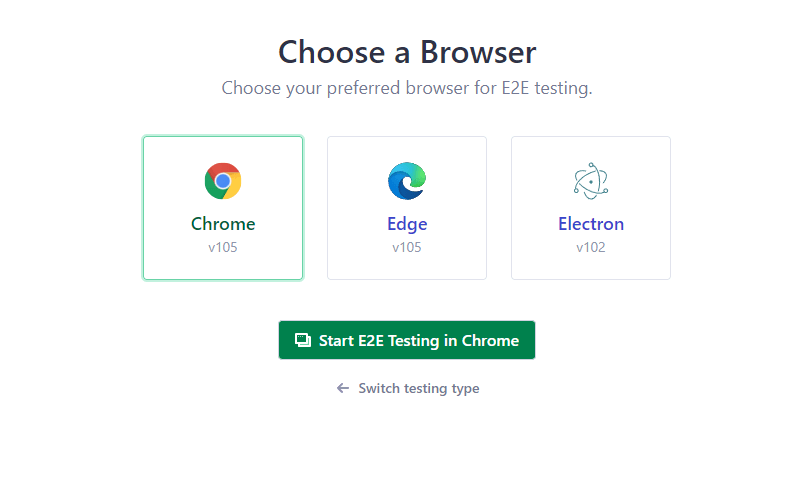
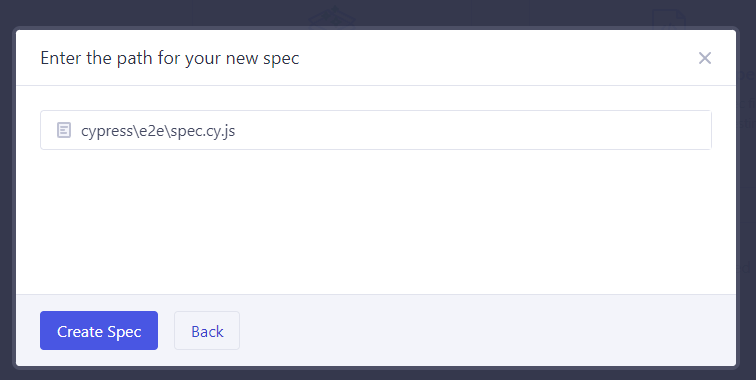
- After your browser opens up, click on “Create new empty spec”.
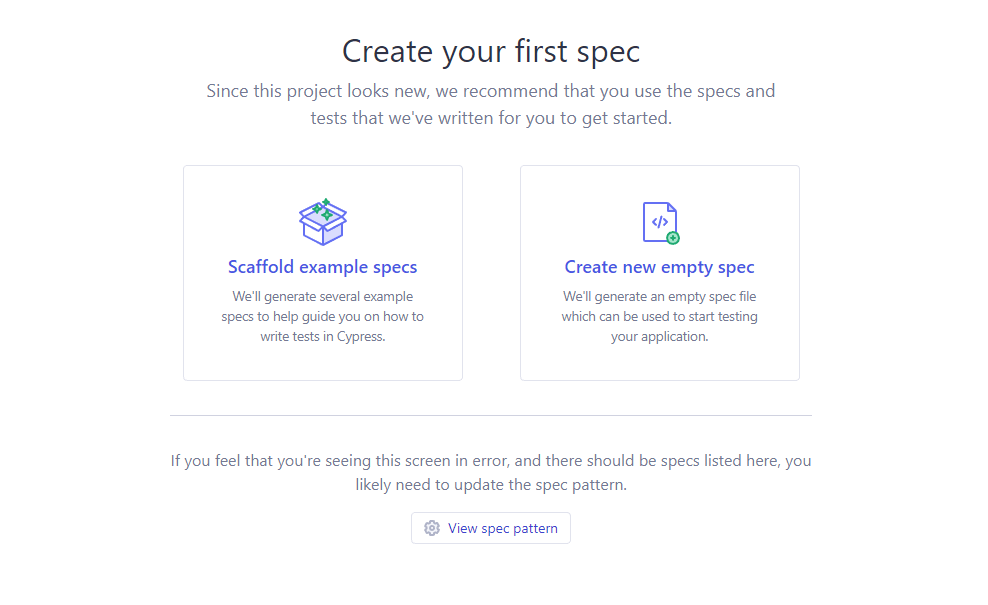
- This will create a new spec file in which we can write our tests.
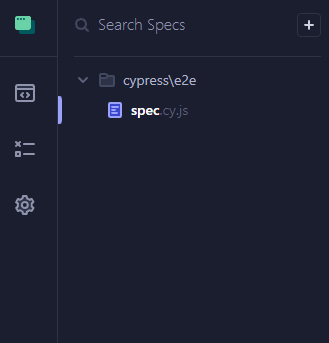
- Now, our spec has been added to the
cypress/e2efolder, and we can run it with Cypress.
Editing the Cypress Configurations
Since we are running a React application, I will set the baseURL of the Cypress configurations so that we can access our app easily. Here is my Cypress config file in ./cypress.config.js As I mentioned above, our goal here is to do some tests that require the application to at least have two or three to-do entries inside of it.
If we had to use the old approach to run these tests, we’d have to use the user interface to type the todo titles and add them to the list, and after that, run the tests on them. So let’s try it and see why it’s not the right choice.
Running Tests Without Cypress App Actions (Regular Approach)
This is how the tests are written without Cypress App Actions (using the UI).
let todos = ['Buy milk', 'Buy eggs', 'Buy bread', 'Buy butter', 'Buy cheese']
describe('Todo application', () => {
beforeEach(() => {
cy.visit('/')
todos.forEach(todo => {
cy.getBySel('new-todo-input').type(todo)
cy.getBySel('submit-button').click()
})
})
it('should delete all todos', () => {
cy.getBySel('delete-all-button').click()
cy.getBySel('todo-item').should('not.exist')
})
it('should delete one entry', () => {
cy.getBySel('todo-delete-button')
.first()
.click()
cy.getBySel('todo-item').should('have.length', todos.length - 1)
})
it('should delete multiple entries', () => {
// deletes two items
for (let i = 0; i < 2; i++) {
cy.getBySel('todo-delete-button')
.first()
.click()
}
cy.getBySel('todo-item').should('have.length', todos.length - 2)
})
it('should check one item', () => {
cy.getBySel('todo-checkbox')
.first()
.click()
cy.getBySel('todo-checkbox').should('be.checked')
})
it('should check multiple items', () => {
cy.getBySel('todo-checkbox')
.first()
.click()
cy.getBySel('todo-checkbox')
.eq(1)
.click()
cy.getBySel('todo-checkbox')
.first()
.should('be.checked')
cy.getBySel('todo-checkbox')
.eq(1)
.should('be.checked')
})
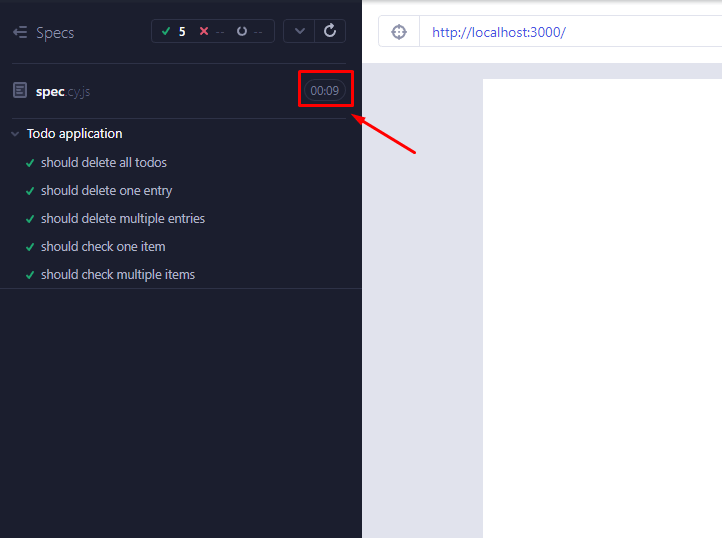
})As you can see in the beforeEach hook, we are inserting some data into the application, this happens before each of the tests or it blocks. Now, let’s run the tests and see why this method of testing applications is actually not optimal or efficient.
The total time required for the tests to complete was 9 seconds, for such a small application like this, it is considered a very low performant test suite.
Using Cypress App Actions
Now it’s time to run the same Cypress UI tests using app actions and see why they are a better choice and how they can improve the test performance. In order to use certain functions inside of our application, we have to set it as a property of the window object and re-use those functions inside our spec files. So, let’s add the functions that we want to the window object
useEffect(() => {
    if (window.Cypress) {
      // the "todos" argument will be an array of todos
      // example: [{ title: "Run some tests", done: false }]
      window.addTodos = todos => setTodos(todos)
    }
}, [])
With the use of the useEffect lifecycle hook, we’ll be able to use the window object inside of a React application.
The addTodos function will enable us to send an array of to-dos to the application without using the user interface. Now we can use the addTodos function inside of our spec files. To access the window object, Cypress has provided us with the window() function, which we can call anywhere in our tests. We chain the invoke() function to it and pass the method's name on the window object and the arguments it requires.
The spec file for app actions ./cypress/e2e/spec.cy.js Now, let’s run the tests and see the performance of the test suite.
As you can see, we are running exactly the same tests that we did before, but now we are getting a total time of tests of only 1 second which is almost 800% more efficient than the previous test. This will make your application much more performant in the long run, which would have been very difficult to run if we’d had to interact with the UI.
Conclusion
App Actions and Page Object Model are two different ways to test an application, but they have their use cases. App actions, as the name suggests, are about writing down actions in the application code, which can change the state of your application and re-using them inside your test suites.
Published at DZone with permission of Enrique A Decoss. See the original article here.
Opinions expressed by DZone contributors are their own.
Comments