Implementing iOS Accessibility: A Developer's Practical Guide
Making your iOS app accessible is easier than you think, and it helps you reach more users while improving the experience for everyone.
Join the DZone community and get the full member experience.
Join For FreeWe iOS developers often spend weeks or even months building a well-crafted app with smooth animations, clever features, and polished UI down to the pixel. But there's one thing that gets often overlooked in the race to ship, and that's accessibility. It can help transform an already great app into something inclusive and exceptional.
Supporting accessibility can sound like a nice-to-have; it's not just about helping people with disabilities (though that in itself is a good enough reason), but it's about building apps that everyone can use comfortably, regardless of how they interact with their device. Also, it's not that hard to implement, especially on iOS.
In this guide, we will walk through key accessibility features using UIKit and Swift, with practical examples you can use straight into your code. Whether you are new to accessibility or looking to level up, this quick article is for you.
Why Should You Care About Accessibility?
Let's break it down.
- You reach more users: Around 15% of the global population lives with some form of disability. So that's a huge group of people who might struggle with your app if it isn't accessible.
- Legal requirements: If your app serves public institutions, educational platforms, or healthcare, accessibility might not be optional. It could be a compliance requirement.
- Improved UX for everyone: Features designed for accessibility, like larger fonts or simplified navigation, often make things better for all users.
- You build better code: Writing accessible code often nudges you toward better separation of concerns, clearer naming, and scalable UI practices.
Accessibility is not just extra work. It's smart product thinking, and yes, it’s also just the right thing to do.
Let’s Explore Key iOS Accessibility Features
For this article, we will focus on UIKit. If you're working with SwiftUI, most of these concepts can be carried over without much friction.
VoiceOver: Your App’s Narrator
VoiceOver is a built-in screen reader that lets users navigate your app by having elements read out loud. As developers, it is on us to describe what those elements are and what they do.
E.g., For a UIButton
let submitButton = UIButton(type: .system)
submitButton.setTitle("Submit", for: .normal)
submitButton.accessibilityLabel = "Submit"
submitButton.accessibilityHint = "Submits the form."
submitButton.accessibilityTraits = .button
E.g., For a UIImageView
let logoImageView = UIImageView(image: UIImage(named: "app_logo"))
logoImageView.isAccessibilityElement = true
logoImageView.accessibilityLabel = "App Logo"
logoImageView.accessibilityHint = "Logo of our application."
Breakdown
isAccessibilityElement = true: Tells VoiceOver this view matters.accessibilityLabel: A short, clear description.accessibilityHint: A brief note on what happens next, like "Double tap to open settings."accessibilityTraits: Helps iOS describe what kind of element this is: button, image, link, and so on.
Pro tip: Avoid redundancy. Don’t make a button label say “Play Button” and then set the trait to .button. VoiceOver will already say “Play, button.”
Dynamic Type: Respect User Preferences
Dynamic Type allows users to adjust the size of text across all apps from system settings. It is one of the easiest and most impactful ways to boost accessibility.
let titleLabel = UILabel()
titleLabel.text = "Welcome!"
titleLabel.font = UIFont.preferredFont(forTextStyle: .headline)
titleLabel.adjustsFontForContentSizeCategory = true
titleLabel.numberOfLines = 0
titleLabel.lineBreakMode = .byWordWrapping
Key Points
- Use
UIFont.preferredFont(forTextStyle:)instead of fixed sizes. - Set
adjustsFontForContentSizeCategoryto true. - Always allow for text wrapping and dynamic height in your layout.
Reduce Motion: Respect for Sensitivities
Some users experience motion sickness or discomfort with complex animations. iOS offers a setting called “Reduce Motion,” and we can respond to it like this:
if UIAccessibility.isReduceMotionEnabled {
    self.someView.transform = .identity
} else {
    UIView.animate(withDuration: 0.3) {
        self.someView.transform = CGAffineTransform(scaleX: 1.1, y: 1.1)
    }
}
By checking UIAccessibility.isReduceMotionEnabled, we can provide a simpler experience for sensitive users without compromising on aesthetics for others.
Increased Contrast: Clarity in Any Light
If a user enables increased contrast in iOS, your app should remain legible and visually distinct.
let infoLabel = UILabel()
infoLabel.text = "Important Info"
infoLabel.textColor = UIColor.label
infoLabel.backgroundColor = UIColor.secondarySystemBackground
Using semantic colors like UIColor.label and UIColor.systemBackground ensures your app adapts to user settings and system themes, including light or dark mode and high-contrast preferences.
Testing Your Accessibility
Now that you have added accessibility support, it's time to test it.
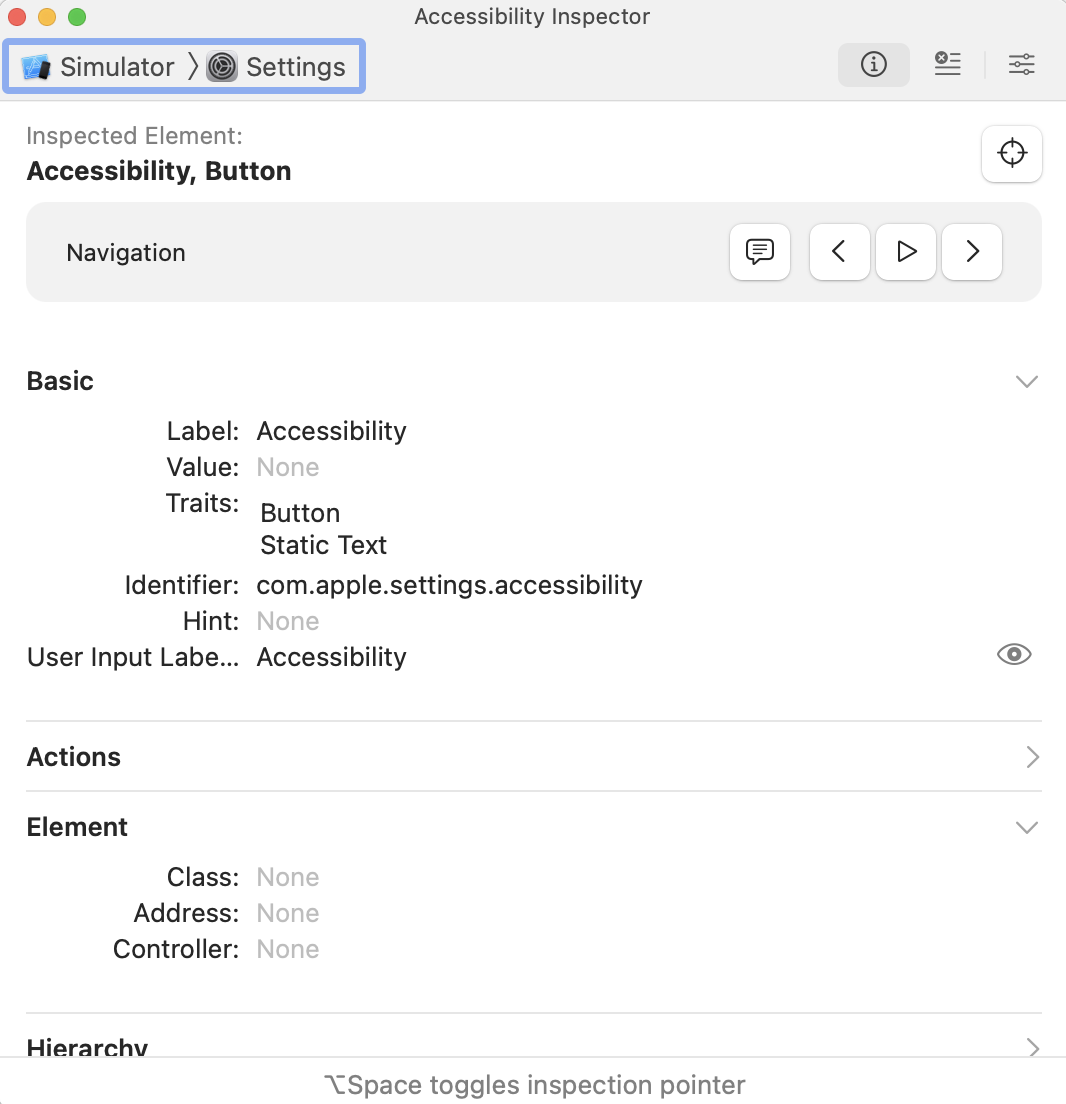
- Accessibility Inspector (Xcode): This tool simulates various accessibility settings on the Simulator or your connected device.
- On-device testing: Turn on VoiceOver, Dynamic Type, or Reduce Motion via Settings > Accessibility on your iPhone.
Don't just test the happy path. Try navigating your app using only VoiceOver and swipes. See how it feels when the text size is turned all the way up. If it gets clunky or unusable, that's your cue to iterate.
Make Accessibility Part of Your Dev Flow
The secret to good accessibility is to build it into your workflow from the start. Don't treat it as a last-minute add-on.
- Add accessibility labels when creating UI elements.
- Test with VoiceOver during QA.
- Include accessibility in your PR checklist or code review guidelines.
Over time, this approach will become second nature, just like writing unit tests or configuring Auto Layout.
Final Thoughts
Accessibility isn't about checking a box. It's about building better apps for everyone. With just a little extra effort, you give your app an advantage: it reaches more people, complies with important standards, and sets a higher bar for quality.
If you have never shipped an app with accessibility in mind before, start small. Pick one screen and try adding VoiceOver labels or enabling Dynamic Type. You might be surprised how far that first step takes you.
Opinions expressed by DZone contributors are their own.
Comments